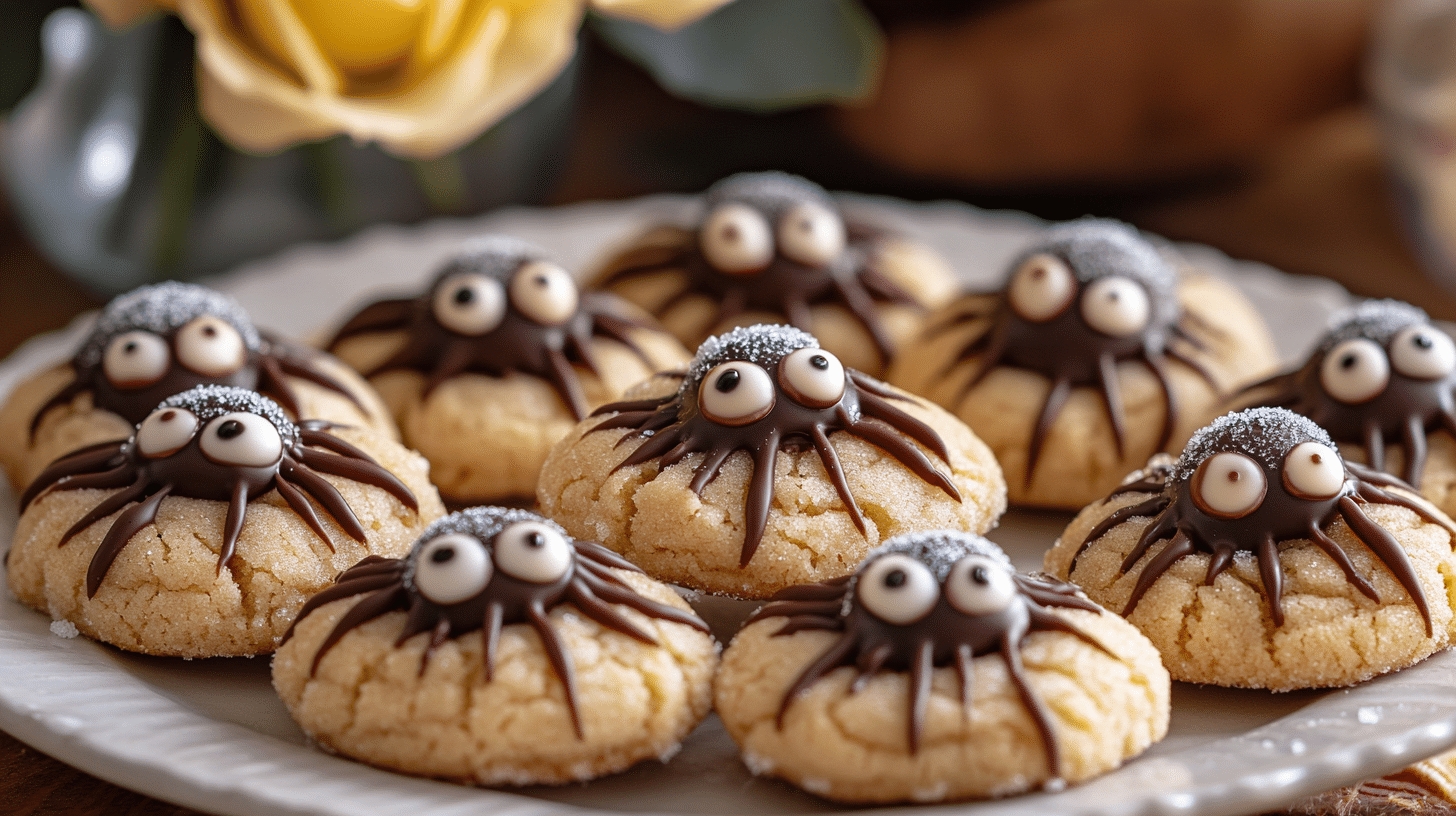
These Peanut Butter Spider Cookies are the perfect spooky and delicious treat for Halloween! They combine soft and chewy peanut butter cookies with a fun and festive spider design, featuring a Reese’s Peanut Butter Cup body and melted chocolate legs. I love how these cookies are both easy to make and a guaranteed hit with kids and adults alike. They’re perfect for Halloween parties, classroom treats, or a fun baking project with the family. Get ready to create a creepy-crawly cookie that everyone will love!
Why You’ll Love These Peanut Butter Spider Cookies
- Fun and Festive: The spider design is perfect for Halloween.
- Peanut Butter and Chocolate: The combination of peanut butter cookies and Reese’s Peanut Butter Cups is a classic flavor pairing.
- Soft and Chewy: These cookies have a perfectly soft and chewy texture.
- Easy to Make: This recipe uses simple ingredients and straightforward instructions.
- Kid-Friendly: Kids will love helping to decorate these spooky cookies.
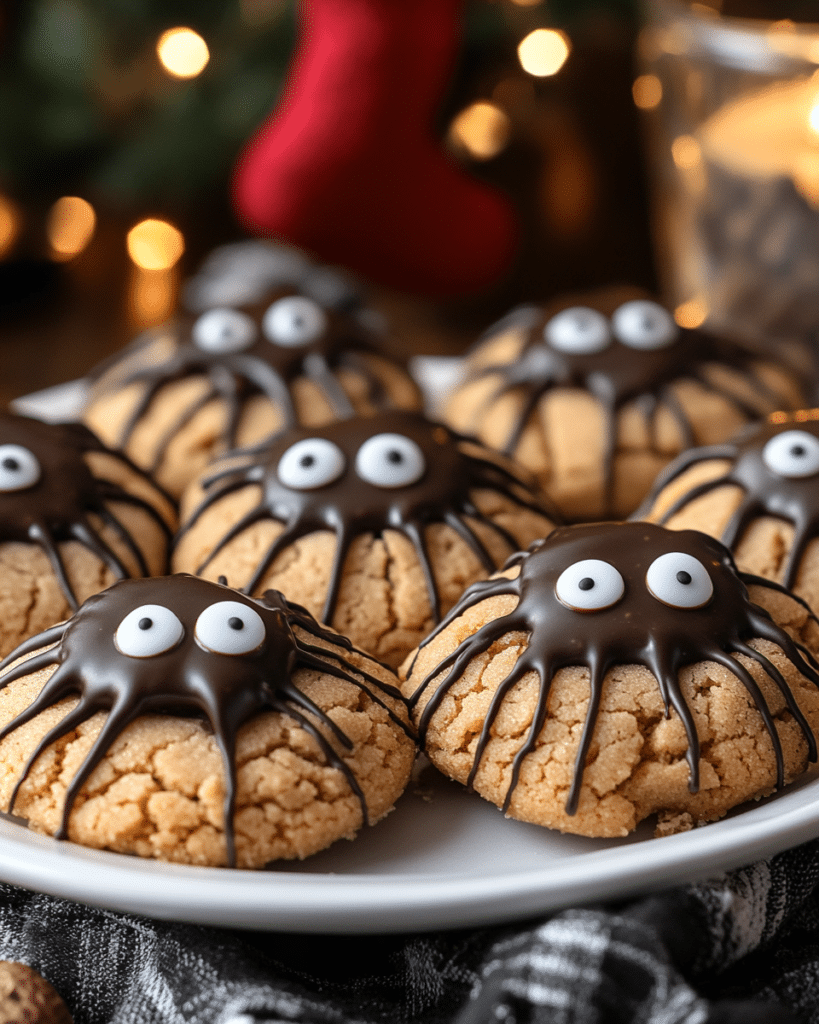
Ingredients for Peanut Butter Spider Cookies
Here’s what you’ll need to make these creepy-crawly cookies. The full list with measurements is in the recipe card below.
Main Ingredients
- Unsalted butter, room temperature (Fat)
- Brown sugar (Sweetener)
- Granulated sugar (Sweetener)
- Creamy peanut butter (not natural) (Nut Butter)
- Large egg (Binder)
- Vanilla extract (Flavoring)
- All-purpose flour (Dry Ingredient)
- Baking soda (Leavening Agent)
- Baking powder (Leavening Agent)
- Salt (Seasoning)
- Granulated Sugar
- Mini Reese’s Peanut Butter Cups (Candy)
- Semi-sweet chocolate chips, for melting (Chocolate)
- Candy eyeballs (Decoration)
(Note: the full ingredients list, including measurements, is provided in the recipe card below.)
Variations
I love these Peanut Butter Spider Cookies as is, but here are a few ideas for variations:
- Different Candy: Use other types of candy for the spider bodies, such as Rolos, mini Snickers, or chocolate kisses.
- Add Sprinkles: Decorate the cookies with Halloween-themed sprinkles.
- Different Cookie Base: Use a chocolate cookie dough or a sugar cookie dough instead of peanut butter.
- Make them Gluten-Free: Use a gluten-free all-purpose flour blend.
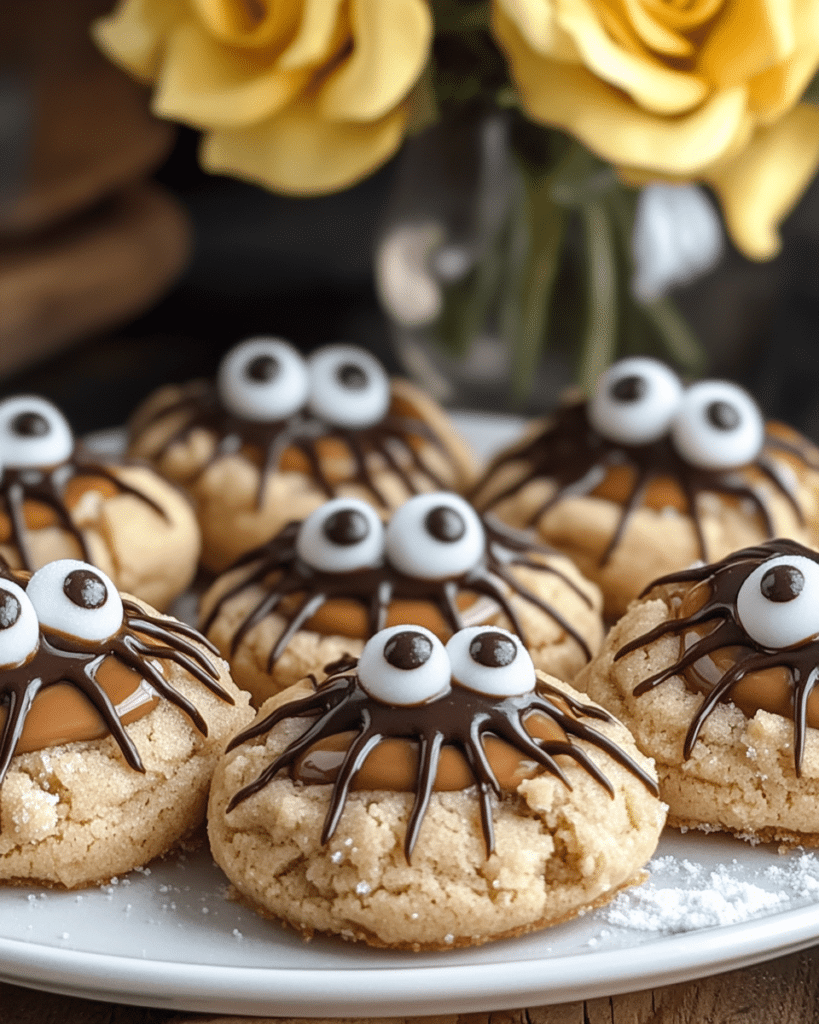
How to Make Peanut Butter Spider Cookies
Let me show you how to make these spooky and delicious Peanut Butter Spider Cookies:
Prepare Reese’s Cups and Preheat Oven
- I unwrap about 24 mini Reese’s cups, place them in a bowl, and put them in the freezer. This helps them to maintain their shape once added to the hot cookies.
- I preheat the oven to 350ºF (175°C).
Cream Butter and Sugars
- In a mixing bowl, I combine the softened butter, brown sugar, and granulated sugar.
- I beat with an electric mixer for 1 minute, until smooth and fluffy.
Add Wet Ingredients
- I add in the peanut butter, egg, and vanilla extract.
- I beat again, for less than 1 minute, until everything is well combined.
Add Dry Ingredients
- I add in the flour, baking soda, baking powder, and salt.
- I mix on low speed or with a spatula just until combined. Be careful not to overmix.
Form Dough Balls and Roll in Sugar
- I use a small cookie scoop or tablespoon to form tablespoon-sized balls from the dough.
- I roll the dough between my hands to form a uniform ball.
- Then roll in granulated sugar
- I place the cookies 2-3 inches apart on a silicone-lined baking sheet.
Bake
- I bake for 8-11 minutes, or until the edges of the cookies begin to crack and turn golden in color.
Add Reese’s Cups and Cool
- I remove the cookies from the oven and immediately press a mini Reese’s cup into the center of each cookie.
- I allow the cookies to cool for 15-20 minutes before moving them to a cooling rack. Moving the cookies while they are still warm can cause the Reese’s cup to sink, losing its shape.
Decorate with Chocolate Legs and Eyes
- I place the chocolate chips in a microwave-safe bowl.
- I microwave for 3 minutes on 50% power, stirring after each minute. I continue to microwave until fully melted.
- I transfer the melted chocolate into a squeeze bottle or a sandwich bag with the corner cut off.
- I draw 4 legs on each side of the cookies to create the spider legs.
- I use a small amount of melted chocolate on the back of the candy eyeballs to attach them to the Reese’s cup.
Set and Serve
- Set and Serve
Tips and Tricks for the BEST Spider Cookies
Here are my secrets for making these cookies truly spooktacular:
- Room Temperature Ingredients: Make sure your butter and egg are at room temperature for the best results.
- Don’t Overmix: Overmixing the dough can make the cookies tough. Mix just until the ingredients are combined.
- Freeze the Reese’s Cups: Freezing the Reese’s cups helps them to hold their shape when pressed into the warm cookies.
- Use a Cookie Scoop: A cookie scoop helps to ensure that the cookies are all the same size.
- Work Quickly: Add the Reese’s cups to the cookies as soon as they come out of the oven, while they’re still hot.
How to Serve
These Peanut Butter Spider Cookies are perfect for:
- Halloween Parties: A fun and festive treat for your Halloween party.
- Classroom Treats: A great treat to send to school for a Halloween party.
- Movie Night: A spooky and delicious snack for a Halloween movie night.
- Gifts: Package them in cellophane bags and tie with a ribbon for a fun Halloween gift.
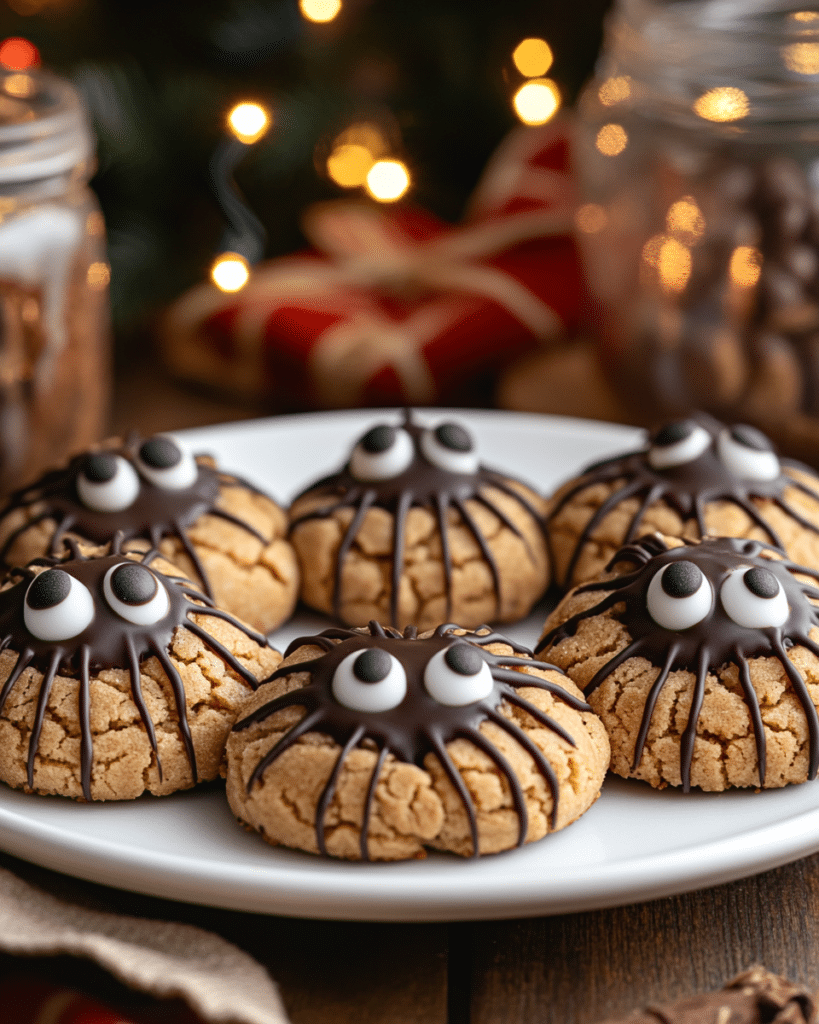
Make Ahead and Storage
You can make the cookie dough ahead of time and store it in the refrigerator for up to 2 days or freeze it for longer storage. Baked cookies can be stored in an airtight container at room temperature for up to 3 days.
FAQs about Peanut Butter Spider Cookies
- Can I use a different type of candy for the spider bodies?
- Yes, you can use Rolos, mini Snickers, chocolate kisses, or any other candy you like.
- Can I make these without the candy eyeballs?
- Yes, you can omit the candy eyeballs or use chocolate chips instead.
- Can I use natural peanut butter?
- I don’t recommend that.
Enjoy these spooky, fun, and delicious Peanut Butter Spider Cookies! They’re a perfect Halloween treat that everyone will love.
Print
Peanut Butter Spider Cookies
- Prep Time: 20 minutes
- Cook Time: 11 minutes
- Total Time: 31 minutes
- Yield: 24 cookies 1x
- Category: Dessert, Cookies, Halloween
- Cuisine: American
Description
These Peanut Butter Spider Cookies are a fun and festive Halloween treat! Soft and chewy peanut butter cookies are topped with mini Reese’s Peanut Butter Cups and decorated with melted chocolate legs and candy eyeballs to create adorable (and delicious) spiders.
Ingredients
- 1/2 cup (1 stick, 113g) unsalted butter, softened to room temperature
- 1/2 cup (100g) packed light brown sugar
- 1/3 cup (67g) granulated sugar
- 3/4 cup (190g) creamy peanut butter (not natural, see notes)
- 1 large egg, room temperature
- 1 teaspoon vanilla extract
- 1 1/2 cups (188g) all-purpose flour
- 1 teaspoon baking soda
- 1/2 teaspoon baking powder
- 1/2 teaspoon salt
- Granulated sugar, for rolling (about 1/4 cup)
For Decorating:
- 24 mini Reese’s Peanut Butter Cups, unwrapped
- 1/2 cup semi-sweet chocolate chips
- Candy eyeballs (about 48)
Instructions
- Chill Reese’s Cups: Unwrap the mini Reese’s Peanut Butter Cups and place them in the freezer. This will help them hold their shape when pressed into the warm cookies.
- Preheat Oven and Prepare Baking Sheets: Preheat your oven to 350°F (175°C). Line baking sheets with silicone baking mats or parchment paper.
- Cream Butter and Sugars: In a large mixing bowl, using an electric mixer (hand mixer or stand mixer), cream together the softened butter, brown sugar, and granulated sugar until light and fluffy (about 1 minute).
- Add Peanut Butter, Egg, and Vanilla: Add the creamy peanut butter, egg, and vanilla extract to the creamed butter and sugar. Beat again, on medium speed, until well combined (less than 1 minute). Scrape down the sides of the bowl as needed.
- Combine Dry Ingredients: In a separate medium bowl, whisk together the all-purpose flour, baking soda, baking powder, and salt.
- Combine Wet and Dry Ingredients: Gradually add the dry ingredients to the wet ingredients, mixing on low speed or stirring with a spatula until just combined. Do not overmix.
- Shape and Roll Cookies: Using a small cookie scoop (about 1 tablespoon) or a spoon, scoop out portions of the dough. Roll each portion into a ball.
- Roll in Sugar: Roll each dough ball in granulated sugar until evenly coated.
- Arrange on Baking Sheets: Place the sugar-coated dough balls on the prepared baking sheets, leaving about 2-3 inches of space between each cookie.
- Bake: Bake for 8-11 minutes, or until the edges of the cookies begin to crack and turn lightly golden brown. The centers will still be soft.
- Add Reese’s Cups: Remove the baking sheets from the oven. Immediately press one frozen mini Reese’s Peanut Butter Cup into the center of each warm cookie.
- Cool: Let the cookies cool on the baking sheets for 15-20 minutes. Do not move the cookies while they are still very warm, as the Reese’s Cups will be soft and may sink or lose their shape.
- Melt Chocolate: While the cookies are cooling, melt the semi-sweet chocolate chips. Place the chocolate chips in a microwave-safe bowl. Microwave on 50% power in 30-second intervals, stirring after each interval, until the chocolate is completely melted and smooth.
- Decorate (Spider Legs): Transfer the melted chocolate to a small resealable plastic bag (or a piping bag). Snip off a very small corner of the bag. Pipe four “legs” on each side of the Reese’s Peanut Butter Cup on each cookie to create spider legs.
- Add Eyes: Use a tiny dab of the melted chocolate to attach two candy eyeballs to the top of each Reese’s Peanut Butter Cup.
- Let Chocolate Set: Allow the melted chocolate to set completely before serving or storing.
- Serve
Notes
- Peanut Butter: Use regular creamy peanut butter (like Jif or Skippy), not natural peanut butter. Natural peanut butter can be too oily and may cause the cookies to spread too much.
- Room Temperature Ingredients: Using room-temperature butter and eggs helps the ingredients emulsify properly.
- Freezing Reese’s Cups: Freezing the Reese’s Peanut Butter Cups before pressing them into the warm cookies helps them maintain their shape.
- Baking Time: The baking time may vary slightly depending on your oven.
- Melting Chocolate: Be careful not to overheat the chocolate, or it may seize up. Microwave in short intervals and stir well after each interval.

