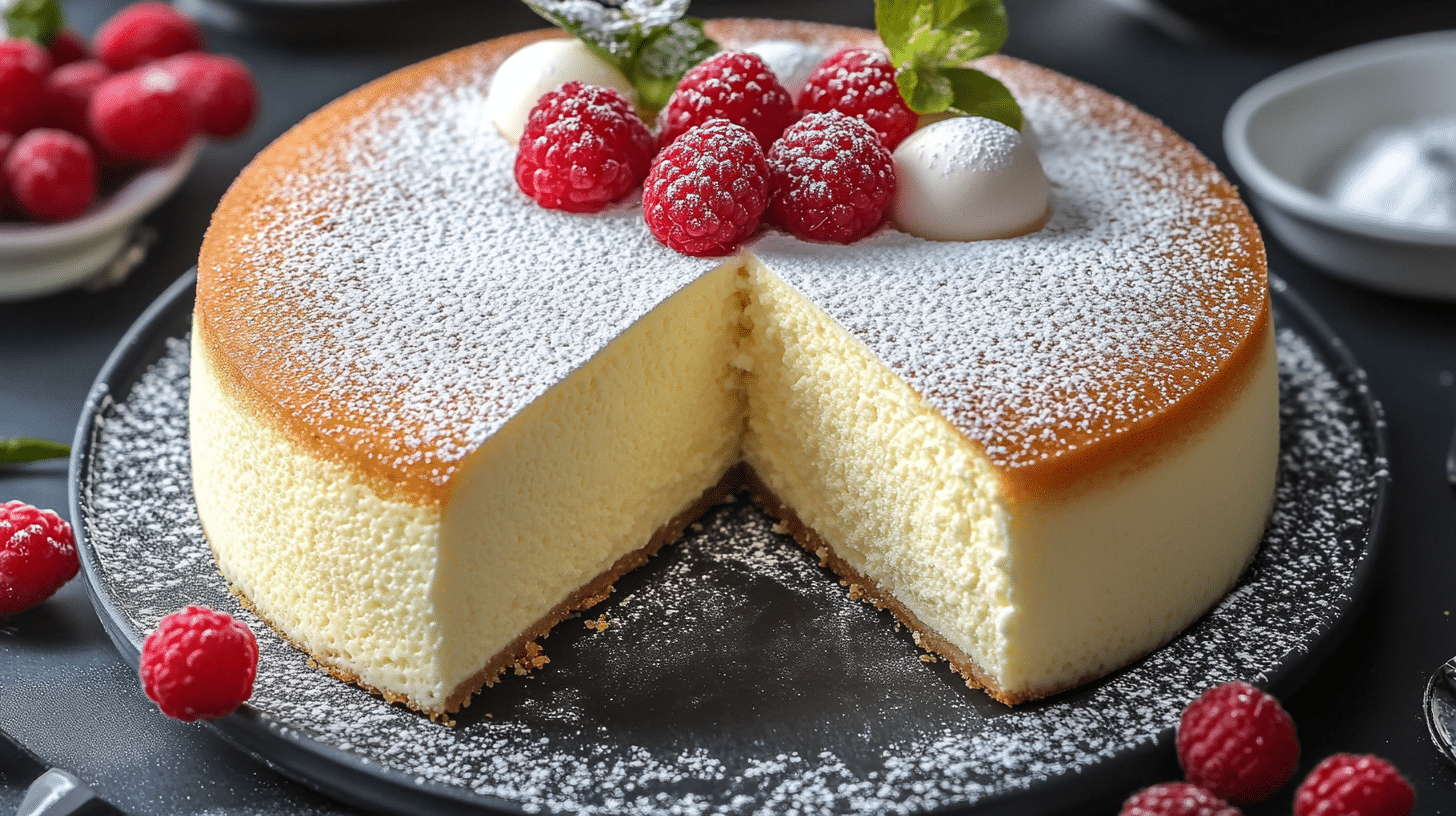
This Jiggly Japanese Cheesecake is a unique and incredibly delicious dessert! It’s known for its light, airy, and almost soufflé-like texture, with a delicate sweetness and a subtle tang from the cream cheese. I love how this cheesecake is different from traditional cheesecakes – it’s less dense and has a wonderful jiggly quality that makes it fun to eat. It’s a perfect dessert for any occasion, and it’s sure to impress your family and friends.
Why You’ll Love This Japanese Cheesecake
- Light and Airy: Unlike traditional cheesecakes, this Japanese cheesecake has a light, airy, and almost soufflé-like texture.
- Delicate Flavor: The cheesecake has a subtle sweetness and a delicate tang from the cream cheese.
- Unique and Impressive: This cheesecake is a fun and unique dessert that’s sure to impress.
- Jiggly!: The signature jiggle of this cheesecake is part of its charm.
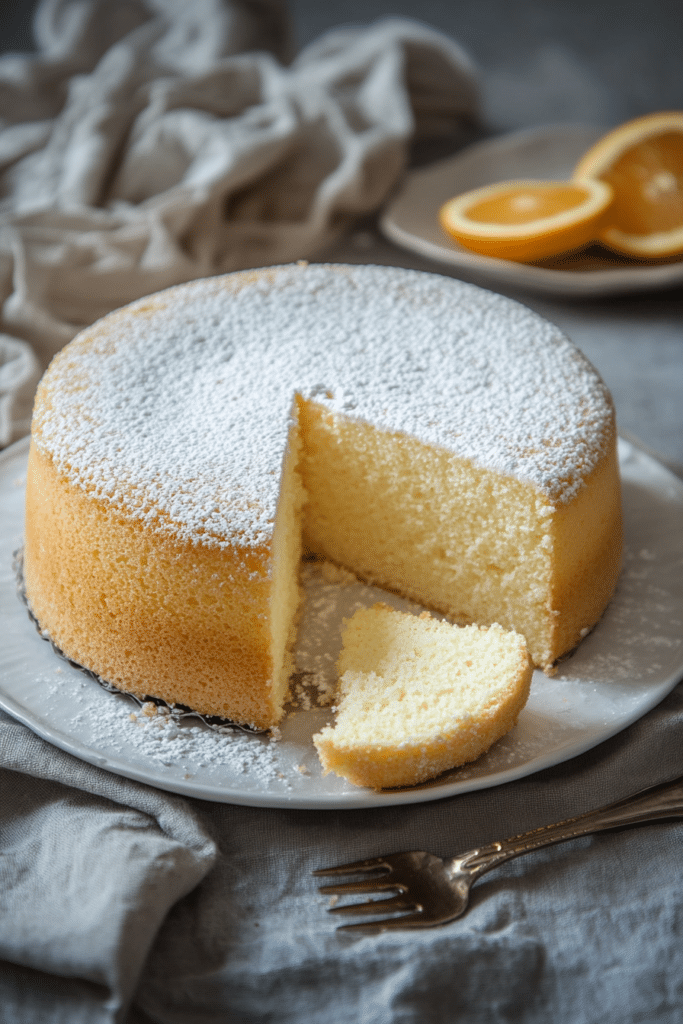
Ingredients for Japanese Cheesecake
Here’s what you’ll need to make this unique cheesecake. The full list with measurements is in the recipe card below.
Main Ingredients
- Large eggs, separated (Eggs)
- Cream cheese, preferably softened (Dairy)
- Heavy cream (or full-fat milk) (Dairy)
- Unsalted butter, cut into smaller pieces (Fat)
- Cake flour (Dry Ingredient)
- Lemon zest (optional) (Flavoring)
- Vanilla extract (optional) (Flavoring)
- Granulated sugar (Sweetener)
- Lemon juice (Acid)
Optional Toppings
- Powdered sugar (for dusting) (Sweetener)
- Apricot jam (for glazing) (Preserve)
- Berries (Fruit)
- Sweetened whipped cream (Dairy)
(Note: the full ingredients list, including measurements, is provided in the recipe card below.)
Variations
I love this Japanese Cheesecake as is, but here are a few ideas for variations:
- Different Flavor Extracts: Try using almond extract, orange extract, or even a touch of rosewater instead of vanilla extract.
- Add Chocolate: Melt some white chocolate or dark chocolate and drizzle it over the cooled cheesecake.
- Fruit Topping: Serve with fresh berries, a fruit compote, or a fruit sauce.
- Matcha: Add matcha powder to the batter for a green tea cheesecake.
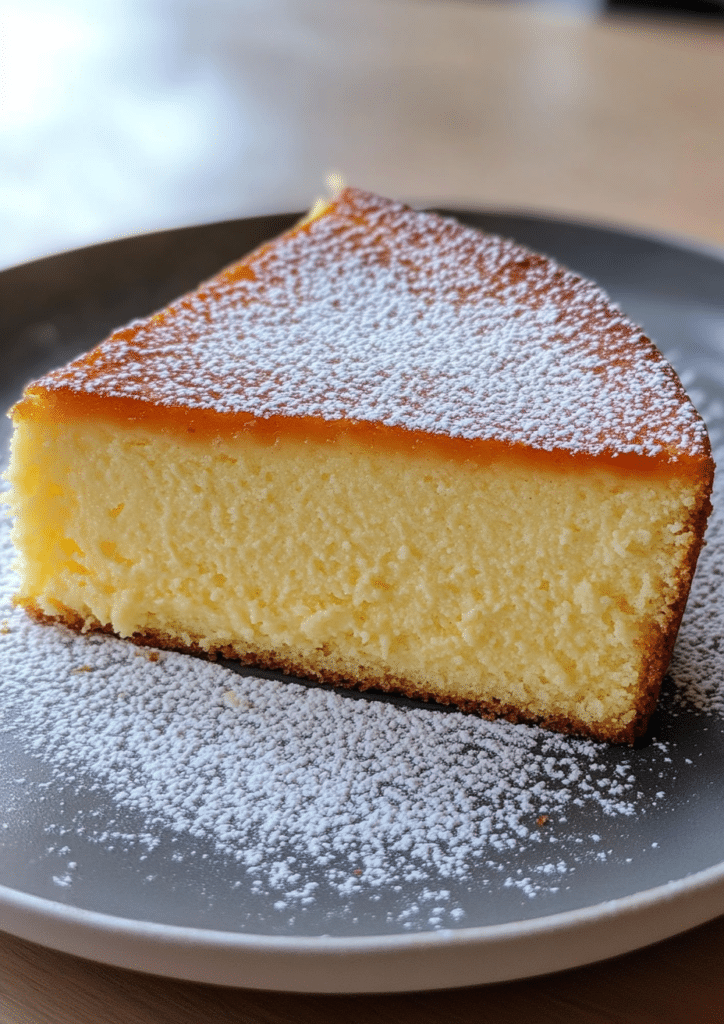
How to Make Japanese Cheesecake
Let me show you how to make this light and airy Jiggly Japanese Cheesecake:
Prepare Equipment
- I preheat the oven to 300°F (150°C).
- I also line the bottom of an 8 by 3-inch cake pan with a circle parchment paper and prepare a 9 by 9 baking pan. The 9 by 9-inch pan is for the water bath. So, as long as the 8-inch round cake pan can sit in it, any larger size pan works too.
- I bring a few inches of water to a simmer in a large saucepan or pot. Once the water is simmering, I reduce the heat to low.
Make the Base Batter
- I place the cream cheese, butter, and cream in a large heatproof bowl that can sit on the saucepan or pot and not touching the water.
- I slowly heat everything up and whisk until the mixture is well combined and smooth. I turn off the heat.
- I add the egg yolks and mix until well combined. I make sure to work swiftly to prevent the egg yolks from getting scrambled!
- Immediately, I sift the cake flour into the mixture and whisk until no more dry flour or clumps remain.
- I take the bowl off the pot and add the lemon zest and vanilla (if using). I whisk to combine. I set the mixture aside to cool until needed.
- I fill the 9 by 9 baking pan halfway with the hot water and carefully place the baking pan into the oven to preheat. You can also use the hot water left from the earlier.
Prepare the Meringue
- In a clean mixing bowl, I add the egg whites and the lemon juice.
- Using a hand mixer, I whip the egg whites on medium-high speed until completely frothy.
- While whipping, I add the granulated sugar to the frothy egg white, a third at a time, before the egg whites reach the soft-peak stage.
- Once all the sugar has been added, I whip the egg whites for another 10 to 20 seconds. Then, I reduce the speed to medium.
- I continue whipping the egg whites until medium-soft peak.
Combine Meringue and Batter
- I add ⅓ of the meringue to the cream cheese mixture and gently fold the meringue until the mixture is well combined and no more streaks are visible.
- I incorporate the remaining meringue in two more sessions.
Bake the Cheesecake
- I pour the cheesecake batter into the prepared 8-inch cake pan.
- I firmly tap the cake pan on the table a couple of times to remove large air bubbles. You can also use a skewer if you prefer.
- I carefully place the cake pan into the oven, in the pan of water, and bake for about 80 to 90 minutes, or until the Japanese cheesecake is golden brown on top and a skewer inserted in the middle comes out clean.
Cool and Release
- I carefully remove the cheesecake from the oven and dry the bottom of the cake pan.
- I let the cheesecake cool for a few minutes on its side, rotating the cake pan every 20 to 30 seconds, until the cheesecake releases itself from the cake pan.
- I remove the cheesecake from the cake pan by carefully flipping it out onto a plate.
- I pull away the parchment paper on the bottom and flip the cake upright onto another plate.
- I let it cool.
Serve
- serve
Tips and Tricks for the BEST Japanese Cheesecake
Here are my secrets for making this cheesecake truly exceptional:
- Room Temperature Ingredients: Make sure your cream cheese and eggs are at room temperature for the best results.
- Don’t Overmix: Overmixing the batter can make the cheesecake dense. Mix just until the ingredients are combined.
- Water Bath: Baking the cheesecake in a water bath is essential for creating a light, airy texture and preventing cracks.
- Slow Cooling: Cooling the cheesecake slowly in the oven helps to prevent cracking.
- Whip Egg whites correctly
- Sift the flour: It helps to make a smooth batter.
How to Serve
This Jiggly Japanese Cheesecake is delicious served:
- Plain: Enjoy it plain, with its delicate flavor and unique texture.
- Powdered Sugar: Dust the top with powdered sugar.
- Apricot Jam Glaze: Brush the top with some slightly warmed apricot jam for a beautiful glaze.
- Fresh Fruit: Serve with fresh berries or other fruit.
- Whipped Cream: Top with sweetened whipped cream.
Make Ahead and Storage
This cheesecake is best enjoyed within a day or two of baking. Store it in the refrigerator.
FAQs about Japanese Cheesecake
- Why is my cheesecake not jiggly?
- The jiggly texture comes from the meringue and the water bath. Make sure you whip the egg whites to the correct consistency and use a water bath during baking.
- Why did my cheesecake crack?
- Cracking can be caused by overmixing the batter, overbaking, or rapid temperature changes. Make sure to follow the instructions carefully and cool the cheesecake slowly.
- Can I make this without a water bath?
- The water bath is crucial.
Enjoy this light, airy, and incredibly delicious Jiggly Japanese Cheesecake! It’s a unique and impressive dessert that’s sure to become a new favorite.
Print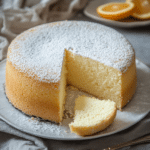
Japanese Cheesecake
- Prep Time: 30 minutes
- cooling time: 1 hour
- Cook Time: 80 minutes
- Total Time: 2 hours 10 minutes
- Yield: 8–10 1x
- Category: Dessert, Cheesecake
- Cuisine: Japanese
Description
This Japanese Cheesecake is a light, airy, and incredibly jiggly dessert, known for its souffle-like texture and delicate, subtly sweet flavor. It’s a unique and impressive cheesecake that’s different from denser, New York-style cheesecakes.
Ingredients
- 6 large eggs, separated, room temperature
- 8 ounces (226g) cream cheese, softened
- 1/4 cup heavy cream (or full-fat milk), room temperature
- 4 tablespoons (1/2 stick, 57g) unsalted butter, cut into small pieces
- 1/2 cup (63g) cake flour, fluffed, spooned, and leveled (see notes)
- 1 tablespoon lemon zest (from about 1 lemon), optional
- 1 1/2 teaspoons vanilla extract, optional
- 1/3 cup (67g) granulated sugar
- 2 teaspoons lemon juice (freshly squeezed, from about 1/3 of a lemon)
Optional Toppings:
- Powdered sugar, for dusting
- Apricot jam, slightly warmed, for glazing
- Fresh berries (strawberries, raspberries, blueberries)
- Sweetened whipped cream
Instructions
-
Prepare Oven and Pans:
- Preheat oven to 300°F (150°C).
- Line the bottom of an 8×3-inch round cake pan with a circle of parchment paper. Do not grease the sides of the pan. This helps the cheesecake climb up the sides.
- Prepare a 9×9-inch (or larger) baking pan for the water bath. It needs to be large enough to comfortably hold the 8-inch cake pan.
-
Heat Water: Bring a few inches of water to a simmer in a large saucepan or pot (this will be used for both melting ingredients and the water bath). Once simmering, reduce the heat to low.
-
Make the Base Batter:
- In a large heatproof bowl (one that can safely sit over a pot of simmering water without touching the water), combine the softened cream cheese, butter pieces, and heavy cream (or milk).
- Place the bowl over the simmering water (make sure the bottom of the bowl doesn’t touch the water). This creates a double boiler or bain-marie.
- Whisk the mixture constantly until the cream cheese and butter are completely melted and smooth, and the mixture is well combined.
- Remove the bowl from the heat.
- Add the room temperature egg yolks to the warm cream cheese mixture and whisk until well combined. Work swiftly to prevent the egg yolks from scrambling.
- Immediately sift the cake flour directly into the cream cheese mixture. Whisk until no dry flour or lumps remain.
- Remove the bowl from the pot and stir in the lemon zest (if using) and vanilla extract (if using). Whisk to combine.
- Set the mixture aside to cool slightly while you prepare the meringue.
-
Preheat Water Bath: Fill the 9×9-inch baking pan with the hot water (from the pot you used earlier, or freshly heated water) to about halfway full. Carefully place this pan in the preheated oven on the lower rack.
-
Prepare the Meringue:
- In a clean and completely grease-free mixing bowl (metal or glass is best), add the room temperature egg whites and the lemon juice.
- Using a hand mixer (or a stand mixer with the whisk attachment), whip the egg whites on medium-high speed until completely frothy (like bubble bath).
- Gradually add the granulated sugar to the frothy egg whites, about 1/3 at a time, while the mixer is still running. Add the sugar before the egg whites reach the soft peak stage.
- Once all the sugar has been added, continue whipping for another 10-20 seconds. Then, reduce the mixer speed to medium.
- Continue whipping the egg whites until they reach medium-soft peaks. The peaks should hold their shape but still curl over slightly at the tip. Do not overwhip to stiff peaks.
-
Combine Meringue and Batter:
- Add about 1/3 of the meringue to the cream cheese mixture. Gently fold the meringue into the batter until no streaks remain. This lightens the batter.
- Incorporate the remaining meringue in two more additions, folding gently after each addition until just combined. Do not overmix.
-
Pour and Bake:
- Pour the cheesecake batter into the prepared 8-inch cake pan.
- Firmly tap the cake pan on the counter a few times to release any large air bubbles. You can also use a skewer or toothpick to pop any visible bubbles.
- Carefully place the 8-inch cake pan (with the batter) inside the 9×9-inch pan of hot water that’s already in the oven.
- Bake for 80-90 minutes, or until the cheesecake is golden brown on top and a skewer inserted into the center comes out clean (or with just a few moist crumbs). The cheesecake should still have a slight jiggle in the center.
-
Cool in Oven:
- Turn off the oven. Leave the cheesecake in the oven with the door closed for 30 minutes.
- After 30 minutes, crack open the oven door slightly (leave it ajar) and let the cheesecake continue to cool slowly in the oven for another 30 minutes. This gradual cooling process helps prevent cracking.
-
Cool Completely:
- Carefully remove the cheesecake from the oven and the water bath.
- Dry the bottom of the cake pan if any water got on it.
- Let the cheesecake cool for a few minutes on its side, gently rotating the cake pan every 20-30 seconds. This helps the cheesecake release itself from the sides of the pan.
-
Remove from Pan: Carefully invert the cheesecake onto a plate. Remove the parchment paper from the bottom. Flip the cheesecake upright onto another plate. Let it cool completely at room temperature.
-
Chill (Optional but Recommended): While the cheesecake can be enjoyed warm, it’s even better after chilling. Chill in the refrigerator for at least 1 hour (or longer, for a firmer texture) before serving.
-
Serve: You can serve the Japanese cheesecake plain, dust the top with powdered sugar, or brush the top with slightly warmed apricot jam for a glaze. Serve with fresh berries and/or sweetened whipped cream, if desired.
Notes
- Room Temperature Ingredients: Using room-temperature eggs, cream cheese, and heavy cream (or milk) is crucial for a smooth batter and even baking.
- Cake Flour: Cake flour has a lower protein content than all-purpose flour, resulting in a more tender and delicate cheesecake. If you don’t have cake flour, you can make a substitute: For every 1 cup of all-purpose flour, remove 2 tablespoons and replace them with 2 tablespoons of cornstarch.
- Water Bath: The water bath is essential for baking Japanese cheesecake. It creates a humid environment that helps the cheesecake cook gently and evenly, resulting in a soft, moist, and jiggly texture.
- Meringue: Be careful not to overwhip the egg whites. Medium-soft peaks are ideal. Stiff peaks can make the cheesecake too dry. A clean, grease-free bowl is crucial.
- Cooling: Cooling the cheesecake slowly in the oven helps prevent cracking.
- Serving: Japanese cheesecake can be enjoyed warm, at room temperature, or chilled.
- Storage: Left overs in the fridge for 3-4 days.
- Measuring Flour: fluff, then spoon and level.

