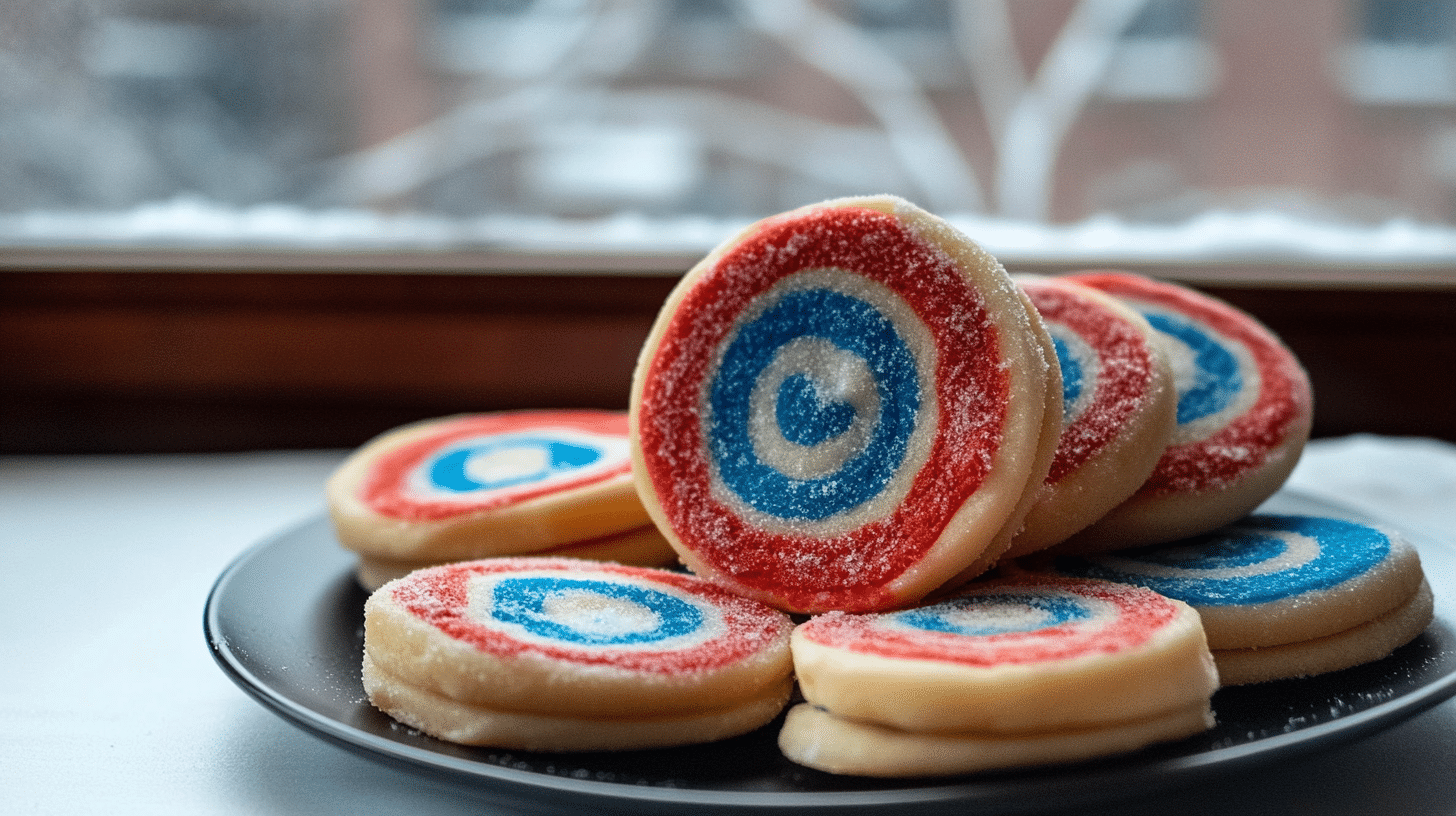
These Red, White, and Blue Pinwheel Cookies are a fun and festive treat that’s perfect for celebrating patriotic holidays like the 4th of July, Memorial Day, or Labor Day! They’re striking cookies with a vibrant swirl of red, white, and blue, and they have a delicious, buttery, and slightly crisp texture. I love how these cookies are both visually appealing and easy to make. They’re sure to be a hit at any patriotic gathering!
Why You’ll Love These Pinwheel Cookies
- Festive and Patriotic: The red, white, and blue swirl makes these cookies perfect for celebrating patriotic holidays.
- Fun to Make: The pinwheel design is fun to create and looks impressive.
- Delicious Flavor: These cookies have a classic, buttery sugar cookie flavor.
- Slice-and-Bake: The dough is formed into logs and chilled, making it easy to slice and bake.
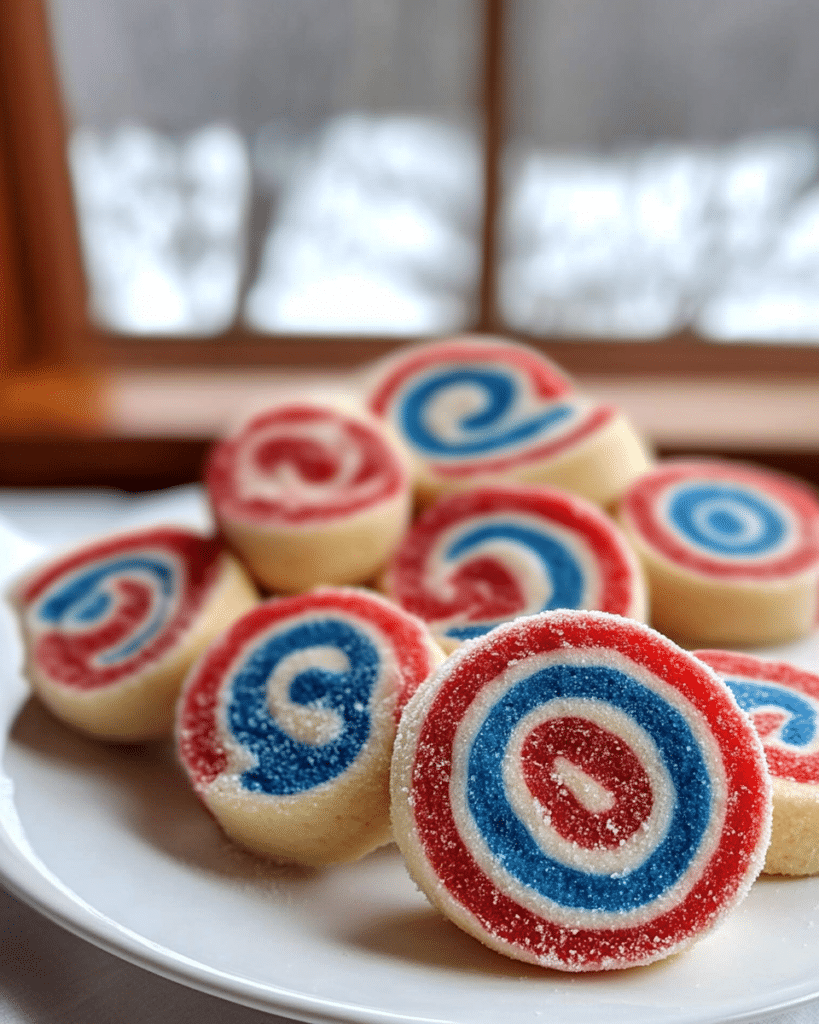
Ingredients for Red, White, and Blue Pinwheel Cookies
Here’s what you’ll need to make these patriotic cookies. The full list with measurements is in the recipe card below.
Main Ingredients
- All-purpose flour (Dry Ingredient)
- Baking powder (Leavening Agent)
- Salt (Seasoning)
- Unsalted butter (Fat)
- Sugar (Sweetener)
- Large eggs (Binder)
- Vanilla extract (Flavoring)
- Red food coloring (Coloring)
- Blue food coloring (Coloring)
(Note: the full ingredients list, including measurements, is provided in the recipe card below.)
Variations
I love these Red, White, and Blue Pinwheel Cookies as is, but here are a few ideas for variations:
- Different Colors: Use different colors of food coloring to match any holiday or occasion.
- Add Sprinkles: Roll the dough logs in sprinkles before slicing and baking.
- Flavor Extracts: Add a different flavor extract, such as almond extract or lemon extract, to the dough.
- Chocolate Chips: Add some mini chocolate chips to the dough.
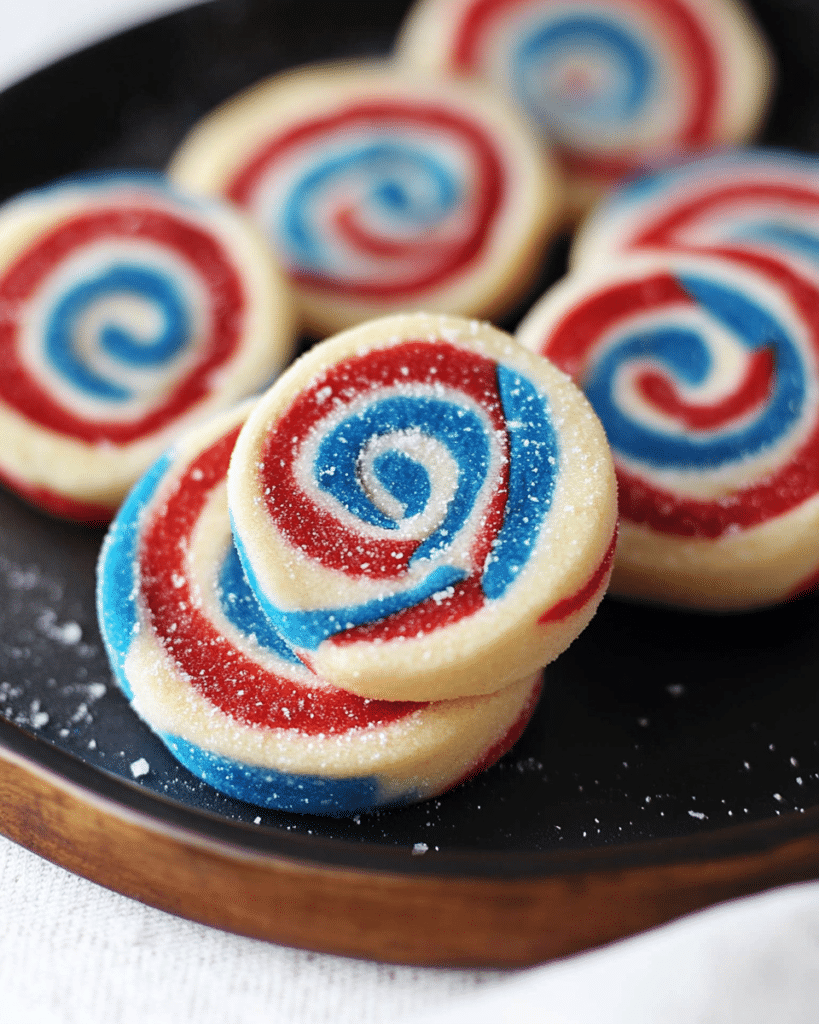
How to Make Red, White, and Blue Pinwheel Cookies
Let me show you how to make these festive and fun Red, White, and Blue Pinwheel Cookies:
Combine Dry Ingredients
- In a medium bowl, I sift together the flour, baking powder, and salt.
Cream Butter and Sugar
- In the bowl of a stand mixer fitted with the paddle attachment, I beat the butter until smooth, about 2 minutes.
- I add the sugar and continue beating until the mixture is light and fluffy, about 3 minutes.
- I add the eggs one at a time, beating between each addition, then add the vanilla.
Combine Wet and Dry Ingredients
- I turn the mixer off.
- I add the flour and then beat just until combined.
Divide and Color Dough
- I remove the dough and separate it into three equal pieces.
- I shape one piece of the dough into a 4- by 4-inch square, wrap it securely in plastic wrap, and place it in the fridge. (This will be the white portion of the cookies.)
- I return one of the remaining pieces of dough to the stand mixer bowl, and with the mixer on “low,” I add in the red food coloring until it reaches my desired color. I remove the red dough, shape it into a 4- by 4-inch square, wrap it securely in plastic wrap, and place it in the fridge. (This will be the red portion of the cookies). I clean out the bowl to remove any red food coloring residue.
- I add the final piece of dough to the stand mixer bowl, and with the mixer on “low,” I add in the blue food coloring until it reaches my desired color. I remove the blue dough, shape it into a 4- by 4-inch square, wrap it securely in plastic wrap, and place it in the fridge. (This will be the blue portion of the cookies.)
Chill Dough
- I refrigerate the dough for 30 minutes.
Roll Out Dough
- I remove the dough from the fridge and cut each square in half to form two rectangles.
- I wrap half of each color of dough in plastic wrap and return it to the fridge.
- I place the red dough in between two pieces of wax paper and roll it into a rectangle about ⅛-inch thick.
- I roll out the white dough between two separate pieces of wax paper until it is a rectangle about ⅛-inch thick.
- I roll out the blue dough between two separate pieces.
Stack and Roll Dough
- I peel the top layer of wax paper off of the red dough.
- Then I peel the wax paper off one side of the white dough and use the other side to transfer the white dough on top of the red dough.
- I peel off the wax paper from one side of the blue dough and use the other side to transfer it atop the white dough.
- I very lightly roll the three layers together.
- Starting at the shorter end of the rectangle, I roll the dough as tightly as possible into a log.
- I repeat and refrigerate.
Chill Dough Again
- I wrap the logs in wax paper and then plastic wrap and refrigerate them for 1 hour.
- I remove the dough logs and roll them on the counter several times so they don’t develop a flat side. Alternately, stand the rolls up in glasses in the fridge.
- I refrigerate the dough for 4 more hours.
Preheat Oven and Prepare Baking Sheets
- When ready to bake, I preheat the oven to 350ºF (175°C) and line two baking sheets with parchment paper.
Slice and Bake
- I remove the dough from the fridge and slice each log into ¼-inch rounds.
- I place the rounds about 2 inches apart on the baking sheets, as the cookies will expand when baked.
- I bake the cookies for 9 to 11 minutes, until pale golden.
- Then transfer to cool
Tips and Tricks for the BEST Pinwheel Cookies
Here are my secrets for making these cookies truly festive and delicious:
- Chill the Dough: Chilling the dough is essential for preventing the cookies from spreading too much and for making it easier to slice the logs.
- Use Gel Food Coloring: Gel food coloring is more concentrated than liquid food coloring, so you’ll need less of it to achieve a vibrant color.
- Roll Tightly: Rolling the dough tightly helps to create a defined pinwheel pattern.
- Slice Evenly: Use a sharp knife to slice the dough into even rounds.
- Don’t Overbake: The cookies should be pale golden when they’re done.
How to Serve
These Red, White, and Blue Pinwheel Cookies are perfect for:
- 4th of July: A festive and patriotic treat for Independence Day.
- Memorial Day: A great cookie for Memorial Day gatherings.
- Labor Day: Perfect for celebrating Labor Day.
- Any Patriotic Occasion: A fun and colorful cookie for any patriotic celebration.
- Parties
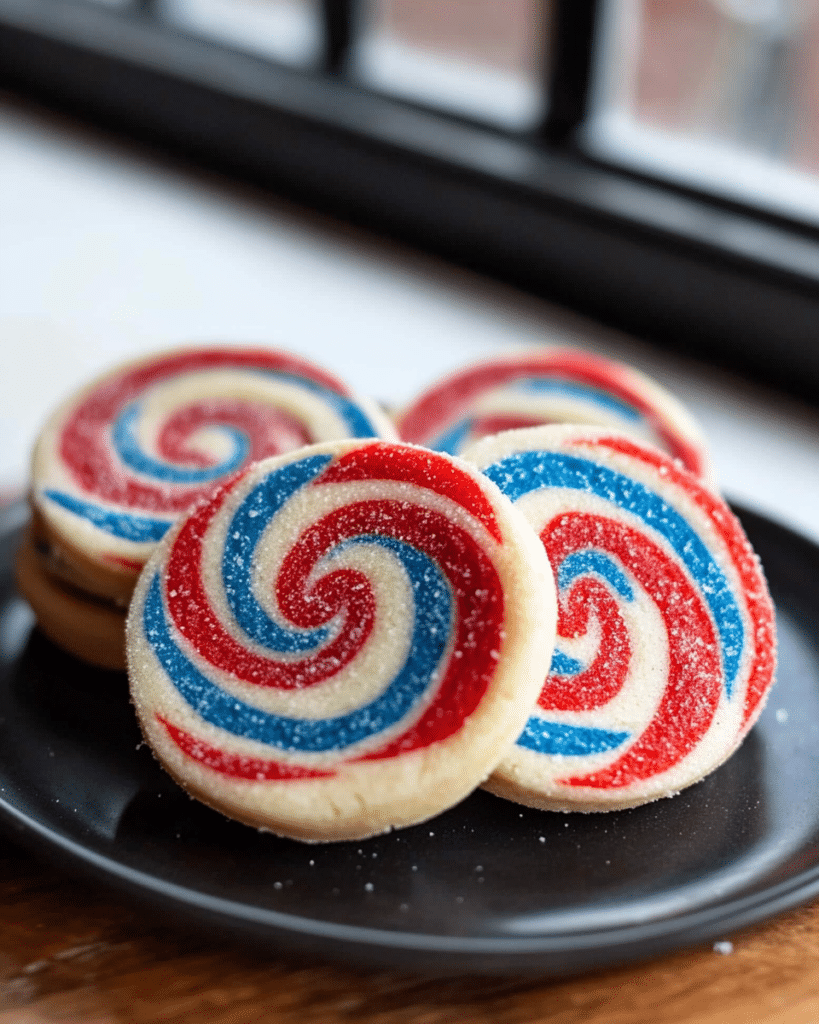
Make Ahead and Storage
You can make the dough ahead of time and store it in the refrigerator for up to 3 days or freeze it for longer storage. Baked cookies can be stored in an airtight container at room temperature for up to 5 days.
FAQs about Red, White, and Blue Pinwheel Cookies
- Can I use different colors of food coloring?
- Absolutely! You can use any colors you like to match your party theme or holiday.
- Can I add sprinkles?
- Yes, you can roll the dough logs in sprinkles before slicing and baking.
- Can I make these without the food coloring? Yes, you can
Enjoy these festive, colorful, and delicious Red, White, and Blue Pinwheel Cookies! They’re a perfect way to celebrate any patriotic occasion.
Print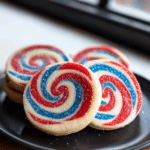
Red, White, and Blue Pinwheel Cookies
- Prep Time: 30 minutes
- Chill Time: 5 hours 30 minutes
- Cook Time: 11 minutes
- Total Time: 6 hours 11 minutes
- Yield: 36 cookies 1x
- Category: Dessert, Cookies, Holiday
- Cuisine: American
Description
These festive Red, White, and Blue Pinwheel Icebox Cookies are perfect for patriotic holidays like the 4th of July, Memorial Day, or any occasion where you want a colorful and delicious treat. These slice-and-bake cookies feature a vibrant swirl of red, white, and blue dough.
Ingredients
- 3 cups (375g) all-purpose flour, plus more for dusting
- 1/2 teaspoon baking powder
- 1/2 teaspoon salt
- 1 cup (2 sticks, 226g) unsalted butter, softened to room temperature
- 1 1/3 cups (267g) granulated sugar
- 2 large eggs, room temperature
- 2 teaspoons pure vanilla extract
- Red gel food coloring
- Blue gel food coloring
Instructions
-
Combine Dry Ingredients: In a medium bowl, sift together the all-purpose flour, baking powder, and salt. Whisk to combine thoroughly. Set aside.
-
Cream Butter and Sugar: In the bowl of a stand mixer fitted with the paddle attachment (or in a large bowl using a hand mixer), beat the softened butter until smooth and creamy, about 2 minutes.
-
Add Sugar: Gradually add the granulated sugar to the butter. Continue beating on medium-high speed until the mixture is light and fluffy, about 3 minutes.
-
Add Eggs and Vanilla: Add the room-temperature eggs one at a time, beating well after each addition until fully incorporated. Stir in the vanilla extract.
-
Combine Wet and Dry Ingredients: With the mixer on low speed, gradually add the dry ingredients (flour mixture) to the wet ingredients, mixing until just combined. Do not overmix.
-
Divide and Color Dough: Divide the dough into three equal portions.
-
Keep the white: Keep the first portion
-
Color Dough (Red): Return one portion of the dough to the mixing bowl. Add red gel food coloring, a little at a time, and mix on low speed until the dough reaches your desired shade of red. Start with a small amount of food coloring and add more as needed.
-
Shape and Wrap Red Dough: Shape the red dough into a 4×4-inch square. Wrap it tightly in plastic wrap and refrigerate.
-
Clean Bowl: Thoroughly clean the mixing bowl and paddle attachment to remove any traces of red food coloring.
-
Color Dough (Blue): Place the final portion of dough in the clean mixing bowl. Add blue gel food coloring, a little at a time, and mix on low speed until the dough reaches your desired shade of blue.
-
Shape and Wrap Blue Dough: Shape the blue dough into a 4×4-inch square. Wrap it tightly in plastic wrap and refrigerate.
-
Shape and Wrap White Dough:
-
Chill Dough: Refrigerate all three squares of dough (red, white, and blue) for at least 30 minutes. This makes the dough easier to roll out.
-
Roll Out Dough (One Color at a Time):
- Remove one square of dough (e.g., red) from the refrigerator.
- Place the dough between two sheets of wax paper.
- Roll the dough out into a rectangle about 1/8-inch thick. Aim for a roughly uniform rectangle, but the exact dimensions aren’t critical at this stage.
- Repeat this process with the white and blue dough, rolling each color out separately between sheets of wax paper.
-
Stack Dough Layers:
- Carefully peel off the top layer of wax paper from the red dough rectangle.
- Peel off the top layer of wax paper from the white dough rectangle.
- Carefully flip the white dough rectangle on top of the red dough rectangle, aligning the edges as best as possible. Peel off the remaining wax paper from the white dough.
- Peel off the top layer of wax paper from the blue dough rectangle.
- Carefully flip the blue dough rectangle on top of the white dough rectangle, aligning the edges. Peel off the remaining wax paper from the blue dough.
-
Roll Layers Together: Use a rolling pin to very lightly roll over the stacked dough layers, just to help them adhere to each other.
-
Roll into a Log: Starting at one of the shorter ends of the rectangle, tightly roll the dough into a log.
-
Wrap and Chill Log: Wrap the log tightly in wax paper, and then wrap it again in plastic wrap. Refrigerate for at least 1 hour.
-
Prevent Flat Side (Important): After 1 hour, remove the dough log from the refrigerator. Roll it on the counter several times to help maintain its round shape and prevent it from developing a flat side. Alternatively, you can stand the wrapped log upright in a tall glass in the refrigerator.
-
Chill Again: Return the dough log to the refrigerator and chill for at least 4 more hours, or preferably overnight. The dough must be very firm for slicing.
-
Preheat Oven and Prepare Baking Sheets: When ready to bake, preheat your oven to 350°F (175°C). Line two baking sheets with parchment paper.
-
Slice Cookies: Remove the chilled dough log from the refrigerator. Unwrap it. Using a sharp knife, slice the log into 1/4-inch thick rounds.
-
Arrange on Baking Sheets: Place the cookie rounds on the prepared baking sheets, leaving about 2 inches of space between each cookie.
-
Bake: Bake for 9-11 minutes, or until the edges are pale golden brown. The cookies will not brown much.
-
Cool: Let the cookies cool on the baking sheets for a few minutes before transferring them to a wire rack to cool completely.
Notes
- Room Temperature Ingredients: Using room-temperature butter and eggs helps the ingredients emulsify properly.
- Gel Food Coloring: Gel food coloring is recommended for the most vibrant colors. Use no-taste red food coloring to avoid altering the flavor of the cookies.
- Chilling Dough: Chilling the dough is essential for making these cookies. It makes the dough easier to handle, prevents it from spreading too much during baking, and helps the colors stay distinct.
- Rolling Dough: Rolling the dough between sheets of wax paper prevents it from sticking and makes it easier to handle.
- Slicing Dough: Use a sharp knife to slice the chilled dough log into even rounds.
- Baking Time: The baking time may vary slightly depending on your oven.
- Serving Suggestions: Enjoy!
- Storage

