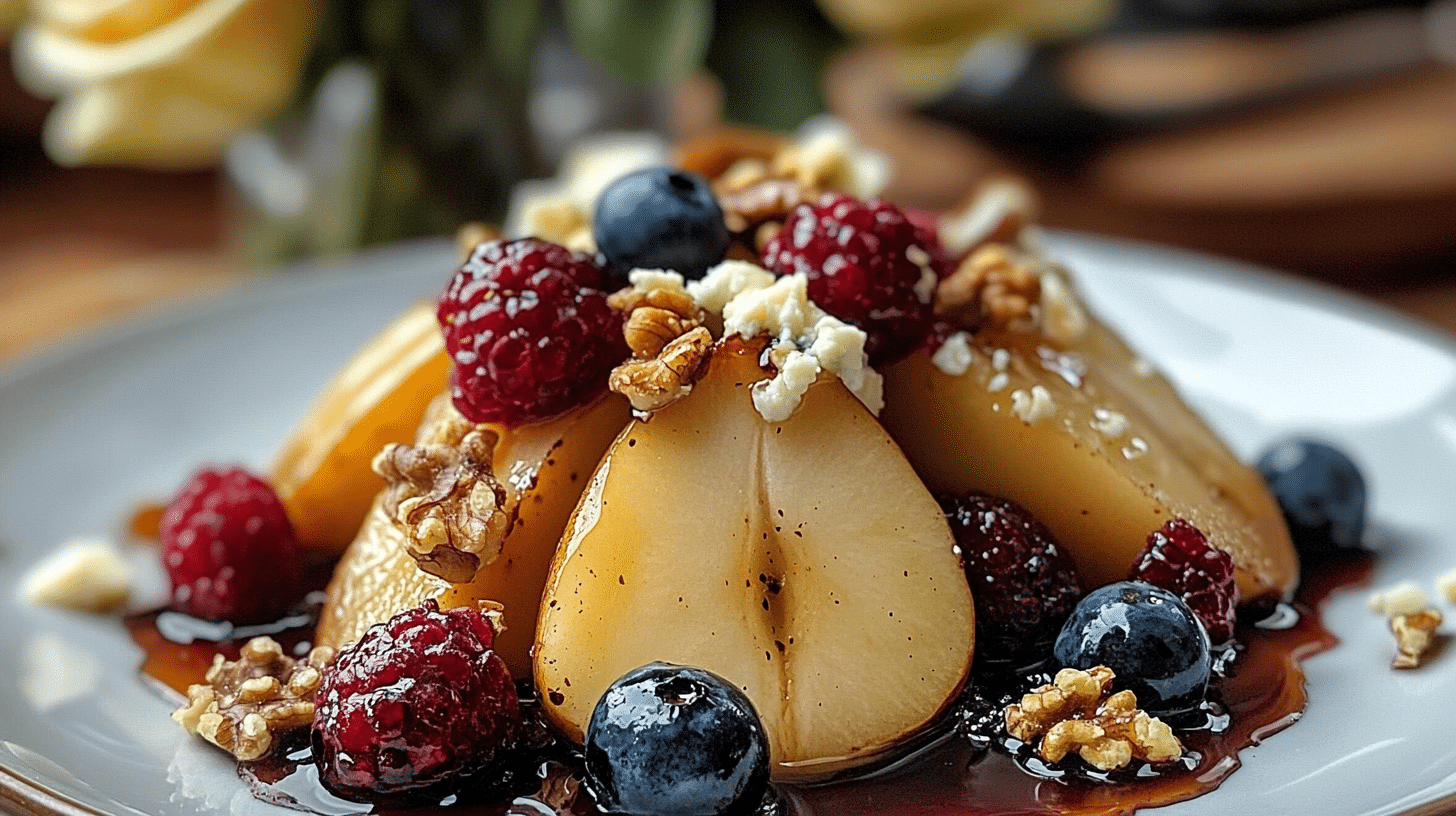
This recipe for Baked Pears with Berries, Honey, Walnuts & Blue Cheese is a simple yet stunning dish that perfectly balances sweet, savory, and tangy flavors! Tender baked pears provide a beautiful base for tangy blue cheese, juicy mixed berries, crunchy walnuts, and a final drizzle of sweet honey. I love serving this as an elegant appetizer or a light dessert – it looks incredibly sophisticated but is surprisingly easy to prepare. It’s a wonderful way to enjoy fruit and cheese together, perfect for entertaining or a special treat any time of year.
Why You’ll Love These Baked Pears with Blue Cheese
- Elegant Presentation: Halved pears topped with colorful berries and cheese look beautiful on a plate.
- Delicious Flavor Combination: The sweet pear, tangy blue cheese, tart berries, crunchy walnuts, and sweet honey create a complex and satisfying taste.
- Easy to Make: Requires minimal active prep time and uses simple baking techniques.
- Versatile: Works beautifully as either a sophisticated appetizer or a light, unique dessert.
- Customizable: Easily swap nuts, cheese, or berries based on preference or seasonality.
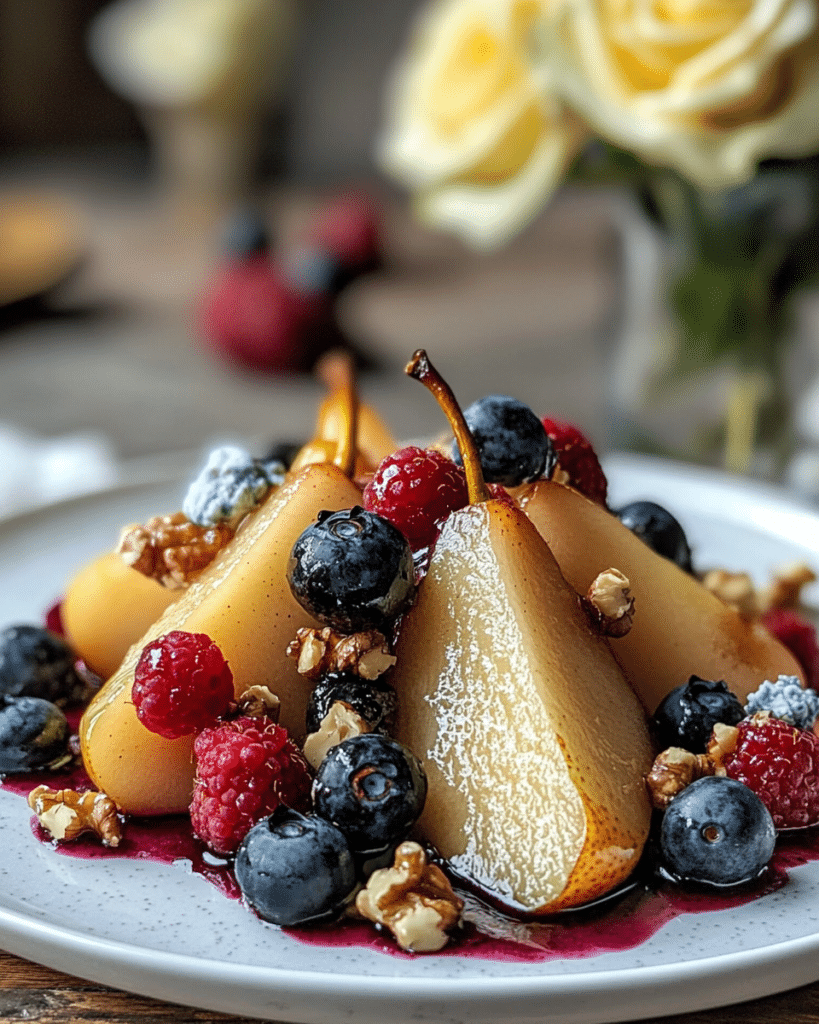
Ingredients for Baked Pears with Blue Cheese & Berries
Here’s what you’ll need to make this elegant dish. The full list with measurements is in the recipe card below.
Main Ingredients
- Ripe pears (Bosc recommended) (Fruit)
- Butter, melted (Fat)
- Mixed fresh berries (blueberries, raspberries, or blackberries) (Fruit)
- Walnuts, roughly chopped (Nuts)
- Crumbled blue cheese (Dairy)
- Honey (Sweetener)
Seasoning & Garnish
- Olive oil (Oil)
- Salt (Seasoning)
- Freshly ground black pepper (Spice)
- Fresh thyme sprigs (optional, for garnish) (Herb)
(Note: the full ingredients list, including measurements, is provided in the recipe card below.)
Variations
I adore the combination in these Baked Pears with Blue Cheese, but here are some delicious variations:
- Different Cheese: Use crumbled goat cheese, feta, or even a creamy ricotta instead of blue cheese.
- Different Nuts: Substitute toasted pecans, almonds, or pistachios for the walnuts.
- Add Spice: Add a pinch of cinnamon or cardamom when tossing the pears with butter.
- Balsamic Glaze: Drizzle with a balsamic glaze instead of or in addition to the honey for extra tang.
- Grill Instead of Bake: Grill the pear halves until tender before adding the toppings.
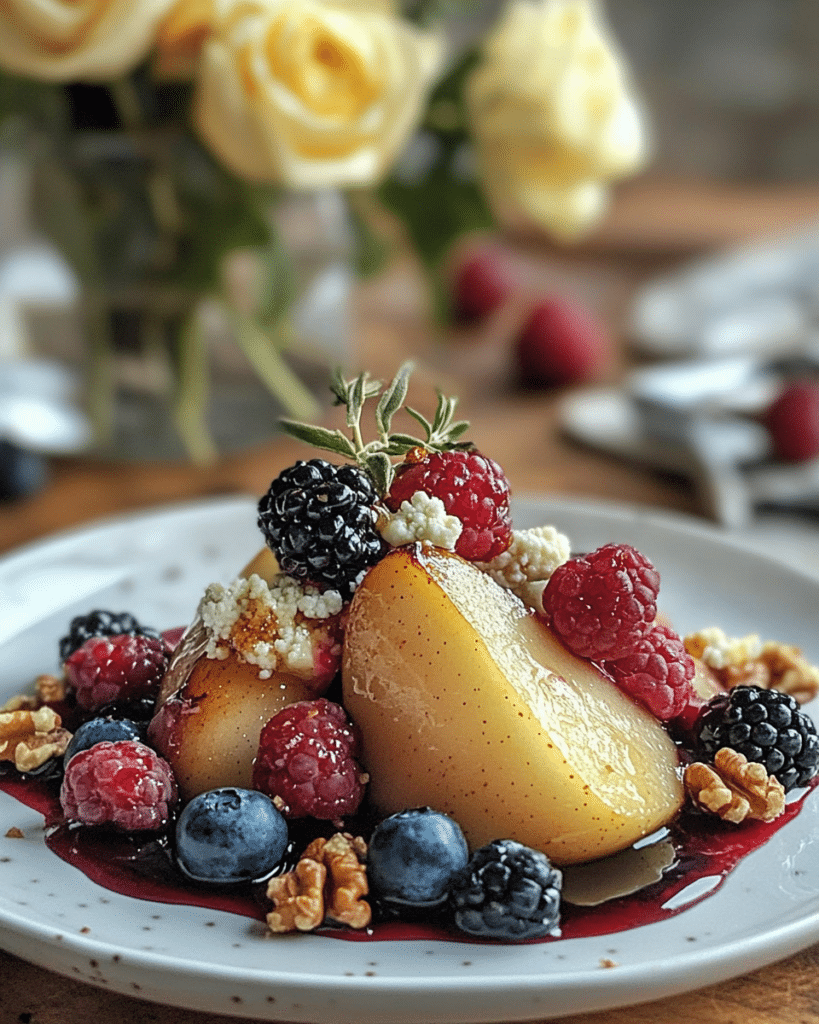
How to Make Baked Pears with Blue Cheese & Berries
Let me show you how simple it is to make these elegant Baked Pears with Blue Cheese:
Preheat the Oven and Prepare Pears
- First, I preheat my oven to 350°F (175°C). I line a baking sheet with parchment paper or lightly grease it.
- I prepare the pears by slicing them in half lengthwise and carefully removing the core and seeds using a melon baller or spoon, leaving the stem intact if possible.
Bake the Pears
- I place the halved and cored pears, cut-side up, on the prepared baking sheet.
- I brush each pear half with melted butter. This helps them get a lovely golden finish as they bake.
- I bake the pears for 15-20 minutes, or until they are tender when pierced with a fork but still hold their shape.
- I remove them from the oven and allow them to cool slightly.
Add the Toppings
- While the pears are still warm, I evenly sprinkle the mixed fresh berries over the cut side of the pears.
- Then, I add the crumbled blue cheese on top. The warmth of the pears will soften the cheese slightly.
- Next, I sprinkle the chopped walnuts over the cheese and berries.
- Finally I drizzle honey over each pear.
Garnish and Serve
- Garnish
- Serve
Tips and Tricks for the BEST Baked Pears
Here are my secrets for making this dish truly exceptional:
- Choose the Right Pears: Use pears that are ripe but still firm (like Bosc or Anjou) so they hold their shape during baking. Overly ripe pears will become mushy.
- Core Neatly: Remove the core and seeds carefully to create a nice cavity for the toppings without damaging the pear structure.
- Don’t Overbake: Bake the pears just until tender. Test with a knife or fork – it should slide in easily but the pear shouldn’t be falling apart.
- Add Toppings While Warm: Adding the cheese and berries while the pears are still slightly warm helps the cheese soften gently.
- Fresh Thyme Garnish: If using, the fresh thyme adds a lovely herbaceous aroma that complements the other flavors.
How to Serve
These Baked Pears with Blue Cheese & Berries are wonderful served:
- As an Appetizer: An elegant and unexpected starter for a dinner party.
- As a Side Dish: Pairs beautifully with roasted pork loin or chicken.
- As a Light Dessert: A sophisticated and not-too-heavy ending to a meal.
- On a Cheese Board: A stunning addition to a cheese or fruit platter.
Serve warm or at room temperature.
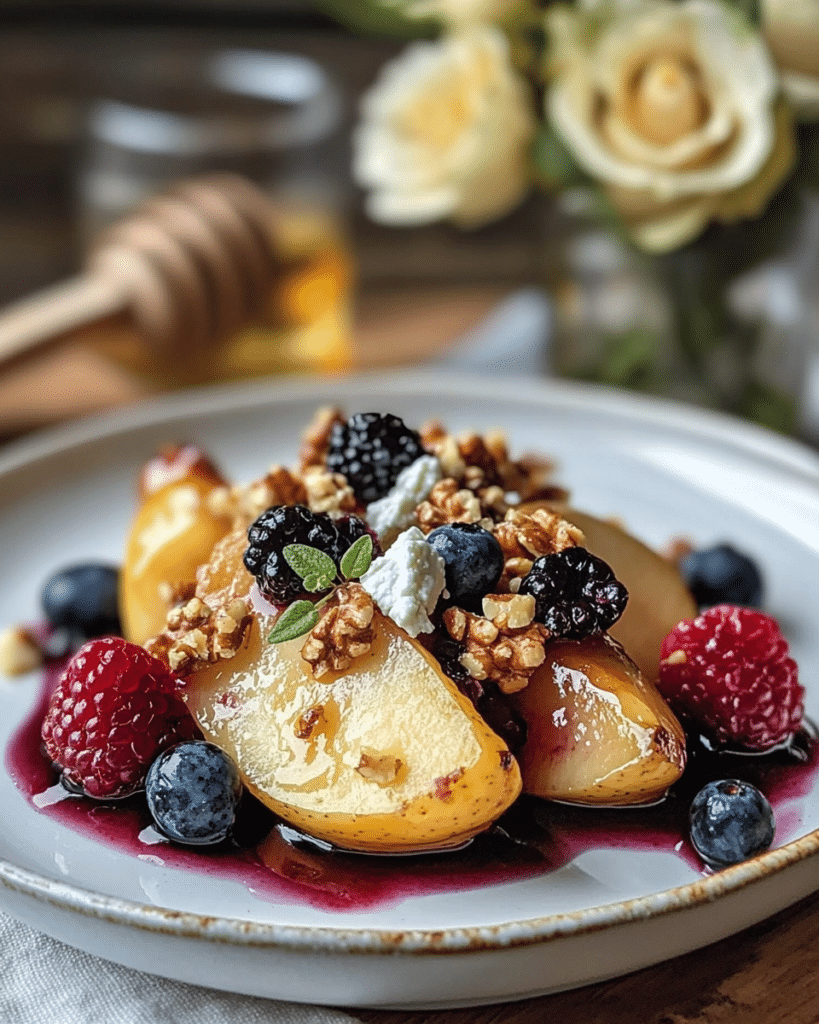
Make Ahead and Storage
You can bake the pears (without toppings) a few hours ahead of time. Gently reheat them in a low oven before adding the toppings and serving. Leftovers (with toppings) can be stored, covered, in the refrigerator for 1-2 days, but are best enjoyed fresh as the textures will change.
FAQs about Baked Pears with Blue Cheese
- Can I use canned pears?
- Fresh pears are highly recommended for the best texture and flavor. Canned pears are often too soft and packed in syrup, which would alter the dish significantly.
- What if I don’t like blue cheese?
- Substitute with crumbled goat cheese, feta cheese, or even small dollops of ricotta or mascarpone.
- Can I prepare the entire dish ahead and reheat?
- It’s best to add the toppings just before serving or after gently reheating the pears. Reheating the fully assembled dish might make the berries mushy and the cheese oily.
Enjoy this simple, elegant, and utterly delicious Baked Pears with Blue Cheese & Berries! It’s a perfect combination of sweet, savory, and tangy flavors.
Print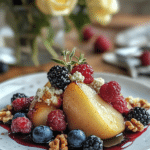
Baked Pears with Berries, Honey, Walnuts & Blue Cheese
- Prep Time: 10 minutes
- Cook Time: 20minutes
- Total Time: 30 minutes
- Yield: 4 1x
- Category: Dessert, Appetizer
- Cuisine: American
Description
A simple yet elegant dessert combining caramelized baked pears, tangy berries, crunchy walnuts, and creamy blue cheese, all drizzled with honey.
Ingredients
- 4 ripe pears (such as Bosc, Anjou, or Bartlett), halved lengthwise and cored
- 1 tablespoon unsalted butter, melted
- 1/2 cup mixed fresh berries (blueberries, raspberries, blackberries, or a combination)
- 1/2 cup walnuts, roughly chopped
- 1/4 cup crumbled blue cheese
- 2 tablespoons honey
- Fresh thyme sprigs (optional, for garnish)
Instructions
- Preheat Oven: Preheat your oven to 350°F (175°C). Line a baking sheet with parchment paper or lightly grease it.
- Prepare Pears: Wash the pears. Slice them in half lengthwise. Use a small spoon or melon baller to carefully remove the core and seeds from each pear half, creating a slight hollow.
- Butter and Bake Pears: Place the pear halves, cut-side up, on the prepared baking sheet. Brush the cut surface of each pear half with the melted butter. Bake for 15-20 minutes, or until the pears are tender when pierced with a fork but still hold their shape.
- Cool Slightly: Remove the pears from the oven and allow them to cool slightly on the baking sheet (about 5-10 minutes).
- Add Toppings:
- Evenly sprinkle the mixed fresh berries over the warm pear halves.
- Add the crumbled blue cheese on top of the berries. The warmth of the pears will help soften the cheese slightly.
- Sprinkle the chopped walnuts over the cheese and berries.
- Drizzle the honey evenly over each pear.
- Garnish and Serve: Garnish with fresh thyme sprigs, if desired. Serve warm or at room temperature.
Notes
- Pears: Choose pears that are ripe but still firm so they hold their shape during baking. Bosc or Anjou are good choices.
- Berries: Use any combination of fresh blueberries, raspberries, or blackberries.
- Blue Cheese: The amount of blue cheese can be adjusted to your preference. Gorgonzola or Stilton can also be used. If you’re not a fan of blue cheese, crumbled goat cheese or feta could be substituted for a different flavor profile.
- Walnuts: Toasting the walnuts lightly beforehand enhances their flavor.
- Serving Suggestions: This makes a lovely light dessert or an elegant appetizer.
- Storage: These are best enjoyed the day they are made, but leftovers can be stored covered in the refrigerator for a day. They are best served warm or at room temperature.

