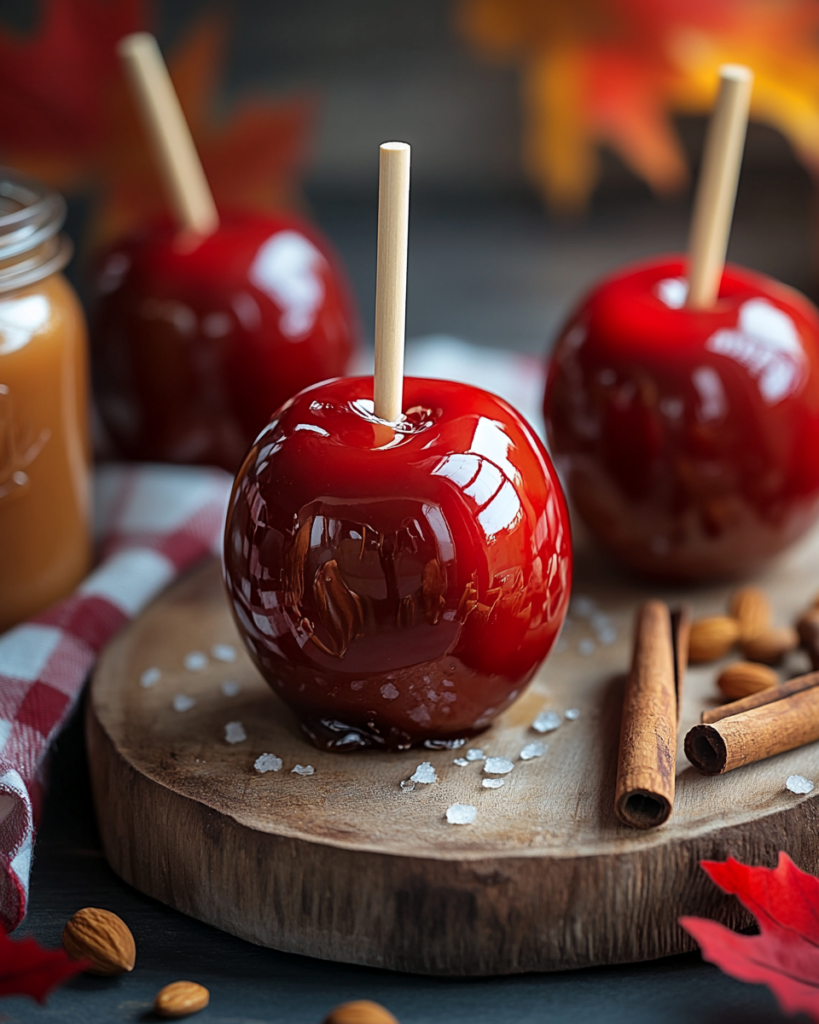
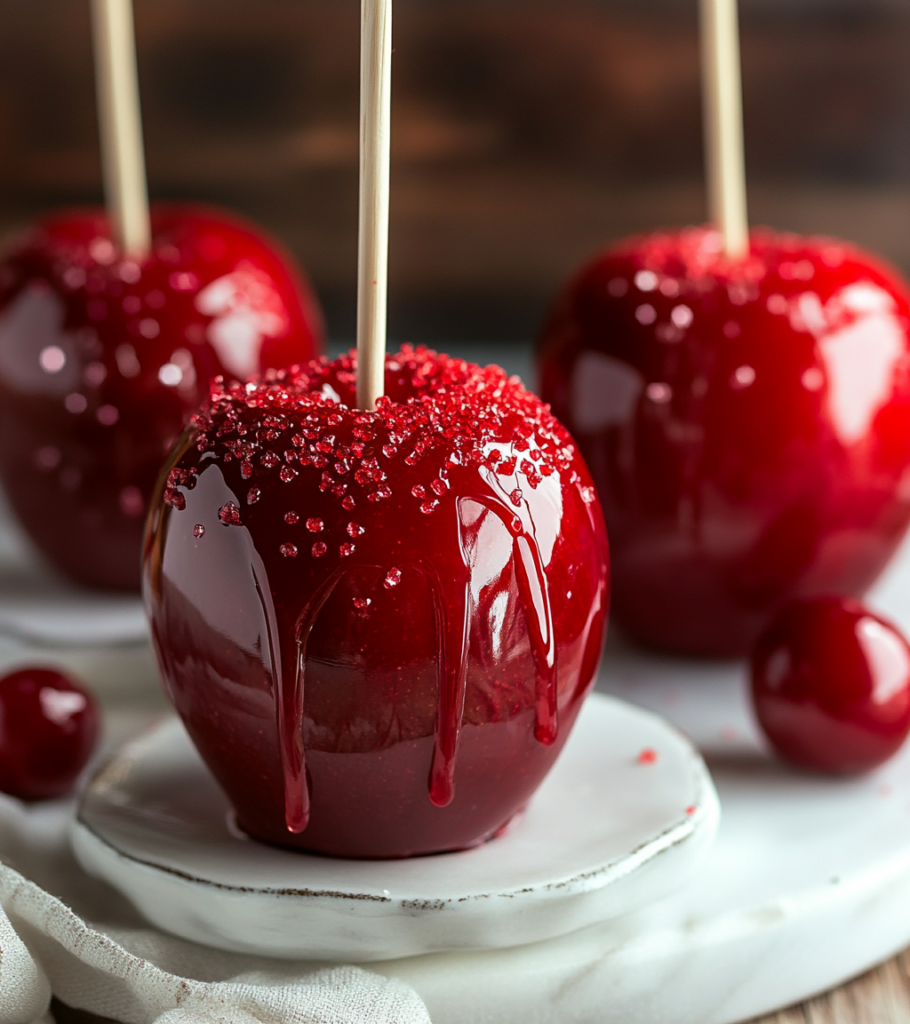
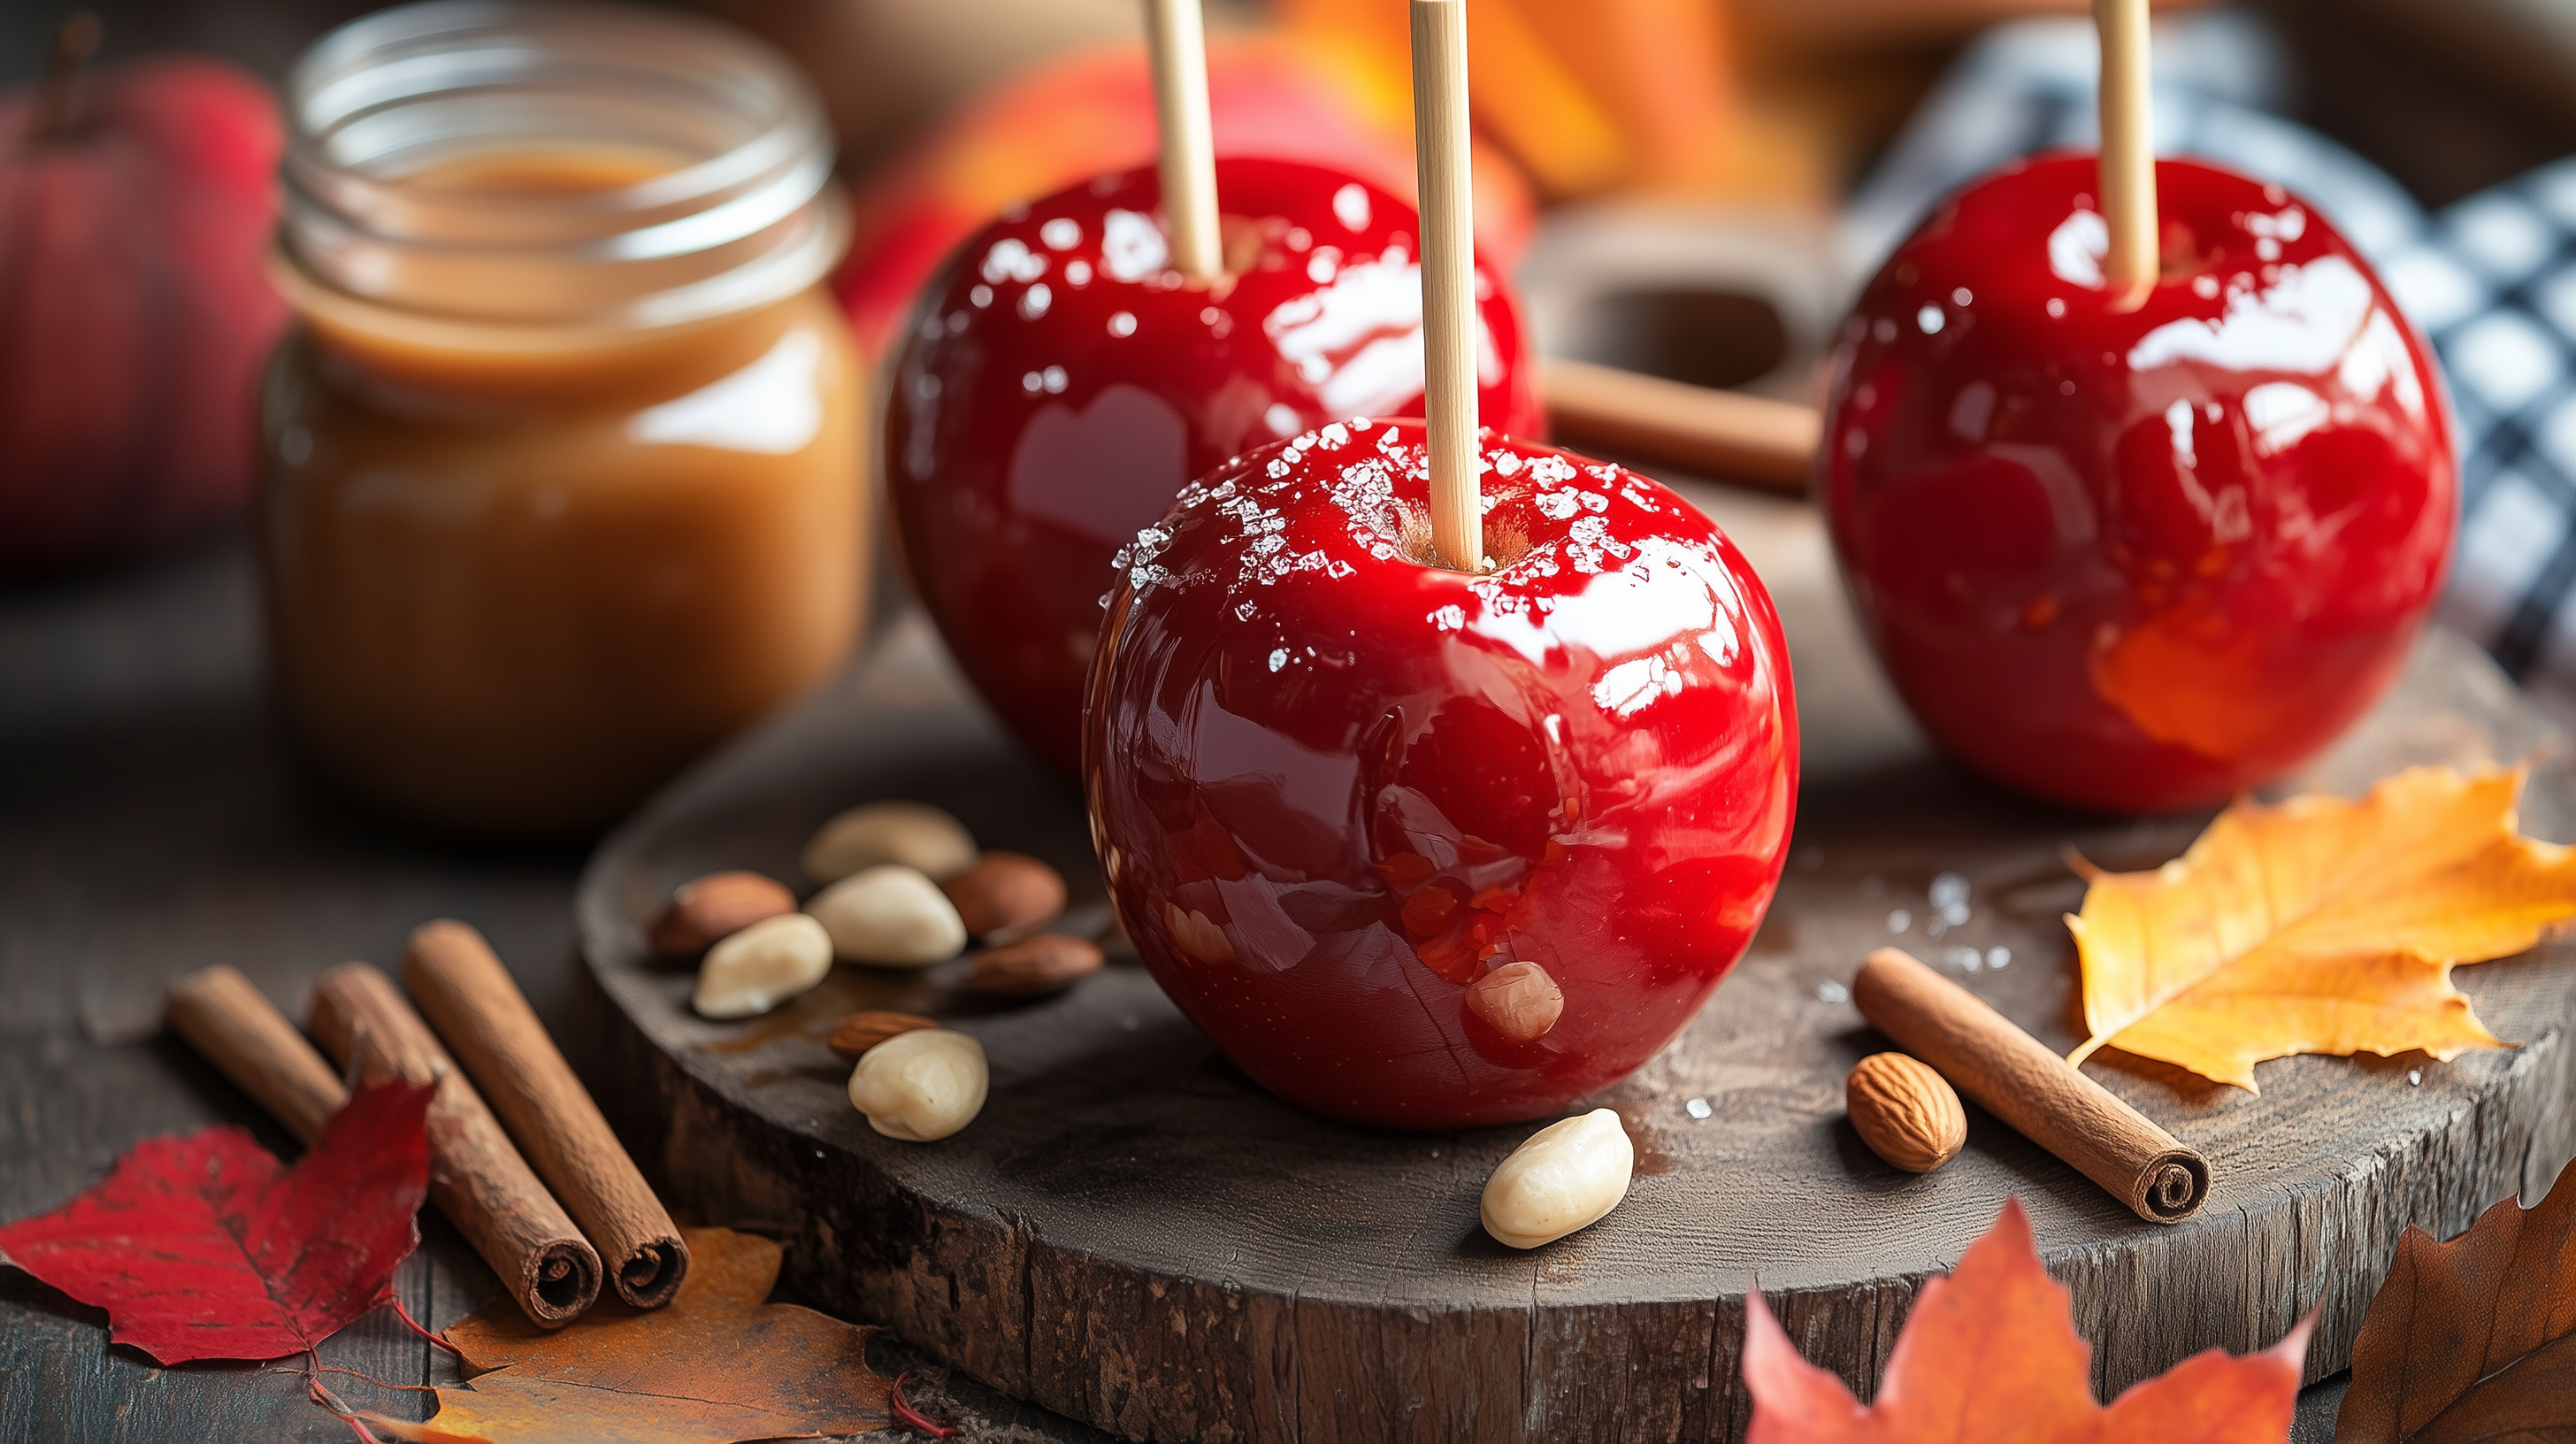
Get ready for a fun and nostalgic treat with this Classic Candy Apples recipe! These vibrant, glossy apples coated in a hard candy shell bring back wonderful memories of fall fairs and Halloween fun. I love making Candy Apples because they look so impressive and festive, and the process of dipping them is quite magical. This recipe allows you to customize the color and flavor, creating a perfect treat for parties, holidays, or just a special homemade candy experience, no matter the season!
Why You’ll Love These Candy Apples
- Classic Nostalgic Treat: Reminiscent of fairs, festivals, and Halloween fun.
- Fun to Make: The process of making candy and dipping the apples is a unique experience.
- Customizable: Easily change the color and flavor extract to match themes or preferences.
- Visually Stunning: Glossy, colorful candy apples are always eye-catching.
- Perfect for Parties: A festive treat that’s great for kids’ parties, Halloween, or fall gatherings.

Ingredients for Candy Apples
Here’s what you’ll need to make these classic treats. The full list with measurements is in the recipe card below.
Apples
- Medium apples (Fruit) (Choose crisp, tart varieties like Granny Smith or Honeycrisp)
- Dowel rods or popsicle sticks (Tool)
Candy Coating
- Granulated sugar (Sweetener)
- Light corn syrup (Sweetener/Texture)
- Water (Liquid)
- Cherry or strawberry extract (or other extract) (Flavoring)
- White gel food coloring (optional, for opaque coating) (Coloring)
- Food coloring (to reach desired color) (Coloring)
(Note: the full ingredients list, including measurements, is provided in the recipe card below.)
Variations
I love the classic red look of these Candy Apples, but here are some fun variations:
- Different Flavors: Use cinnamon, apple, grape, or even bubblegum extract instead of cherry/strawberry.
- Add Sparkle: Roll the bottom of the apples in edible glitter or sanding sugar immediately after dipping, before the candy sets.
- Caramel Apples: For a different classic, make caramel apples instead (requires a different cooking process).
- Different Colors: Create blue, green, purple, or black candy apples for different themes.
- Skip the White Coloring: Omit the white gel food coloring for a more translucent, jewel-toned candy coating.

How to Make Candy Apples
Let me show you how to make these fun and festive Candy Apples:
Prep Apples and Tray
- The day before (or at least several hours before): I scrub the apples really well with a brush and hot water to remove any waxy coating (this helps the candy adhere).
- I dry the apples completely and allow them to sit at room temperature. Any moisture will prevent the candy from sticking.
- When ready to make the candy, I remove and discard the apple stems.
- I firmly poke skinny dowel rods or sturdy popsicle sticks into the top center (stem end) of each apple.
- I line a cookie sheet with parchment paper or a silicone baking mat. This is where the finished apples will cool.
Make the Candy Coating
- In a medium, heavy-bottomed saucepan over medium-high heat, I combine the granulated sugar, water, and light corn syrup.
- I stir gently only until the sugar is dissolved. Once it starts boiling, I stop stirring.
- I let the mixture boil until a candy thermometer reaches the hard crack stage, which is 302-310°F (150-154°C). This should take approximately 10 minutes, but watch it carefully. The mixture will be very hot and bubbly.
Add Flavor and Color
- As soon as the candy reaches the correct temperature, I remove the pan from the heat.
- Carefully, I stir in the desired flavoring extract and the white gel food coloring (if using for an opaque finish). It will steam and bubble!
- Then, I add the desired food coloring (like red), adding it a little at a time and stirring until I achieve the exact color I want.
Dip Apples
- Working quickly but carefully (the candy is extremely hot!), I tilt the saucepan slightly.
- Holding the dowel rod, I dunk an apple into the hot syrup, swirling it to coat as much of the apple as I’d like.
- I lift the apple slowly out of the syrup, allowing the excess candy to drip back into the pan for 5-10 seconds.
Cool and Store
- I place the dipped Candy Apple onto the prepared lined cookie sheet to cool and harden completely.
- I repeat the dipping process with the remaining apples until all are coated or the syrup is gone. Work fast, as the syrup will start to harden.
- I allow the apples to dry and harden completely at room temperature.
- Once fully set, I store them in the refrigerator.
Tips and Tricks for the BEST Candy Apples
Here are my secrets for making perfect Candy Apples:
- Wash and Dry Apples Thoroughly: Removing the natural wax coating is crucial for the candy to stick properly. Ensure apples are bone dry.
- Use a Candy Thermometer: This is the most reliable way to ensure the sugar syrup reaches the correct “hard crack” stage for a perfectly hard, non-sticky coating.
- Work Quickly and Carefully: Hot sugar syrup is dangerous! Work quickly but be extremely careful during the coloring and dipping process. Keep kids and pets away.
- Don’t Stir After Boiling: Once the sugar syrup boils, avoid stirring, as this can cause sugar crystals to form, making the candy grainy. Swirl the pan gently if needed.
- Use Gel Food Coloring: Gel coloring provides vibrant color without adding too much extra liquid, which can affect the candy consistency.
How to Serve
These Candy Apples are a festive treat perfect for:
- Halloween Parties: A classic spooky season favorite.
- Fall Festivals & Carnivals: Recreate that fun fair food vibe at home.
- Birthday Parties: Customize the color to match the party theme.
- Bonfire Night: A traditional treat in some regions.
Serve chilled or at room temperature once the candy shell has fully hardened.

Make Ahead and Storage
Candy apples are best enjoyed within a few days of making them. Store the finished, completely cooled Candy Apples uncovered or loosely covered in the refrigerator for up to 3 days. Storing them in an airtight container can sometimes cause the candy shell to become sticky due to moisture.
FAQs about Candy Apples
- Why did my candy coating slide off the apple?
- This usually happens if the apples weren’t washed thoroughly to remove the wax coating, or if they weren’t completely dry before dipping.
- Why is my candy coating sticky or chewy instead of hard?
- The sugar syrup likely didn’t reach the proper “hard crack” temperature (302-310°F / 150-154°C). Using a candy thermometer is essential. High humidity can also sometimes affect candy setting.
- Can I use different kinds of apples?
- Yes! Crisp, slightly tart apples like Granny Smith, Honeycrisp, Fuji, or Gala work best as they hold up well and provide a nice flavor contrast to the sweet candy.
Enjoy making and eating these fun, festive, and classic Candy Apples! They’re a delightful treat for special occasions.
Print
Classic Candy Apples
- Prep Time: 15 minutes
- cooling time: 30minutes
- Cook Time: 15 minutes
- Total Time: 1 hour
- Yield: 10 candy apples 1x
- Category: Dessert, Snack, Candy
- Cuisine: American
Description
These classic Candy Apples feature crisp apples coated in a hard, glossy candy shell that can be customized with different colors and flavors. A fun and nostalgic treat perfect for fall, parties, or fairs.
Ingredients
- 10 medium apples (firm, crisp varieties like Gala, Fuji, Granny Smith recommended)
- 3 cups granulated sugar
- 1/2 cup light corn syrup
- 1 cup water
- 1 teaspoon flavor extract (such as cherry, strawberry, cinnamon, or vanilla)
- 2 tablespoons white gel food coloring (for an opaque coating, optional)
- 2–4 teaspoons desired gel food coloring (omit white if making translucent)
Instructions
-
Prepare Apples (Advance Step):
- The day before, or at least several hours before making candy: Scrub the apples thoroughly with a vegetable brush and hot water to remove any waxy coating (this helps the candy adhere).
- Dry the apples completely and let them sit at room temperature.
- Remove the stems from the apples. Firmly insert a dowel rod or popsicle stick into the stem end of each apple.
-
Prepare Baking Sheet: Line a large baking sheet with parchment paper. Set aside.
-
Make Candy Syrup:
- In a medium, heavy-bottomed saucepan, combine the granulated sugar, light corn syrup, and water.
- Place the saucepan over medium-high heat. Stir gently until the sugar dissolves.
- Once the sugar is dissolved, stop stirring. Bring the mixture to a boil.
- Clip a candy thermometer to the side of the saucepan, ensuring the bulb is submerged in the syrup but not touching the bottom of the pan.
- Continue boiling, without stirring, until the syrup reaches the “hard crack” stage, which is 302-310°F (150-154°C) on the candy thermometer. This should take approximately 10-15 minutes, but watch the thermometer carefully.
-
Add Flavor and Color:
- Immediately remove the saucepan from the heat once it reaches the hard crack stage.
- Carefully stir in the flavor extract.
- If making an opaque coating, stir in the white gel food coloring until combined.
- Stir in your desired color gel food coloring, adding it a teaspoon at a time, until you reach the desired shade. Work quickly, as the candy will start to harden.
-
Dip Apples:
- Tilt the saucepan slightly to pool the candy syrup.
- Holding an apple by its stick, carefully dip it into the hot syrup, twirling it to coat it as evenly as possible. Avoid touching the bottom of the hot pan.
- Lift the apple out of the syrup and hold it over the saucepan for 5-10 seconds, allowing the excess candy to drip off.
-
Cool and Dry: Place the dipped apple, stick-side up, on the prepared parchment-lined baking sheet. Repeat the dipping process quickly with the remaining apples. If the syrup starts to harden in the pan, gently reheat it over low heat just until it becomes liquid again.
-
Set: Allow the candy apples to cool and harden completely at room temperature (this may take 30-60 minutes).
-
Store: Once completely cool and hard, store the candy apples loosely covered (or individually wrapped in cellophane) at room temperature for up to 3 days. Refrigeration is generally not recommended as it can cause the candy to become sticky due to humidity.
Notes
- Apple Prep: Thoroughly washing and drying the apples, and removing any wax coating, is crucial for the candy to stick properly. Let apples be at room temperature before dipping.
- Candy Thermometer: Using a candy thermometer is highly recommended for accuracy. Reaching the hard crack stage ensures the candy coating will harden correctly.
- Working with Hot Sugar: Be extremely careful when working with hot candy syrup, as it can cause severe burns. Keep children and pets away from the cooking area.
- Food Coloring: Gel food coloring provides the most vibrant colors without adding excess liquid. Use white gel food coloring first if you want an opaque (non-see-through) candy coating. Omit the white for a traditional translucent candy coating.
- Flavor Extract: Use extracts designed for candy making if possible, but standard extracts work.
- Humidity: Candy making is best done on a dry day. High humidity can make the candy coating sticky or prevent it from hardening properly.
- Storage: Candy apples are best enjoyed within a few days. Avoid storing them in the refrigerator unless absolutely necessary, as condensation can make the candy sticky.

