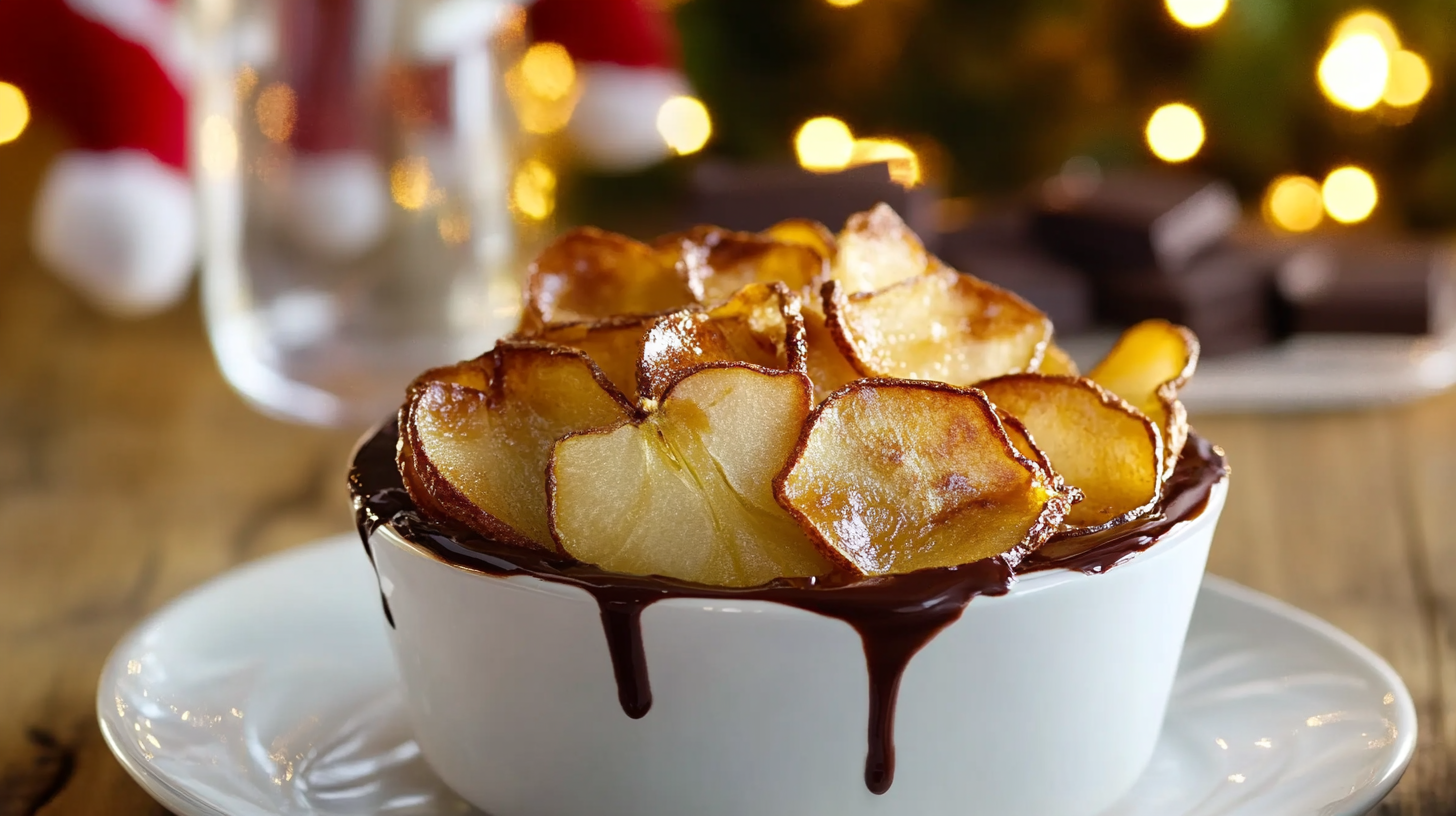
Discover a simple, healthy, and delicious snack with these Easy Oven-Baked Pear Chips served with a luscious chocolate sauce for dipping! This recipe transforms fresh pears into wonderfully chewy or crisp (depending on how long you bake them!) fruit chips using just your oven. I love making homemade fruit chips like these Pear Chips because they’re free from added sugars or preservatives found in many store-bought snacks. Paired with a simple melted chocolate dip, they feel like an elegant treat, perfect for snacking or even a light dessert. It’s a fantastic way to enjoy pears any time of year!
Why You’ll Love These Oven-Baked Pear Chips
- Simple & Healthy: Made with just pears! A naturally sweet and wholesome snack.
- Easy to Make: Requires only slicing and low-temperature baking.
- Delicious Texture: Bake them shorter for chewy chips or longer for crispy ones.
- Perfect Pairing: The natural sweetness of pears tastes amazing with rich chocolate sauce.
- Versatile: Great snack on their own, added to trail mix, or served with a dip.
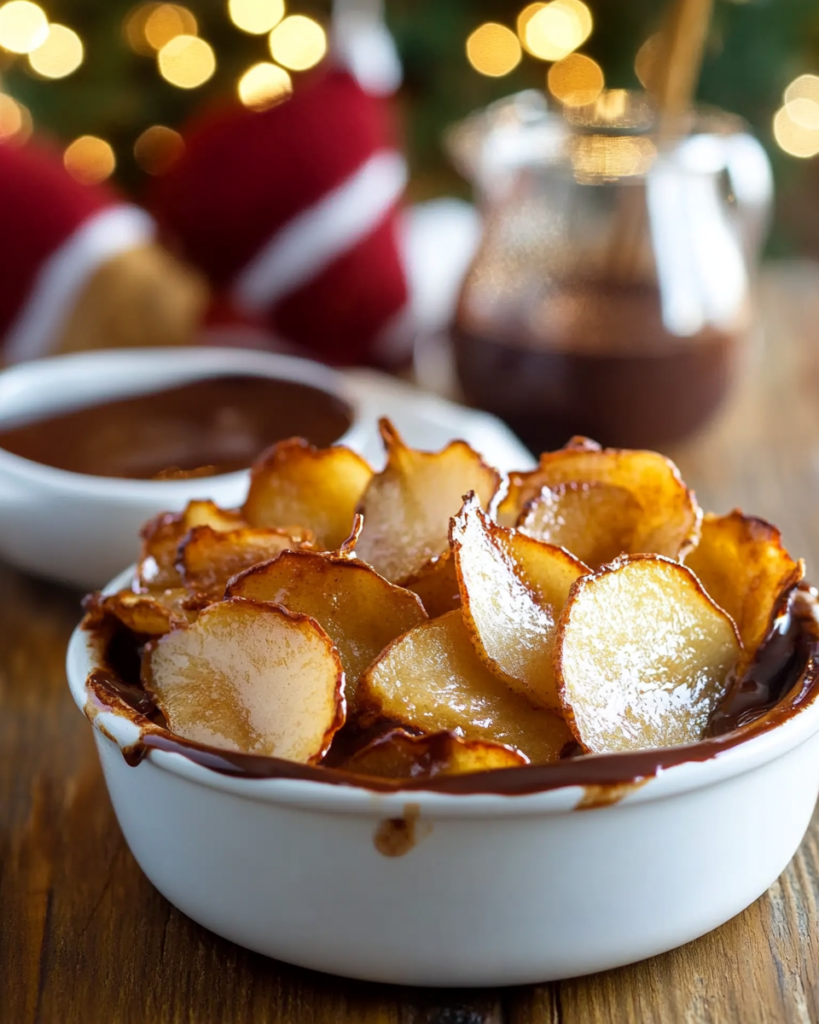
Ingredients for Oven Pear Chips with Chocolate Sauce
Here’s what you’ll need for this incredibly simple snack. The full list with measurements is in the recipe card below.
Pear Chips
- Bartlett pears (or other firm pears) (Fruit)
Chocolate Sauce
- Milk or dark chocolate (chips or bars) (Chocolate)
(Note: the full ingredients list, including measurements, is provided in the recipe card below.)
Variations
While the beauty of these Pear Chips is their simplicity, here are some variations:
- Add Spices: Sprinkle the pear slices lightly with cinnamon, nutmeg, or ginger before baking.
- Different Dip: Serve with caramel sauce, yogurt dip, or peanut butter instead of chocolate sauce.
- Savory Twist: Omit the chocolate and sprinkle the pear slices with a tiny pinch of salt and maybe rosemary before baking for a savory chip.
- Different Fruit: Try this drying method with apples or even strawberries (adjust baking time significantly for strawberries).
- No Dip: Enjoy the naturally sweet pear chips on their own!
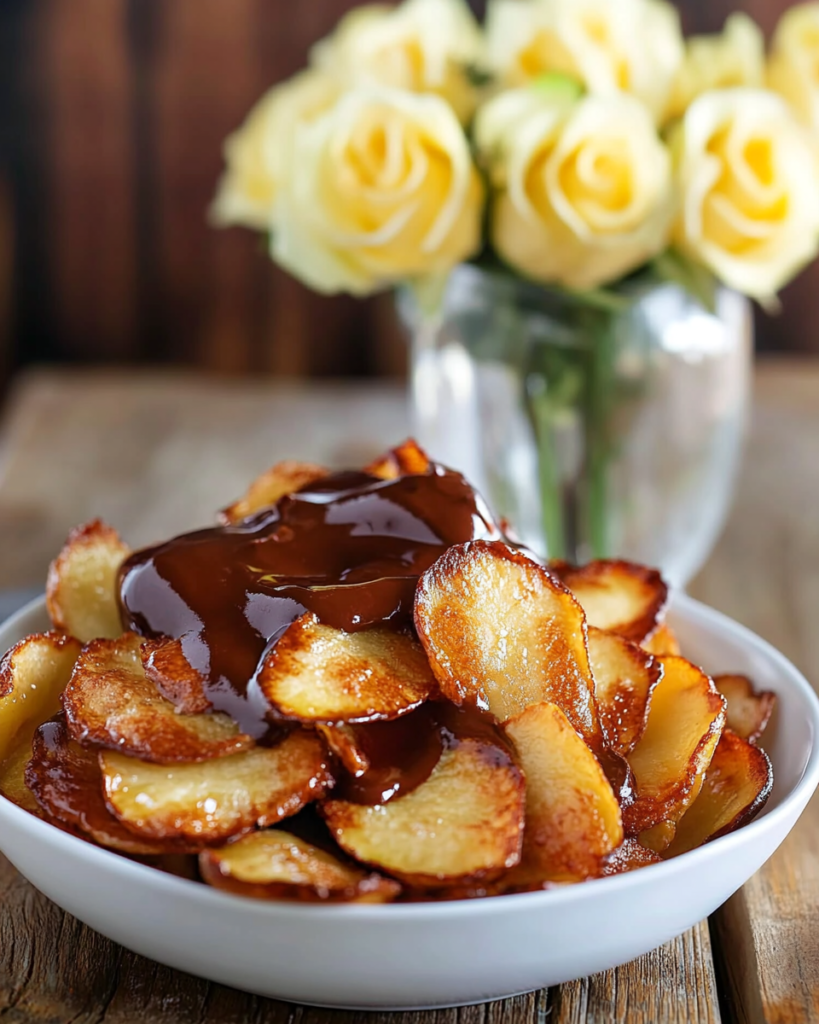
How to Make Oven-Baked Pear Chips
Let me show you how simple it is to make these Oven Pear Chips:
Prep Pears and Oven
- First, I preheat my oven to a low temperature of 225°F (105°C). Low and slow is key for dehydrating, not cooking.
- I line a baking sheet with parchment paper.
- I wash the pears thoroughly. Keeping the skin on adds fiber and nutrients.
- Using a mandoline slicer (highly recommended for even slices!) or a very sharp knife, I carefully cut the pears crosswise into thin slices, about ⅛ inch thick (3mm).
- As I slice, I use the tip of my knife to remove any seeds or tough core bits that remain in the center of the slices.
Bake Pear Chips
- I place the pear slices in a single layer on the prepared baking sheet lined with parchment paper. It’s important they don’t overlap, so they dry evenly.
- I place the baking sheet in the preheated oven and bake for 1 hour.
- After 1 hour, I carefully flip over the pear slices.
- I continue to bake for another 30 minutes more, or potentially up to an hour longer, depending on the thickness of the slices and my oven, until the Pear Chips reach my desired crispness or chewiness. Thicker slices will take longer to become crisp.
Melt Chocolate
- While the pear chips cool (or just before serving), I melt the milk or dark chocolate. I prefer using the microwave in 30-second intervals, stirring in between, until smooth. Alternatively, a double boiler (bain-marie) on the stovetop works great too.
- I allow the melted chocolate to cool down just a bit so it’s not scalding hot for dipping.
Serve
- Serve chips with chocolate sauce
Tips and Tricks for the BEST Pear Chips
Here are my secrets for making perfect Pear Chips every time:
- Choose the Right Pears: Use pears that are ripe but still firm, like Bartlett (as suggested), Anjou, or Bosc. Overly ripe or soft pears will be difficult to slice thinly and may become mushy.
- Consistent Thickness: Slicing the pears to a uniform thickness (ideally ⅛ inch) is crucial for even drying. A mandoline is the best tool for this.
- Low Oven Temperature: Baking at a low temperature dehydrates the pears slowly, making them into chips rather than cooking them soft.
- Parchment Paper: Essential to prevent the natural sugars in the pears from sticking to the baking sheet.
- Baking Time Varies: Keep an eye on the chips. The exact time needed depends on slice thickness, pear moisture content, and your oven. Bake longer for crispier chips.
- Cool Completely for Crispness: Pear chips will crisp up more as they cool completely.
How to Serve
These Oven Pear Chips are delicious served:
- With Chocolate Sauce: As suggested, for a simple, elegant dessert or snack.
- Plain: A healthy, naturally sweet snack on their own.
- In Trail Mix: Add them to homemade trail mixes with nuts and seeds.
- With Yogurt or Oatmeal: Crumble them over yogurt or oatmeal for texture and sweetness.
- On a Cheese Board: A unique alternative to dried fruit on a cheese platter.
Serve the chocolate sauce warm or at room temperature for dipping.
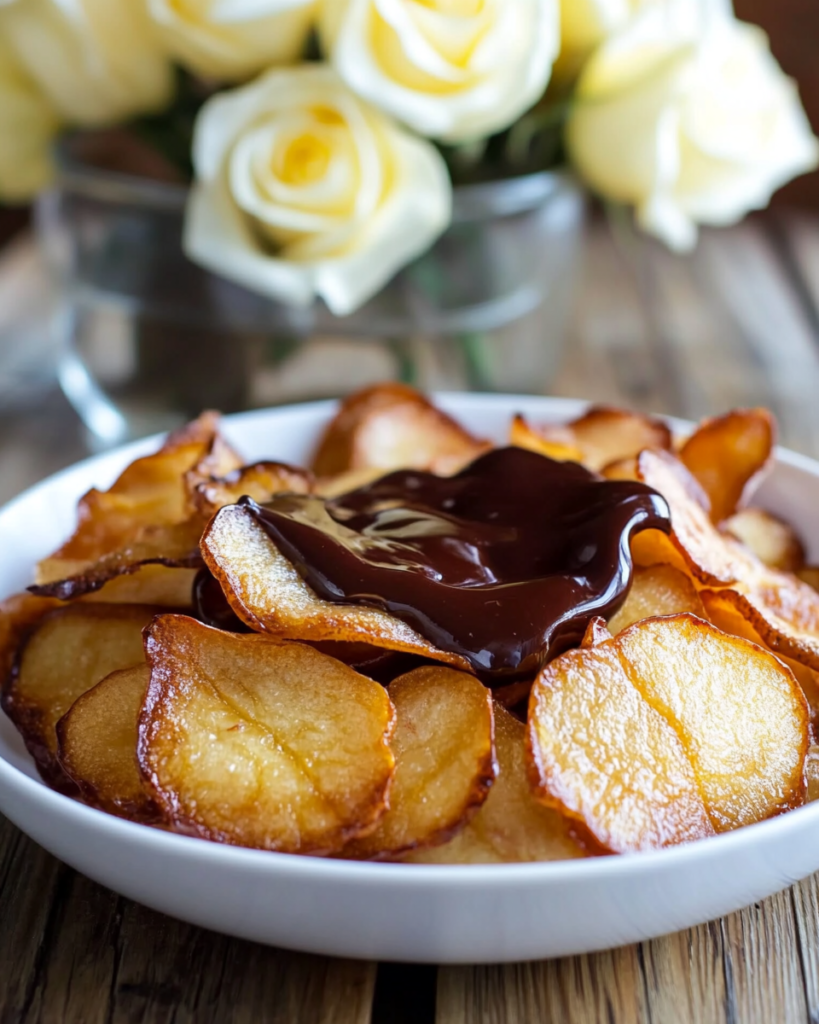
Make Ahead and Storage
- Pear Chips: These are perfect for making ahead! Once completely cool and crisp, store the Pear Chips in an airtight container at room temperature for up to a week. Ensure they are fully cooled and dry before storing to prevent them from becoming soft.
- Chocolate Sauce: Store leftover melted chocolate (or make extra sauce) covered at room temperature or in the fridge. Reheat gently before serving.
FAQs about Oven Pear Chips
- What kind of pears are best for making chips?
- Firm, slightly sweet pears like Bartlett, Bosc, or Anjou work well because they hold their shape when sliced thinly and dried.
- Can I make these in a dehydrator?
- Absolutely! If you have a food dehydrator, follow the manufacturer’s instructions for drying fruit slices.
- Why are my pear chips chewy instead of crispy?
- They likely needed a longer baking time at the low temperature, or they weren’t sliced thinly enough. They might also absorb moisture if not stored in a truly airtight container. Bake them longer next time for more crispness!
Enjoy this simple, healthy, and delicious Oven Pear Chips with Chocolate Sauce recipe! It’s a fantastic homemade snack.
Print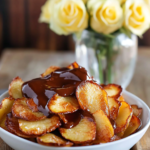
Oven-Baked Pear Chips with Chocolate Dipping Sauce
- Prep Time: 10 minutes
- Cook Time: 1 hour 30 minutes
- Total Time: 1 hour 40 minutes
- Yield: 2-4 1x
- Category: Snack, Dessert, Healthy-ish
- Cuisine: American
Description
These oven-baked pear chips are a simple and healthier alternative to fried chips. Thinly sliced pears are baked until crisp and served with a delicious melted chocolate sauce for dipping.
Ingredients
For the Pear Chips:
- 2 firm Bartlett pears (or other firm pear variety)
For the Chocolate Dipping Sauce:
- 4 ounces milk or dark chocolate, chopped or chips
Equipment:
- Mandoline Slicer (recommended) or Sharp Knife
- Baking Sheet
- Parchment Paper
- Microwave-safe bowl or Double Boiler
Instructions
- Preheat Oven: Preheat your oven to 225°F (105°C).
- Prepare Baking Sheet: Line a large baking sheet with parchment paper.
- Slice Pears: Wash and dry the pears. Using a mandoline slicer (recommended for even thickness) or a very sharp knife, carefully cut the pears crosswise into very thin slices, about 1/8 inch (3mm) thick.
- Remove Seeds: Use the tip of a knife to carefully remove any seeds or tough core parts from the pear slices.
- Arrange on Baking Sheet: Place the pear slices in a single layer on the prepared baking sheet. Do not overlap them.
- Bake (First Side): Bake for 1 hour.
- Flip and Bake (Second Side): Carefully flip the pear slices over. Bake for another 30 minutes, or until the slices reach your desired crispness. Note: If the slices are thicker, or if you prefer very crispy chips, they may need up to an additional 30 minutes (total 1 hour on the second side). Check frequently towards the end.
- Cool Chips: Let the pear chips cool completely on the baking sheet or transfer them to a wire rack. They will crisp up further as they cool.
- Melt Chocolate: While the chips are cooling, melt the chocolate.
- Microwave: Place chopped chocolate or chips in a microwave-safe bowl. Heat in 30-second intervals at 50% power, stirring well after each interval, until melted and smooth.
- Double Boiler: Place chocolate in a heatproof bowl set over a saucepan of simmering water (do not let water touch the bowl). Stir until melted and smooth.
- Serve: Allow the melted chocolate to cool slightly. Serve the cooled pear chips with the warm chocolate sauce for dipping.
Notes
- Pears: Use firm pears that are not overly ripe. Bartlett, Bosc, or Anjou work well. Firmness is key for slicing thinly and achieving crispiness.
- Slicing: A mandoline slicer is highly recommended for getting consistently thin slices, which bake more evenly. Be very careful when using a mandoline.
- Baking Time: Baking time can vary significantly based on pear thickness, moisture content, and your oven. Check the chips regularly during the last 30 minutes of baking. They should feel dry and slightly leathery or crisp when done (they crisp more upon cooling).
- Chocolate: Use good quality milk or dark chocolate that melts well.
- Storage: Store cooled pear chips in an airtight container at room temperature for up to 3-4 days. Store leftover chocolate sauce covered in the refrigerator and reheat gently.

