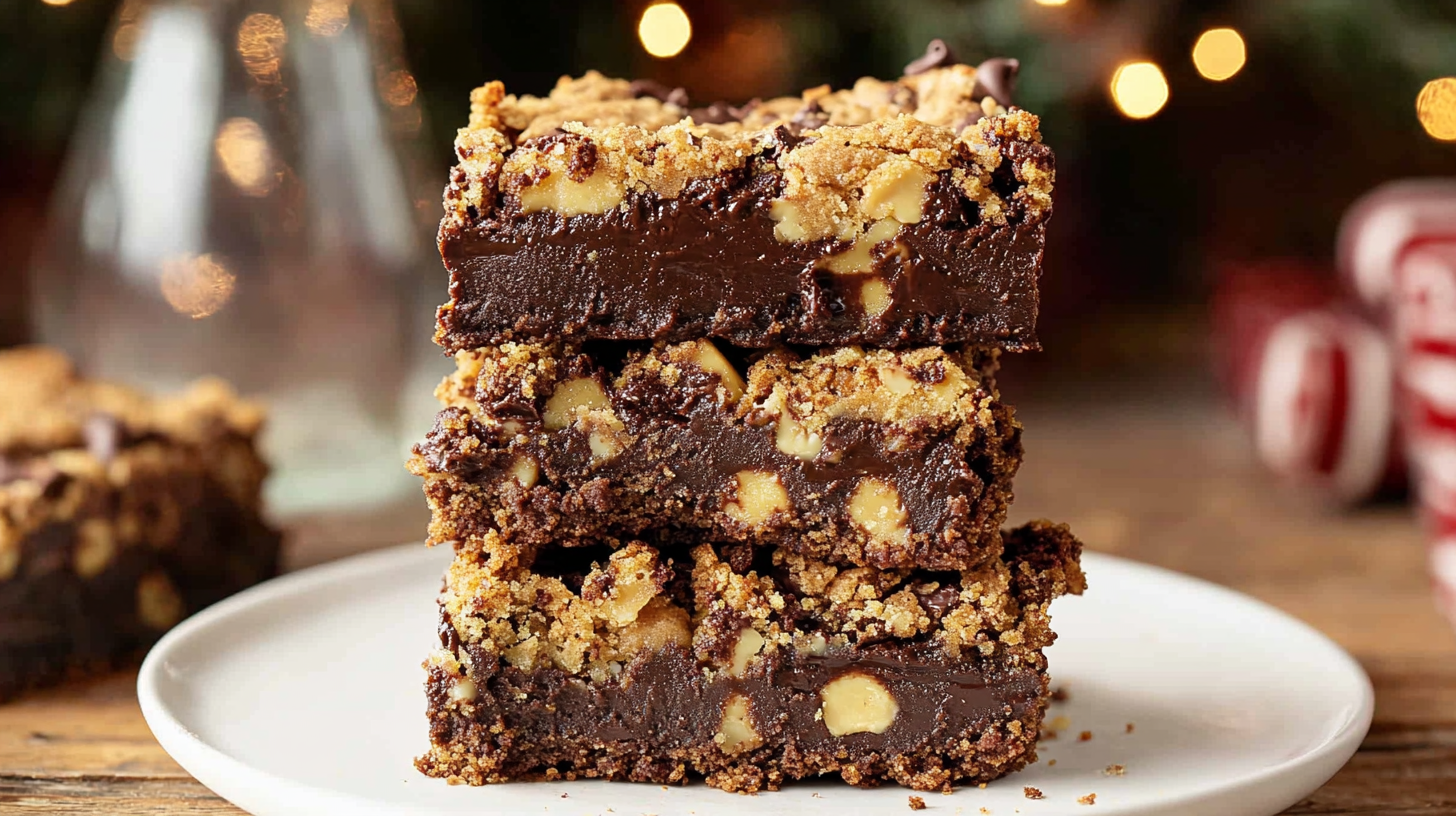
Get ready for possibly the easiest “brownie” recipe ever – these incredible Gold Rush Brownies! Okay, so they aren’t traditional brownies, but they are ooey-gooey, extra chocolatey, incredibly rich dessert bars that require only 5 main ingredients. I absolutely love making Gold Rush Brownies when I need a super quick and satisfying sweet treat with minimal fuss. Bonus: the batter is egg-free (in the standard version), so you can totally sneak a taste before baking! These bars are dense, chewy, and perfect for satisfying a serious sweet tooth any time of year.
Why You’ll Love These Gold Rush Brownies
- Incredibly Easy: Made with just 5 main ingredients! Perfect for beginner bakers or quick cravings.
- Ooey-Gooey Texture: Sweetened condensed milk creates a wonderfully dense, chewy, and gooey texture.
- Rich Chocolate Flavor: Packed with semi-sweet chocolate chunks.
- Quick to Make: Minimal prep time before baking.
- No Eggs (in standard version): The batter is safe to taste raw!
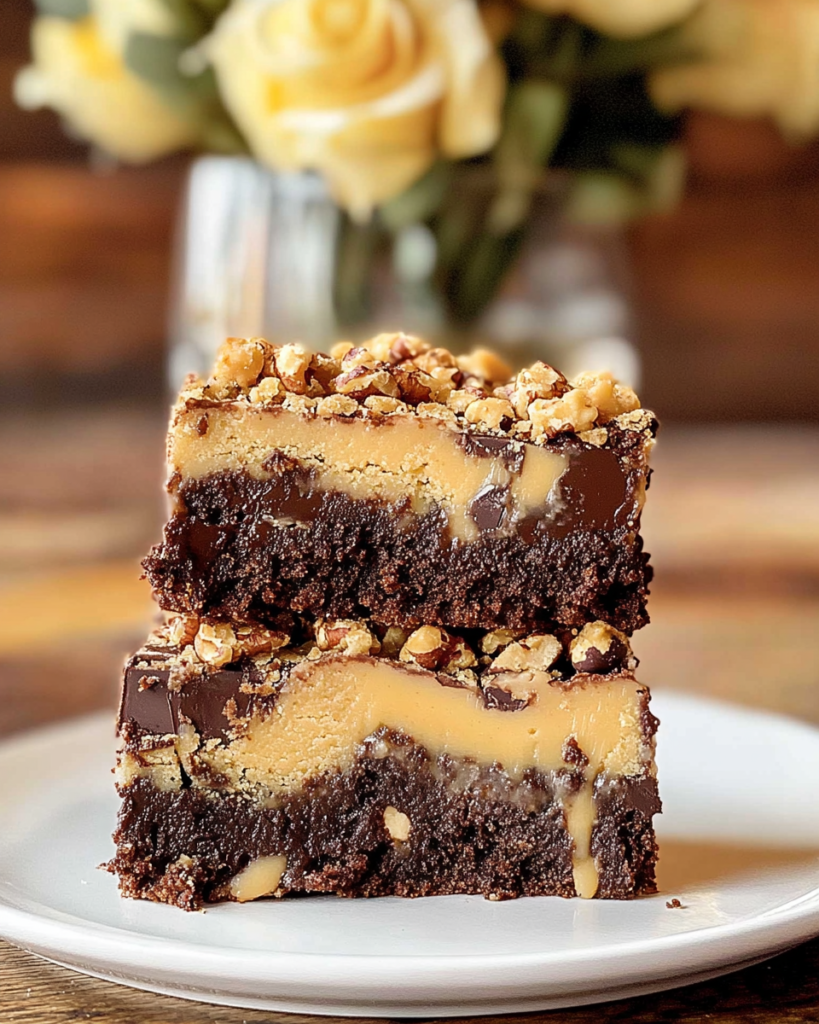
Ingredients for Gold Rush Brownies
Here’s what you’ll need for these super simple dessert bars. The full list with measurements is in the recipe card below. (Note: Two versions are provided in the original source – a standard and a chocolate base. Ingredients for both are listed here).
Gold Rush Brownies (Standard)
- Graham cracker crumbs (Crumb Base)
- Semi-sweet chocolate chunks (Chocolate)
- Salt (Seasoning)
- Sweetened condensed milk (Binder/Sweetener)
- Vanilla extract (Flavoring)
Chocolate Gold Rush Brownies (Variation)
- Chocolate Teddy Grahams, crushed (Crumb Base) (Specific brand mentioned)
- Mixed baking chips (peanut butter, white chocolate, butterscotch, dark chocolate) (Chips)
- Chopped pecans (Nuts)
- Salt (Seasoning)
- Sweetened condensed milk (Binder/Sweetener)
- Vanilla extract (Flavoring)
(Note: the full ingredients list, including measurements, is provided in the recipe card below.)
Variations
The beauty of these Gold Rush Brownies lies in their simplicity and adaptability!
- Chocolate Gold Rush Brownies (Main Variation): As listed above, substitute crushed Chocolate Teddy Grahams for graham cracker crumbs, use a mix of different baking chips (peanut butter, white, butterscotch, dark), and add chopped pecans. The baking time for this version is slightly longer (30-40 minutes).
- Different Chips: Use all milk chocolate, dark chocolate, white chocolate, butterscotch, or peanut butter chips in the standard version.
- Add Nuts: Mix chopped walnuts or pecans into the standard version.
- Add Coconut: Stir in some shredded sweetened coconut.
- Add Sprinkles: Fold in some colorful sprinkles for a festive touch.
- Salted Caramel: Swirl in some caramel sauce before baking and sprinkle with flaky sea salt after.
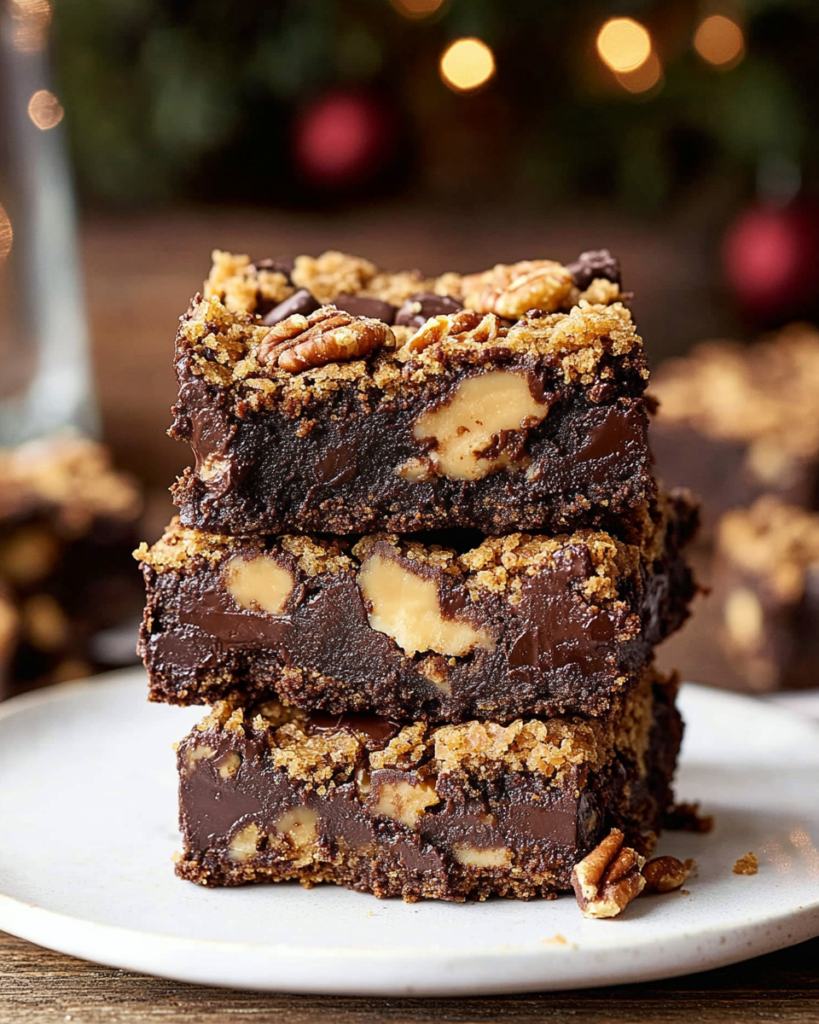
How to Make Gold Rush Brownies
Let me show you how incredibly easy it is to make the standard Gold Rush Brownies:
Prep Oven and Pan
- First, I preheat my oven to 350 degrees F (175°C).
- I grease a non-stick square 8×8 inch baking pan with cooking spray.
- Then, I line it with a parchment paper sling (leaving overhang on two sides). This makes removing the gooey bars so much easier! I set the prepared pan aside.
Mix the Batter
- In a large bowl, I place the graham cracker crumbs, semi-sweet chocolate chunks, and salt. I give it a good stir until combined.
- I pour in the entire can of sweetened condensed milk and the vanilla extract.
- I stir everything together until it’s well combined. This mixture is THICK, so it definitely takes a little elbow grease! A sturdy spatula or wooden spoon is best.
Press into Pan and Bake
- I dump the thick batter into the prepared baking dish.
- I spray my hands lightly with cooking spray (this is a great trick to keep the super sticky batter from sticking to my hands).
- Then, I press the mixture firmly and evenly into the pan.
- I top with additional chocolate chunks, if desired.
- I bake in the preheated oven for 20-30 minutes, or until an inserted toothpick comes out almost clean. These bars just need to be cooked enough to hold their shape; they should still be gooey.
Cool and Serve
- I let the Gold Rush Brownies cool in the pan for about 10 minutes.
- Then, using the parchment paper sling, I lift the bars out of the pan and onto a cutting board or wire rack.
- Slice and serve
Tips and Tricks for the BEST Gold Rush Brownies
Here are my secrets for making these easy bars truly exceptional:
- Parchment Paper Sling: Don’t skip this! It makes removing the sticky bars from the pan incredibly easy. Leave overhang on two opposite sides.
- Grease Your Hands: Spraying your hands with cooking spray before pressing the batter into the pan is a game-changer for handling the sticky mixture.
- Don’t Overbake: These bars are meant to be gooey! Bake just until set enough to hold their shape. A toothpick should come out with moist crumbs attached, not completely clean and dry.
- Cool Before Cutting: Let the bars cool significantly before attempting to slice them for the cleanest cuts. Chilling them briefly can help too.
- Use Chocolate Chunks (vs. Chips): Chunks often provide bigger pockets of melted chocolate compared to standard chips, enhancing the gooey factor.
How to Serve
These Gold Rush Brownies are delicious served:
- As Is: Cut into squares, perfect for a rich snack or dessert.
- Warm: Enjoy them slightly warm for maximum gooeyness.
- With Ice Cream: Serve a warm bar with a scoop of vanilla ice cream.
- For Parties & Potlucks: Easy to transport and always a hit. Cut into smaller squares for larger crowds.
Serve warm or at room temperature.
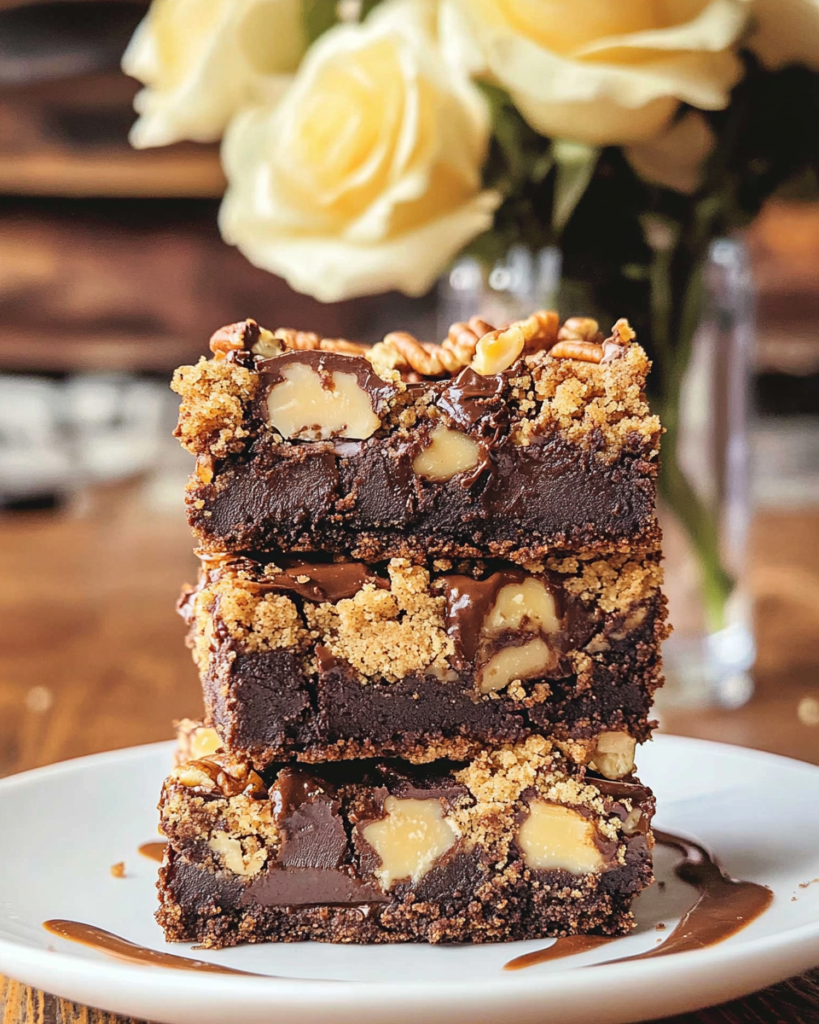
Make Ahead and Storage
These bars store well! Once completely cool, store leftover Gold Rush Brownies in an airtight container at room temperature for up to 3-4 days, or in the refrigerator for up to a week. Layer with parchment paper if stacking to prevent sticking.
FAQs about Gold Rush Brownies
- Why are they called Gold Rush Brownies?
- The name likely comes from their rich, decadent nature (like striking gold!) and possibly their simple, rustic ingredients reminiscent of something easily made during historical gold rushes. They are a type of bar cookie, often called blondies when not chocolate-based.
- Can I use a different size pan?
- Yes, but adjust baking time. A 9×9 inch pan will yield thinner bars and require less baking time. A smaller pan isn’t recommended as they might not cook through properly.
- Can I freeze these?
- Yes, these freeze well. Wrap the cooled, cut bars tightly or store them in a freezer-safe container for up to 2 months. Thaw at room temperature.
Enjoy these incredibly easy, gooey, rich, and satisfying Gold Rush Brownies! They’re a perfect simple treat.
Print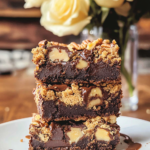
Gold Rush Brownies
- Prep Time: 10 minutes
- Cook Time: 20 minutes
- Total Time: 30 minutes
- Yield: 16 brownies 1x
- Category: Dessert, Bars
- Cuisine: American
Description
These Gold Rush Brownies are ooey-gooey, extra chocolatey, and incredibly easy to make! The original uses just 5 main ingredients, and the batter is safe to eat raw. A delicious chocolate variation is also included.
Ingredients
Version 1: Gold Rush Brownies (Original)
- 2 cups graham cracker crumbs (from about 14–16 full crackers)
- 1 cup semi-sweet chocolate chunks (or chips)
- ½ teaspoon salt
- 1 (14-ounce) can sweetened condensed milk
- 1 tablespoon vanilla extract
- Optional: Extra chocolate chunks for topping
Version 2: Chocolate Gold Rush Brownies (Variation)
- 1 (10-ounce) box chocolate Teddy Grahams, crushed (about 2 cups crumbs)
- 1 cup mixed baking chips (e.g., 1/4 cup each: peanut butter, white chocolate, butterscotch, dark chocolate)
- ½ cup chopped pecans (or walnuts)
- ½ teaspoon salt
- 1 (14-ounce) can sweetened condensed milk
- 1 tablespoon vanilla extract
- Optional: Extra baking chips/pecans for topping
Instructions
For Gold Rush Brownies (Original – Version 1):
- Preheat and Prep: Preheat oven to 350°F (175°C). Grease a non-stick 8×8-inch square baking pan with cooking spray, then line with a parchment paper sling (leaving overhang on two sides). Set aside.
- Combine Dry/Solid Ingredients: Place graham cracker crumbs, chocolate chunks, and salt into a large bowl. Stir until combined.
- Add Wet Ingredients: Pour in the sweetened condensed milk and vanilla extract. Stir with a sturdy spatula or spoon until well combined. The mixture will be very thick.
- Press into Pan: Dump the batter into the prepared baking dish. Spray your hands lightly with cooking spray (this prevents sticking) and press the mixture firmly into an even layer. Top with additional chocolate chunks, if desired.
- Bake: Bake in the preheated oven for 20-30 minutes, or until the edges are set and a toothpick inserted near the center comes out almost clean (a few moist crumbs are okay). These bars just need to be cooked enough to hold their shape.
- Cool and Slice: Let cool in the pan on a wire rack for at least 10 minutes before using the parchment paper sling to lift the bars out. Cool further before slicing into bars.
For Chocolate Gold Rush Brownies (Variation – Version 2):
- Preheat and Prep: Preheat oven to 350°F (175°C). Grease a non-stick 8×8-inch square baking pan with cooking spray, then line with a parchment paper sling. Set aside.
- Combine Dry/Solid Ingredients: Place chocolate Teddy Graham crumbs, mixed baking chips, chopped pecans, and salt into a large bowl. Stir until combined.
- Add Wet Ingredients: Pour in the sweetened condensed milk and vanilla extract. Stir with a sturdy spatula or spoon until well combined. The mixture will be very thick.
- Press into Pan: Dump the batter into the prepared baking dish. Spray your hands lightly with cooking spray and press the mixture firmly into an even layer. Top with additional baking chips and/or pecans, if desired.
- Bake: Bake in the preheated oven for 30-40 minutes, or until an inserted toothpick comes out almost clean.
- Cool and Slice: Let cool in the pan on a wire rack for at least 10 minutes before using the parchment paper sling to lift the bars out. Cool further before slicing into bars.
Notes
- Batter Consistency: Both versions have a very thick, slightly sticky batter. Using cooking spray on your hands makes pressing it into the pan much easier.
- Edible Batter: As the original description notes, the batter (especially the original version without raw flour) is safe to eat raw.
- Doneness: These bars are meant to be gooey. Bake just until they are set enough to hold their shape. A toothpick should come out mostly clean, but not perfectly dry.
- Cooling: Allowing the bars to cool before slicing helps them set properly and makes cutting cleaner.
- Storage: Store cooled bars in an airtight container at room temperature for up to 4-5 days.

