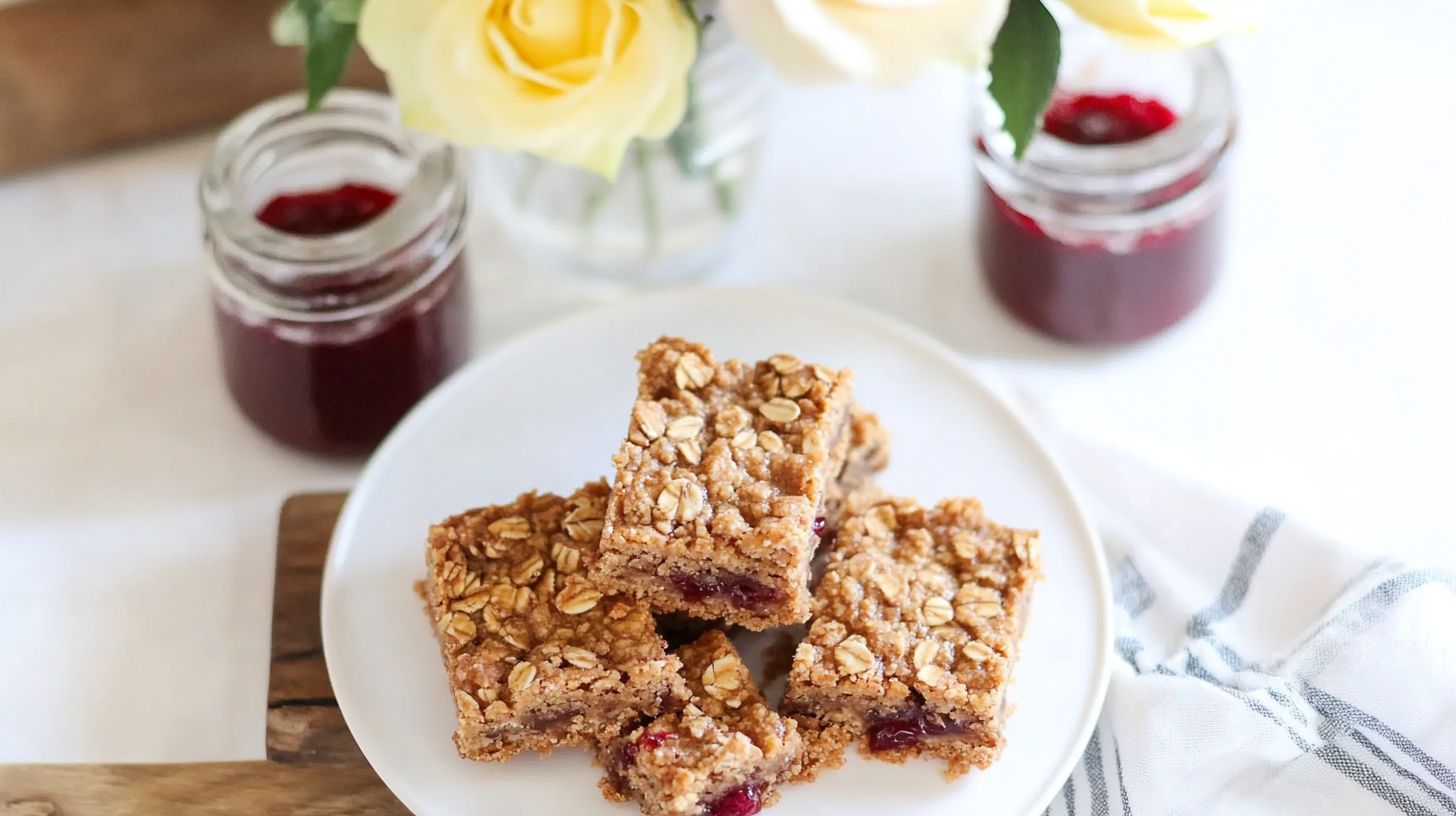
Get ready for a delicious trip down memory lane with these Healthy Peanut Butter & Jam Oat Bars! This easy recipe captures that beloved childhood PB&J combination in a wholesome, baked bar format. Featuring a chewy oat and peanut butter base that doubles as the crumble topping, and a sweet layer of fruit spread or chia jam, these bars are simply irresistible. I love making these Peanut Butter & Jam Bars because they’re made with simple ingredients, are naturally sweetened with maple syrup, can easily be made gluten-free or vegan, and whip up so quickly! They’re perfect for breakfast on the go, packing in lunchboxes, or as a healthier snack any time of day – fantastic for fueling spring activities!
Why You’ll Love These Peanut Butter & Jam Bars
- Nostalgic PB&J Flavor: Captures the classic, comforting taste everyone loves.
- Healthy & Wholesome: Made with oats, natural peanut butter, ground flax (optional variation), and naturally sweetened. Easily adaptable for vegan/GF needs.
- Easy Food Processor Recipe: The crust and crumble come together in minutes in the food processor.
- Simple Ingredients: Uses pantry staples you likely have on hand.
- Perfect Snack or Breakfast: Great for on-the-go energy, lunchboxes, or a quick breakfast.
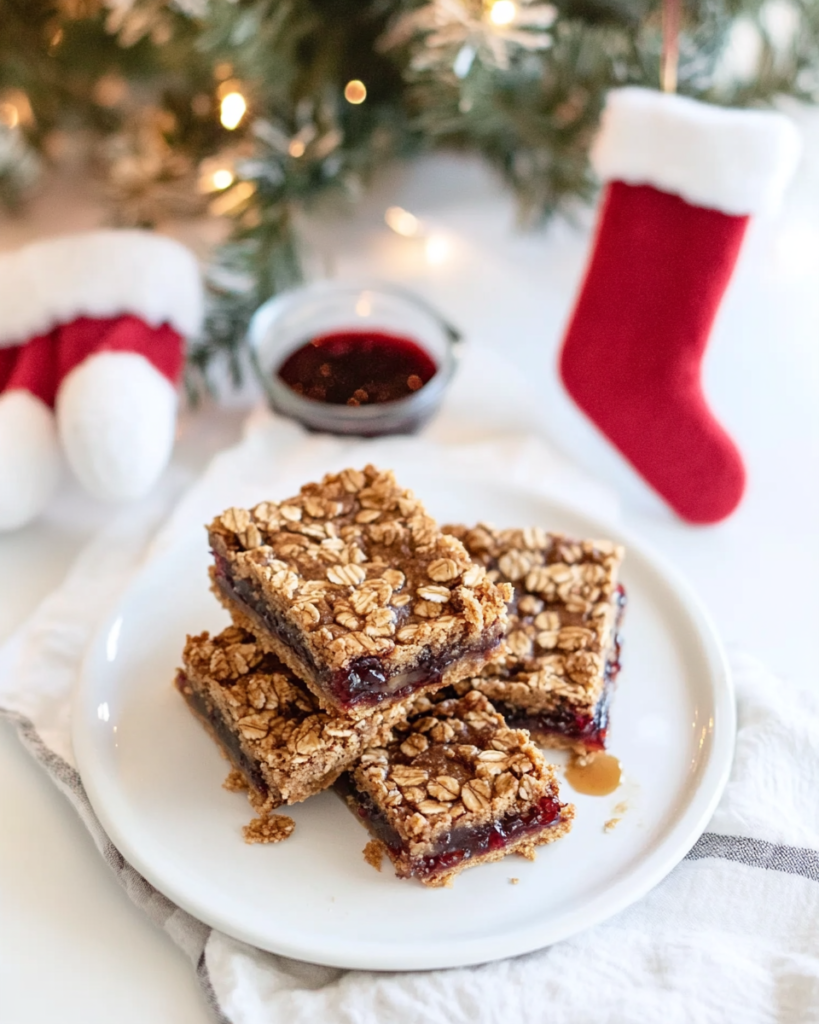
Ingredients for Peanut Butter & Jam Bars
Here’s what you’ll need to make these easy and delicious bars. The full list with measurements is in the recipe card below.
Oat Crust/Crumble
- Large flake oats (Rolled oats) (Grain) (Use gluten-free if needed)
- Flour (whole wheat, all-purpose, or GF blend) (Dry Ingredient)
- Natural smooth peanut butter (just nuts, no sugar added variety) (Nut Butter)
- Melted butter (or vegan butter or coconut oil) (Fat)
- Maple syrup (Sweetener)
- Cinnamon (Spice)
- Vanilla extract (Flavoring)
- Salt (Seasoning)
Filling
- Lower sugar fruit spread or chia jam (Strawberry recommended, like Bonne Maman) (Fruit Preserve) (Specific brand mentioned)
(Note: the full ingredients list, including measurements, is provided in the recipe card below.)
Variations
I love the classic strawberry PB&J vibe of these Peanut Butter & Jam Bars, but they’re super versatile:
- Different Jam: Use raspberry, grape, apricot, blueberry, or any favorite fruit spread or chia jam.
- Different Nut/Seed Butter: Substitute almond butter, cashew butter, or sunflower seed butter (for nut-free) for the peanut butter.
- Add Chocolate Chips: Sprinkle mini chocolate chips over the jam layer before adding the crumble topping.
- Add Nuts/Seeds: Mix chopped peanuts, pecans, walnuts, or sunflower seeds into the crumble topping for extra crunch.
- Spice it Up: Add a pinch of ground ginger or cardamom along with the cinnamon.
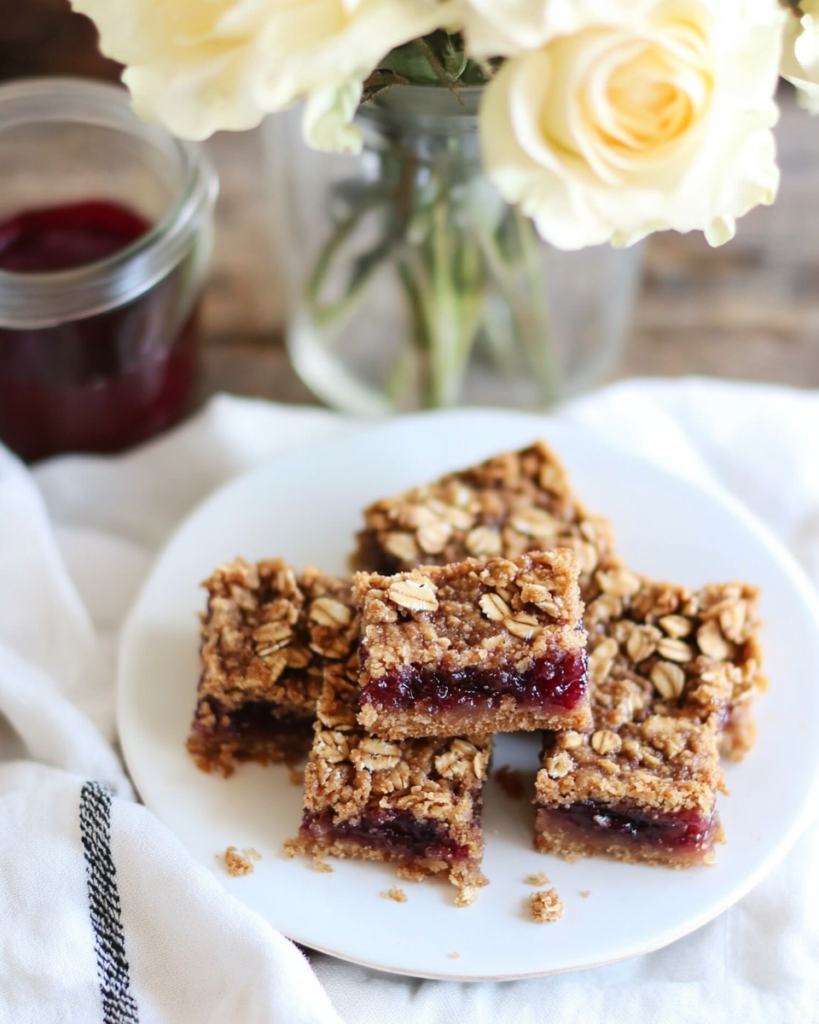
How to Make Peanut Butter & Jam Bars
Making these Peanut Butter & Jam Bars is incredibly easy, especially with a food processor:
Prep Oven and Pan
- First, I preheat my oven to 350°F (175°C).
- I line an 8×8 inch baking pan with parchment paper, leaving an overhang on two sides so I can easily lift the bars out later.
Make the Oat Crust/Crumble
- In my food processor, I combine the large flake oats, flour (I use all-purpose, but whole wheat or a GF blend works!), natural smooth peanut butter, melted butter (or coconut oil), maple syrup, cinnamon, vanilla extract, and salt.
- I process these ingredients until the mixture is finely processed and sticks together when I press some between my fingers. It should still look somewhat crumbly but hold its shape when pressed.
Assemble the Bars
- I take about three-quarters (¾) of the oat mixture and press it firmly and evenly into the bottom of the prepared parchment-lined pan to form the base crust.
- Next, I spread the lower sugar fruit spread or chia jam (the recipe mentions Bonne Maman Strawberry Spread, which is delicious!) evenly over the pressed crust.
- I take the remaining one-quarter (¼) of the oat mixture and crumble it evenly over the top of the jam layer.
Bake and Cool
- I bake the assembled bars in the preheated oven for 30 minutes, or until the crumble topping is lightly golden brown and the edges are set.
- Once baked, the hardest part: I let the bars cool completely in the pan on a wire rack before cutting into them. This is crucial for allowing the jam to set properly and getting clean slices.
Slice and Serve
- Use parchment overhangs to lift from pan
- Slice into bars
- Serve!
Tips and Tricks for the BEST PB&J Bars
Here are my secrets for making perfect Peanut Butter & Jam Bars:
- Use Rolled Oats: Old-fashioned rolled oats provide the best chewy texture. Quick oats might work but could yield a softer result.
- Natural Peanut Butter: A runny, natural peanut butter (just peanuts and salt) incorporates best. Stir it well if oil has separated.
- Parchment Paper Sling: Makes removal and cutting so much easier – don’t skip it!
- Cool Completely: Seriously, wait until they are fully cool! Warm bars will be crumbly and the jam messy to cut through. Chilling briefly after cooling can help firm them up even more for cutting.
- Lower Sugar Jam: Using a lower sugar fruit spread or chia jam prevents the bars from being overly sweet, balancing nicely with the crust.
How to Serve
These Peanut Butter & Jam Bars are fantastic served as:
- An Easy Breakfast: A quick grab-and-go breakfast bar.
- A Snack: Perfect for packing in lunchboxes or enjoying as an afternoon pick-me-up.
- A Healthy-ish Dessert: A satisfying sweet treat that’s relatively wholesome.
- With Milk or Coffee: The perfect pairing!
Serve at room temperature.
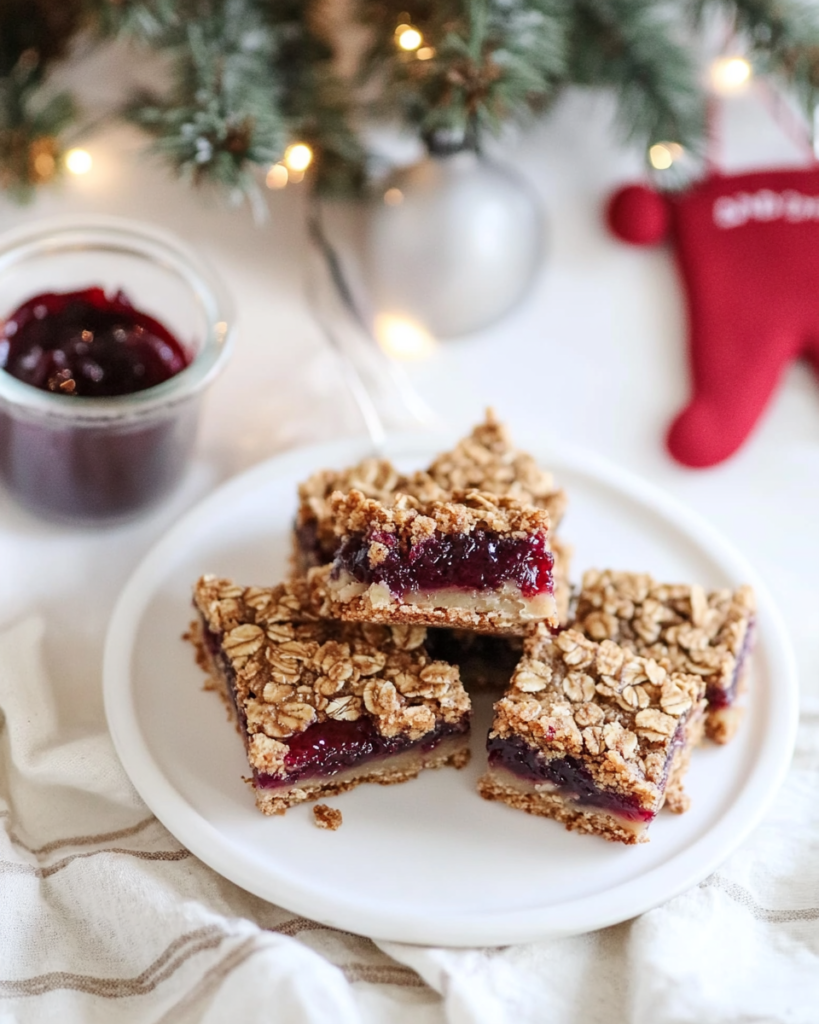
Make Ahead and Storage
These bars are great for making ahead!
- Storage: Once completely cooled and cut, store the Peanut Butter & Jam Bars in an airtight container at room temperature for up to 4 days, or in the refrigerator for up to a week (they will be firmer from the fridge).
- Freezing: These bars freeze beautifully! Wrap individual bars or the whole slab tightly and store in a freezer-safe container or bag for up to 3 months. Thaw at room temperature or enjoy partially frozen!
FAQs about Peanut Butter & Jam Bars
- Can I make these gluten-free?
- Yes! Ensure you use certified gluten-free rolled oats and a certified gluten-free flour blend (like a 1-to-1 baking blend).
- Can I make these vegan?
- Yes! Use maple syrup (instead of potentially non-vegan honey), vegan butter or coconut oil, and ensure your chocolate chips (if adding as a variation) are dairy-free.
- Can I use crunchy peanut butter?
- Yes, crunchy peanut butter will work, it will just add some crunchy nut pieces to the crust and crumble texture.
Enjoy this easy, healthy-ish, nostalgic, and utterly delicious Peanut Butter & Jam Bars recipe! They are a guaranteed hit.
Print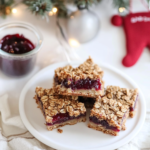
Peanut Butter & Jam Bars (Healthy Oat Base)
- Prep Time: 10 minutes
- Cook Time: 30 minutes
- Total Time: 40 minutes
- Yield: 9–12 1x
- Category: Baking, Dessert, Snack, Bars, Healthy
- Cuisine: American
Description
A childhood favorite combination, these bars are healthy and made from simple ingredients! An oat and peanut butter base doubles as the crumble topping, sandwiching your favorite lower-sugar fruit spread or chia jam.
Ingredients
- 1 ½ cups large flake rolled oats (use certified gluten-free if needed)
- ½ cup flour (whole wheat, all-purpose, or a gluten-free blend)
- ¾ cup natural smooth peanut butter (see notes)
- ¼ cup melted butter (or vegan butter, or coconut oil)
- ½ cup pure maple syrup
- 1 teaspoon ground cinnamon
- 1 teaspoon vanilla extract
- ¼ teaspoon salt
- 3/4 – 1 cup lower sugar fruit spread or chia jam (strawberry, raspberry, etc.)
Instructions
- Preheat Oven and Prepare Pan: Preheat the oven to 350°F (175°C). Line an 8×8-inch baking pan with parchment paper, leaving an overhang on two sides for easy removal. Set aside.
- Make Oat Mixture: In a food processor, combine the rolled oats, flour, natural peanut butter, melted butter (or coconut oil), maple syrup, cinnamon, vanilla, and salt. Process until the mixture is finely ground and sticks together when pressed between your fingers.
- Form Base Layer: Reserve about 1/2 to 3/4 cup of the oat mixture for the topping. Press the remaining (larger portion) oat mixture firmly and evenly into the bottom of the prepared baking pan.
- Add Jam Layer: Spread the fruit spread or chia jam evenly over the pressed base layer.
- Add Crumble Topping: Crumble the reserved oat mixture evenly over the top of the jam layer.
- Bake: Bake for 30 minutes, or until the edges are lightly golden brown and the topping feels set.
- Cool Completely: Let the bars cool completely in the pan on a wire rack before cutting. This is important for the bars to set properly and cut cleanly.
- Cut and Store: Once completely cool, use the parchment paper overhang to lift the bars out of the pan. Cut into squares or bars. Store in an airtight container.
Notes
- Oats: Use large flake rolled oats for the best texture. Ensure certified gluten-free oats if necessary.
- Flour: Choose whole wheat, all-purpose, or a 1:1 gluten-free baking blend.
- Peanut Butter: Natural peanut butter (ingredients: just peanuts and maybe salt) works best for the texture. Other natural nut or seed butters can be substituted.
- Fat: Melted butter, vegan butter, or coconut oil can be used.
- Jam: Lower sugar fruit spread or homemade chia jam is recommended to keep the bars healthier. Any flavor works!
- Cooling: Cooling completely before cutting is crucial, otherwise the bars may crumble. Chilling briefly can help achieve cleaner cuts.
- Storage: Keep refrigerated or in the freezer for a quick snack. Store in an airtight container in the fridge for up to a week or freezer for longer storage.

