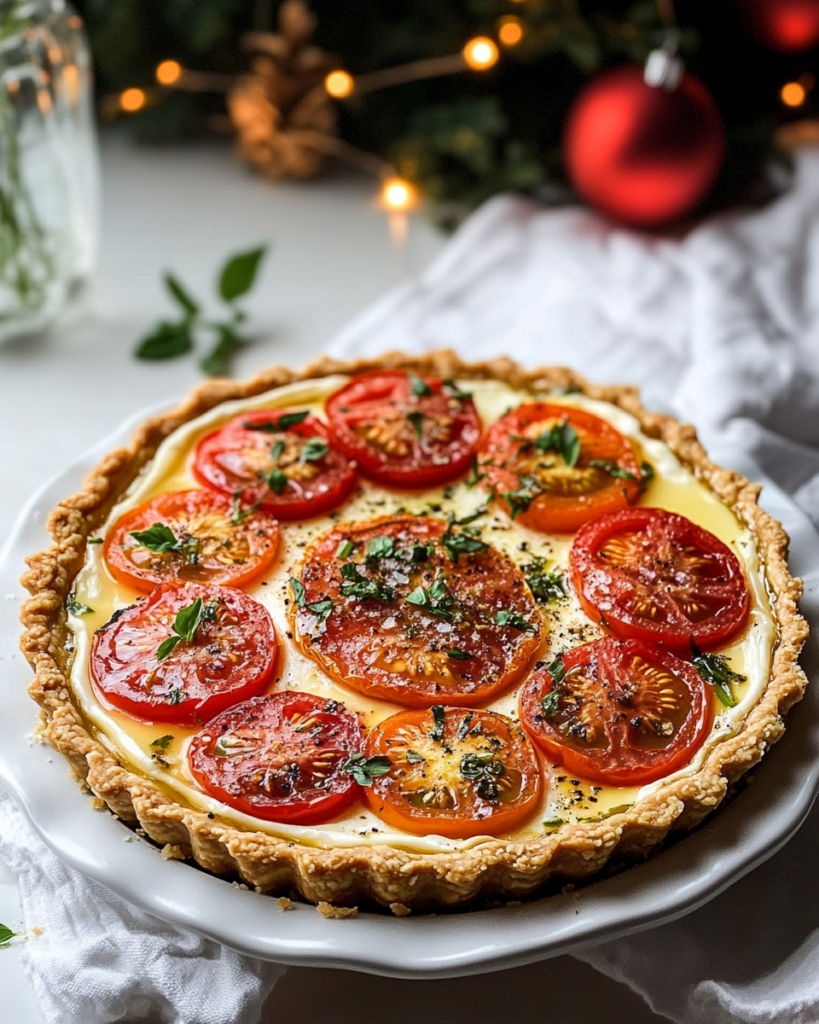
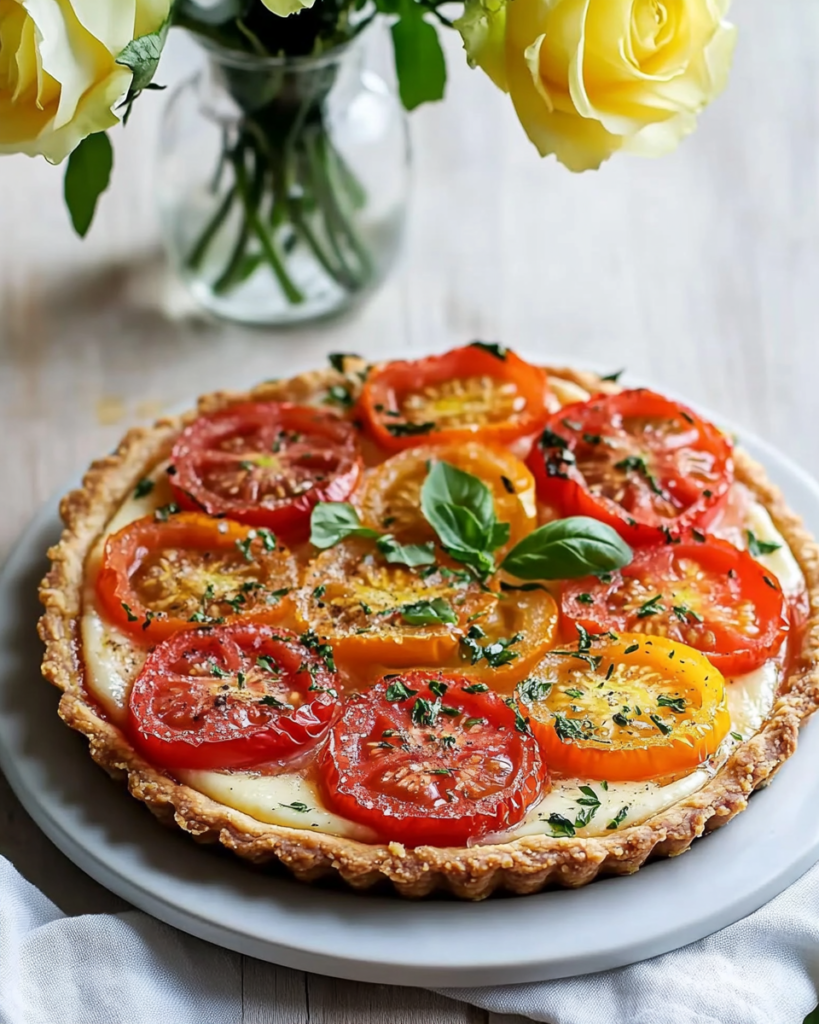
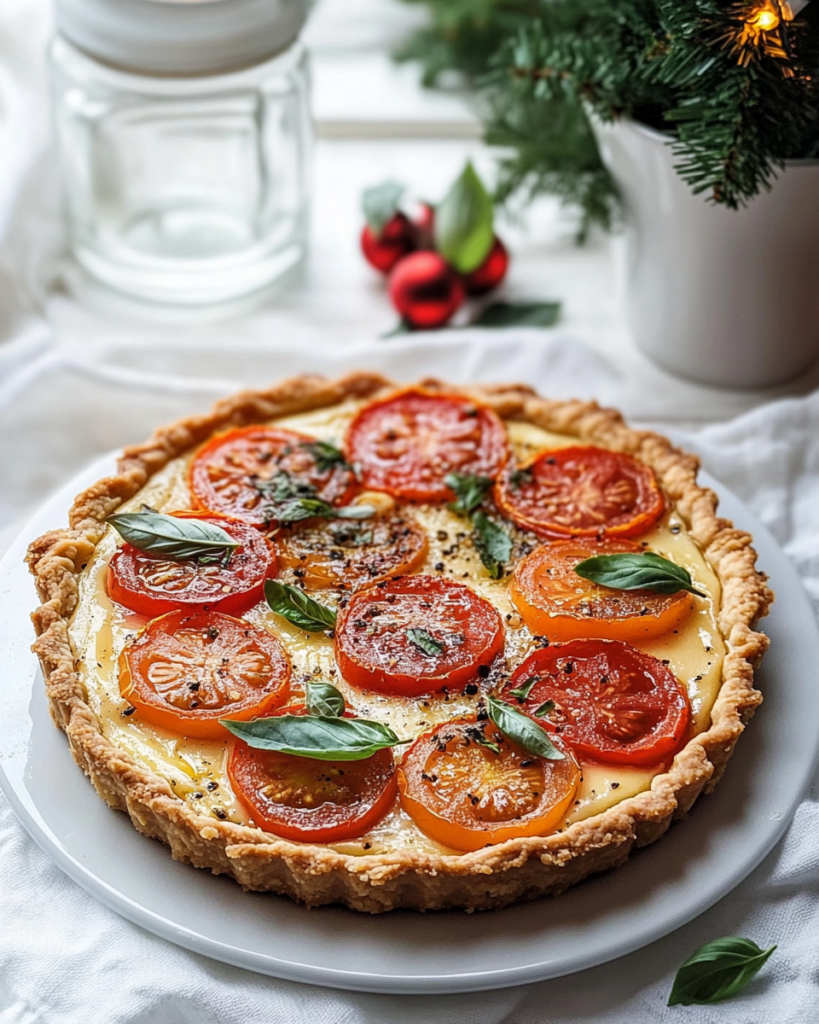
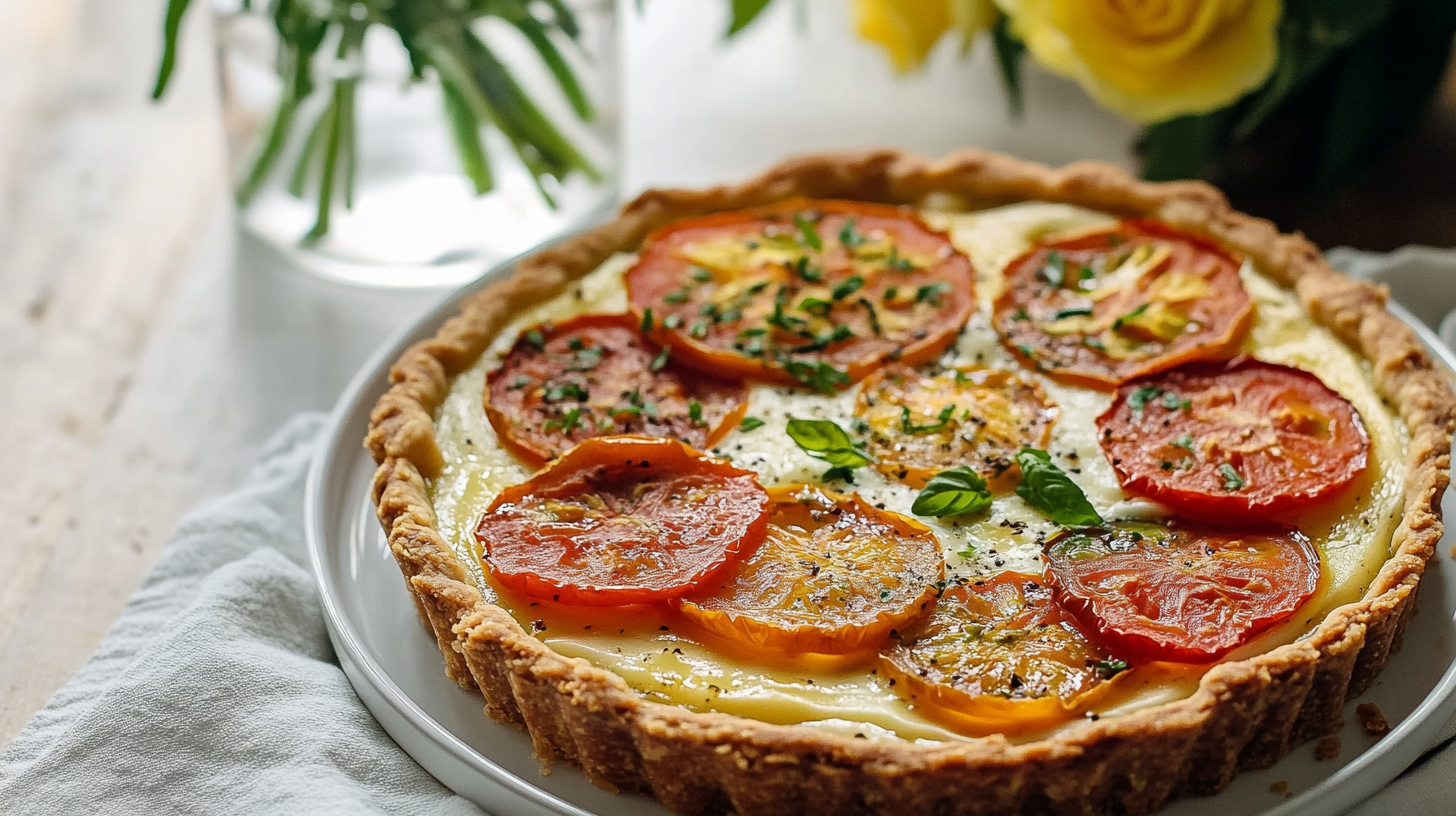
Get ready to celebrate tomato season with this absolutely stunning Heirloom Tomato Tart! This recipe features an insanely delicious buttery, sharp cheddar crust filled with a creamy, tangy mixture of cream cheese, Parmesan, garlic, and fresh herbs, all topped with beautiful slices of ripe heirloom tomatoes. I am completely obsessed with making savory tarts like this Heirloom Tomato Tart, especially now in early May when gorgeous tomatoes are starting to hit their peak! It’s the perfect thing to serve for brunch, lunch, or as an impressive appetizer, showcasing the best flavors of the season.
Why You’ll Love This Heirloom Tomato Tart
- Showcases Seasonal Tomatoes: The perfect way to highlight the beauty and flavor of ripe heirloom (or any delicious) tomatoes.
- Incredible Cheddar Crust: The savory, cheesy, buttery crust is absolutely divine and easy to make in a food processor.
- Creamy Herb Filling: A luscious blend of cream cheese, Parmesan, mayo, garlic, and fresh herbs complements the tomatoes perfectly.
- Stunning Presentation: Looks incredibly gourmet and beautiful, perfect for impressing guests.
- Versatile: Delicious served warm or at room temperature for brunch, lunch, or as an appetizer.

Ingredients for Heirloom Tomato Tart
Here’s what you’ll need to create this beautiful and flavorful tart. The full list with measurements is in the recipe card below.
Tomatoes
- Medium-large heirloom tomatoes, sliced (or other ripe tomatoes) (Vegetable/Fruit)
- Salt (for drawing out moisture) (Seasoning)
Cheddar Crust
- All-purpose flour (Dry Ingredient)
- Sugar (Sweetener)
- Salt (Seasoning)
- Cold unsalted butter, cut into cubes (Fat)
- Freshly grated sharp cheddar cheese (Dairy)
- Ice water (Liquid)
Cream Cheese Filling
- Cream cheese, softened to room temperature (Dairy)
- Mayonnaise (Condiment)
- Grated Parmesan cheese (Dairy)
- Medium shallot, finely chopped (Aromatic)
- Cloves garlic, finely chopped (Aromatic)
- Fresh basil leaves, chopped (Herb)
- Chopped fresh chives (Herb)
- Chopped fresh thyme leaves (Herb)
- Salt (Seasoning)
- Pepper (Spice)
Garnish
- Extra chopped chives, basil, thyme
- Freshly cracked black pepper
(Note: the full ingredients list, including measurements, is provided in the recipe card below.)
Variations
I adore the classic flavors in this Heirloom Tomato Tart, but feel free to customize:
- Different Cheese: Use Gruyere, white cheddar, or Swiss cheese in the crust instead of yellow cheddar. Substitute goat cheese or feta for some of the cream cheese/Parmesan in the filling.
- Add Pesto: Spread a thin layer of pesto over the crust before adding the cream cheese filling.
- Different Herbs: Use different fresh herbs like oregano, marjoram, or parsley in the filling.
- Add Olives or Capers: Scatter some chopped Kalamata olives or capers over the cream cheese filling before adding the tomatoes.
- Make it Spicy: Add a pinch of red pepper flakes to the cream cheese filling.

How to Make Heirloom Tomato Tart
Making this stunning Heirloom Tomato Tart involves a few easy steps:
Prep and Dry Tomatoes (Crucial Step!)
- First, I begin by preparing the tomatoes, which is key to preventing a soggy tart. I slice the heirloom tomatoes into ¼ to ½-inch thick slices.
- I place a few layers of paper towels on a large plate or baking sheet. I arrange the tomato slices in a single layer on the paper towels.
- I sprinkle the slices evenly with about ½ teaspoon of salt.
- I let the tomatoes sit for at least 35 minutes, or up to 1 hour. The salt will draw out excess moisture.
- After they’ve sat, I gently pat the tops of the tomato slices dry with more paper towels, ensuring they are as dry as possible. I set them aside.
Make the Cheddar Crust
- While the tomatoes are drying out, I make the crust. I preheat my oven to 350°F (175°C).
- I add the all-purpose flour, sugar, and salt to my food processor and pulse a few times just to combine.
- I add the freshly grated cheddar cheese and pulse again until it’s incorporated into the flour mixture.
- Next, I add the cold, cubed butter and pulse until the butter resembles pea-sized pieces mixed throughout the flour. Don’t over-process!
- With the food processor running on low, I add ice water, one tablespoon at a time, just until the dough starts to come together into a cohesive ball. I usually need between 2 and 4 tablespoons.
- I immediately press the dough evenly into the bottom and up the sides of a 9-inch fluted tart pan with a removable bottom. (No need to grease the pan). I don’t worry about making the crust perfect – fingerprints are fine since we’re filling it!
- I bake the crust for 20 minutes, or until the edges are lightly golden brown.
- I let the baked crust cool in the pan on a wire rack for 15-20 minutes before adding the filling.
Make the Filling
- While the crust is baking or cooling, I make the creamy filling. In a large mixing bowl (or the bowl of my stand mixer), I add the softened cream cheese, mayonnaise, grated Parmesan cheese, finely chopped shallot, finely chopped garlic, chopped fresh basil, chopped chives, chopped thyme leaves, ¼ teaspoon salt, and ¼ teaspoon pepper.
- Using electric beaters or the whisk attachment on my stand mixer, I beat the mixture until it’s creamy, smooth, and well combined.
Assemble and Bake the Tart
- Once the crust has cooled slightly (it’s okay if it’s still a little warm), I spread the prepared cream cheese filling evenly into the crust using a rubber spatula.
- Now, I arrange the dried tomato slices beautifully on top of the filling. I like to start from the outside edge and work my way in, slightly overlapping the slices in a circular pattern, saving smaller tomato slices for the center.
- I place the assembled tart on a flat baking sheet (this makes it easier to transfer and catches any potential drips).
- I bake for 35-40 minutes, or until the edges of the crust are deeply golden brown and the filling is set.
Cool and Serve
- I let the Heirloom Tomato Tart cool in the pan on a wire rack for at least 20-30 minutes before slicing and serving. This allows the filling to set further.
- Just before serving, I sprinkle the tart with extra chopped fresh chives, basil, thyme, and a good grind of freshly cracked black pepper!
- Enjoy!
Tips and Tricks for the BEST Tomato Tart
Here are my secrets for making this Heirloom Tomato Tart truly exceptional:
- DRY THE TOMATOES! I can’t stress this enough. Salting and patting the tomatoes dry is crucial for preventing a soggy bottom crust.
- Use Cold Butter for Crust: Very cold butter cut into the flour creates steam pockets during baking, resulting in a tender, slightly flaky cheddar crust.
- Freshly Grated Cheeses: Grate your own cheddar and Parmesan! They melt better and taste far superior to pre-shredded.
- Room Temp Cream Cheese: Essential for a smooth, lump-free filling.
- Use a Tart Pan with Removable Bottom: This makes removing and serving the finished tart much easier and preserves the beautiful fluted edge.
How to Serve
This Heirloom Tomato Tart is fantastic served warm or at room temperature! Enjoy it as:
- A Brunch Centerpiece: Absolutely stunning and delicious for a spring or summer brunch.
- A Light Lunch: Serve a slice with a simple green salad dressed with vinaigrette.
- An Elegant Appetizer: Cut into smaller wedges or squares for a party appetizer.
- A Side Dish: A savory accompaniment to grilled chicken or fish.

Make Ahead and Storage
- Crust: The unbaked crust dough can be made ahead, wrapped well, and refrigerated for up to 2 days. The baked, unfilled crust can also be made a day ahead and stored covered at room temperature once cool.
- Filling: The cream cheese filling can be mixed up to 2 days ahead and stored covered in the refrigerator.
- Assembly: Assemble the tart just before baking for the best results.
- Storage: Store leftover baked tart, covered loosely (so the top doesn’t get soggy), in the refrigerator for up to 3 days.
- Reheating: Enjoy leftovers chilled, at room temperature, or gently reheated in a 325°F (160°C) oven until warmed through.
FAQs about Heirloom Tomato Tart
- What are heirloom tomatoes and do I have to use them?
- Heirlooms are non-hybrid, often uniquely shaped and colored varieties known for great flavor. You absolutely do NOT have to use heirlooms! Any ripe, flavorful slicing tomato (like beefsteak, vine-ripened, or even colorful cherry tomatoes halved) will work beautifully in this Tomato Tart. Choose the best-looking tomatoes you can find!
- Can I make this with a different crust?
- Yes, you could use a standard all-butter pie crust or even a store-bought crust (pre-bake according to directions), but the cheddar crust adds a wonderful savory element.
- My tart bottom was soggy, why?
- Most likely, the tomatoes weren’t dried sufficiently. Make sure to salt them and let them sit for at least 30 minutes, then pat them very dry. Using very juicy tomatoes can also contribute.
Enjoy this beautiful, flavorful, and incredibly delicious Heirloom Tomato Tart! It’s a perfect celebration of peak-season tomatoes.
Print
Heirloom Tomato Tart (with Cheddar Crust)
- Prep Time: 45 minutes
- Cook Time: 1 hour
- Total Time: 1 hour 45 minutes
- Yield: 8 1x
- Category: Appetizer, Brunch, Side Dish, Tart
- Cuisine: American, French-Inspired
Description
This Heirloom Tomato Tart is made with an insanely delicious buttery, cheddar crust, and then filled with a cream cheese, garlic, and herb mixture! The topping is the best part – just beautiful slices of heirloom tomatoes. This tart is the perfect thing to serve at a brunch, or to enjoy at any time of day while summer tomatoes are at their peak!
Ingredients
For the Tomatoes:
- 3–4 medium-large ripe heirloom tomatoes, sliced into 1/4 to 1/2-inch thick slices
- 1/2 teaspoon salt (for drawing out moisture)
For the Cheddar Crust:
- 1 cup (125g) all-purpose flour
- 1 tablespoon granulated sugar
- 1/4 teaspoon salt
- 6 tablespoons (3 oz) cold unsalted butter, cut into small cubes
- 1 1/2 cups freshly grated sharp cheddar cheese
- 2–4 tablespoons ice water
For the Cream Cheese Herb Filling:
- 4 ounces (1/2 block) cream cheese, softened to room temperature
- 1/2 cup mayonnaise
- 1/2 cup freshly grated parmesan cheese
- 1 medium shallot, finely chopped
- 2 cloves garlic, finely chopped or minced
- 1/3 cup fresh basil leaves, chopped
- 1 1/2 tablespoons fresh chives, chopped (plus more for garnish)
- 2 teaspoons fresh thyme leaves (plus more for garnish)
- 1/4 teaspoon salt
- 1/4 teaspoon black pepper
Optional Garnish:
- Extra chopped fresh chives, basil, and/or thyme
- Freshly cracked black pepper
Instructions
-
Prepare Tomatoes (Crucial Step):
- Place several layers of paper towels on a large plate or baking sheet.
- Arrange the tomato slices in a single layer on the paper towels. Sprinkle evenly with 1/2 teaspoon of salt.
- Let the tomatoes sit for at least 35 minutes (up to 1 hour) to draw out excess moisture.
- After sitting, gently pat the tops of the tomato slices dry with more paper towels. Ensure they are as dry as possible. Set aside.
-
Make the Cheddar Crust:
- Preheat Oven: Preheat the oven to 350°F (175°C).
- Combine Dry Ingredients & Cheese: Add the flour, sugar, and 1/4 teaspoon salt to a food processor. Pulse a few times to combine. Add the grated cheddar cheese and pulse again until incorporated.
- Add Butter: Add the cold cubed butter. Pulse until the mixture resembles coarse crumbs with some pea-sized pieces of butter remaining.
- Add Ice Water: With the food processor running on low, add ice water through the feed tube, 1 tablespoon at a time, just until the dough begins to come together into a ball. Do not add too much water.
- Press into Pan: Transfer the dough to an ungreased 9-inch fluted tart pan with a removable bottom. Press the dough firmly and evenly into the bottom and up the sides of the pan. Don’t worry about making it look perfect.
- Blind Bake: Bake the crust for 20 minutes, or until the edges are lightly golden.
- Cool Crust: Let the crust cool in the pan on a wire rack for 15-20 minutes before filling. Keep the oven preheated.
-
Make the Cream Cheese Herb Filling:
- While the crust is baking/cooling, prepare the filling. Add the softened cream cheese, mayonnaise, grated parmesan cheese, finely chopped shallot, finely chopped garlic, chopped basil, chopped chives, chopped thyme leaves, 1/4 teaspoon salt, and 1/4 teaspoon pepper to a large mixing bowl (or the bowl of your stand mixer).
- Using an electric mixer (hand mixer or whisk attachment on stand mixer), beat the mixture on medium speed until creamy, smooth, and well combined.
-
Assemble the Tart:
- Spread the cream cheese herb filling evenly into the slightly cooled, pre-baked crust using a rubber spatula.
- Arrange the dried tomato slices decoratively on top of the filling in a circular pattern, overlapping them slightly. Use smaller slices for the center.
-
Bake the Tart:
- Place the assembled tart on a flat baking sheet (to catch any drips and for easier handling).
- Bake for 35-40 minutes, or until the filling is set and the crust edges are golden brown.
-
Cool and Serve:
- Let the tart cool in the pan on a wire rack for 20-30 minutes before carefully removing the outer ring of the tart pan.
- Sprinkle with extra chopped fresh chives, basil, thyme, and freshly cracked black pepper, if desired.
- Slice into wedges and serve warm or at room temperature.
Notes
- Drying Tomatoes: This step is essential to prevent a soggy tart. Don’t skip it!
- Crust: Keep butter cold for a flaky crust. A food processor makes it easy, but you can cut the butter in by hand using a pastry blender or forks. Don’t overwork the dough.
- Cheese: Use freshly grated cheddar and parmesan for best flavor and melting.
- Herbs: Fresh herbs provide the best flavor for the filling.
- Serving: Delicious as an appetizer, light lunch, or brunch main dish.
- Storage: Store leftover tart covered in the refrigerator for up to 3 days. Can be served cold or gently reheated.

