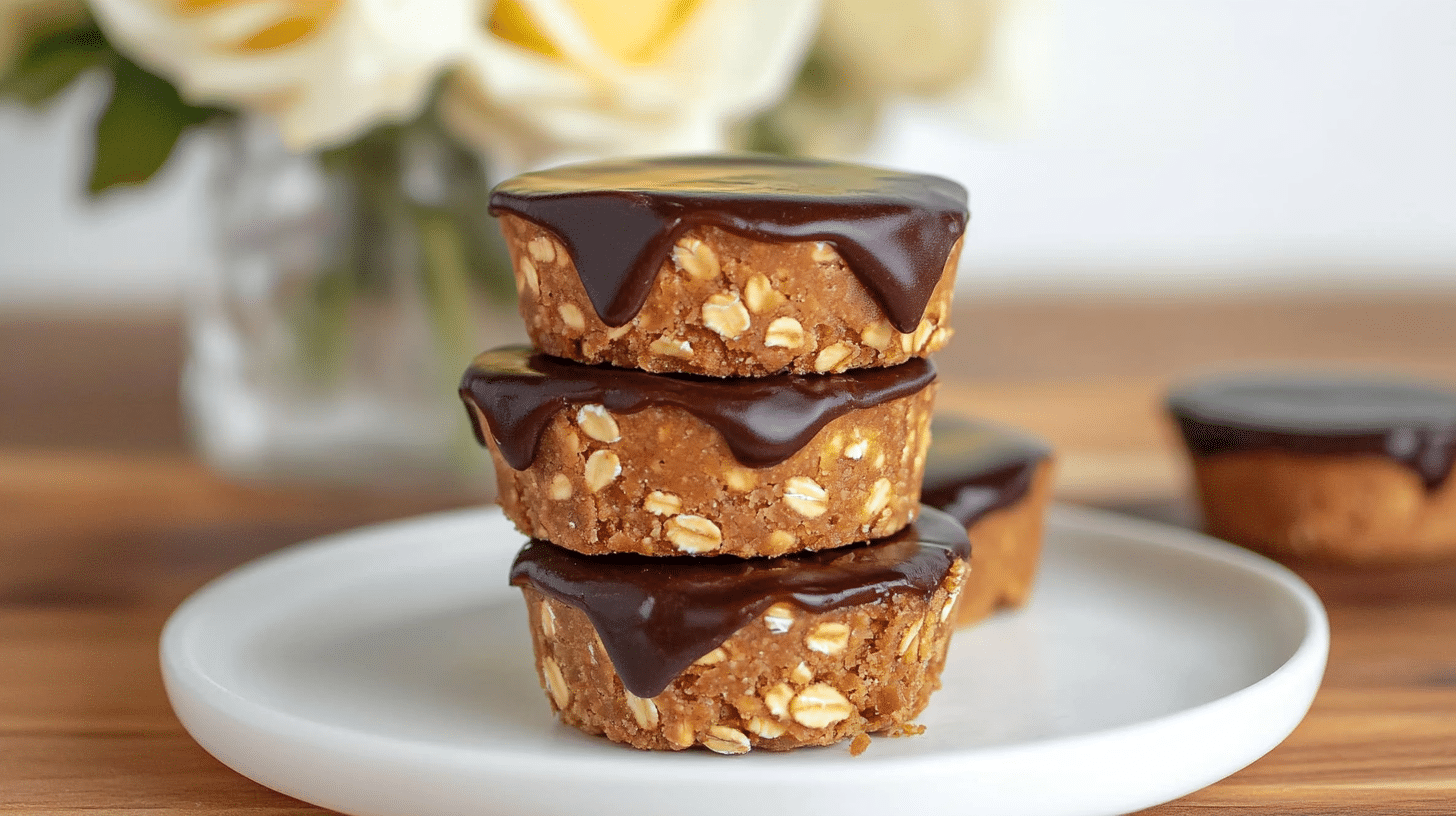
These Easy No Bake Peanut Butter Oat Cups are a fantastic treat when you need something quick, delicious, and satisfying without turning on the oven! They feature a creamy, chewy peanut butter oat base topped with a smooth layer of melted chocolate. I absolutely love making these No Bake Peanut Butter Oat Cups because they come together in minutes and use simple ingredients. They’re a perfect healthier snack option, a great addition to lunchboxes, or a simple dessert the whole family will adore.
Why You’ll Love These No Bake Peanut Butter Oat Cups
- No-Bake & Easy: Seriously simple to make – just mix, press, top, and chill! Perfect for beginners or kids to help with.
- Healthy-ish Treat: Uses oat flour, peanut butter, and maple syrup for a more wholesome base compared to traditional candy cups.
- Peanut Butter & Chocolate: The ultimate flavor combination that everyone loves.
- Quick Preparation: The active prep time is minimal, though they do need time to chill and set.
- Customizable: Easy to adapt with different toppings or mix-ins.
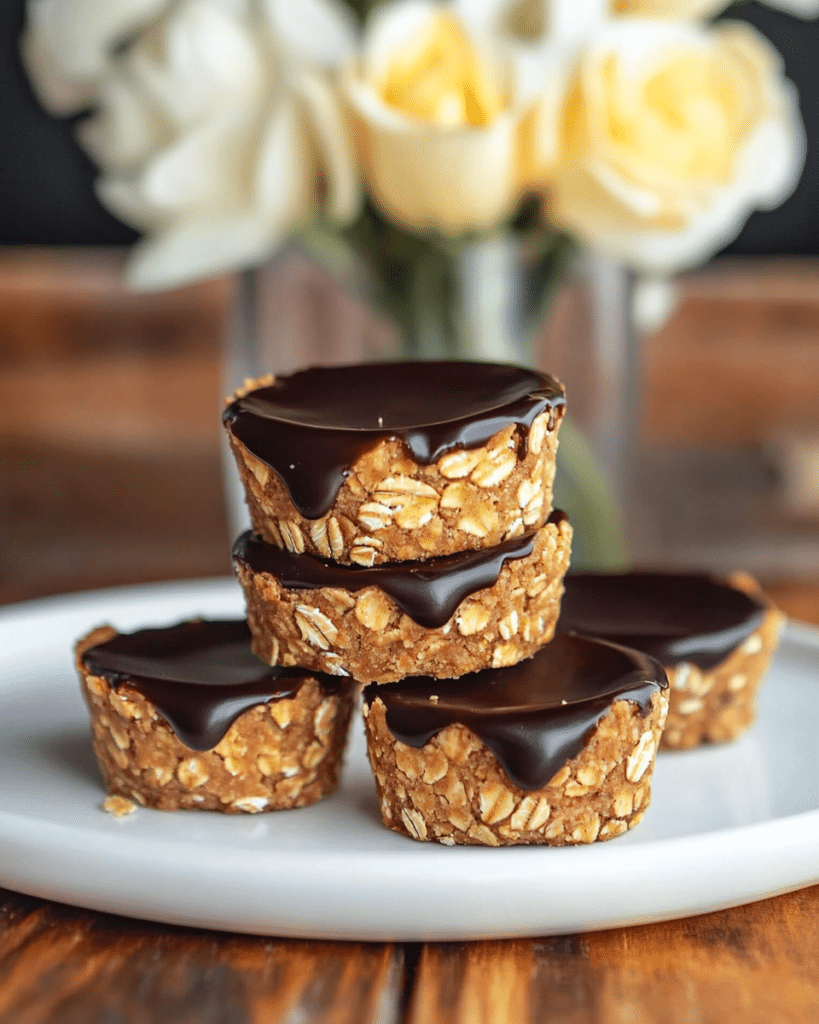
Ingredients for No Bake Peanut Butter Oat Cups
Here’s what you’ll need to make these easy no-bake treats. The full list with measurements is in the recipe card below.
Peanut Butter Oat Base
- Peanut butter (Nut Butter)
- Oat flour (Rolled oats processed finely in a food processor) (Grain/Flour)
- Maple syrup (Sweetener)
- Pumpkin puree (optional for moisture) (Vegetable)
Chocolate Topping
- Chocolate chips (Chocolate)
- Coconut oil (optional, for smooth melting) (Fat)
- Flaky salt, sprinkles, or mini chocolate chips (optional topping)
(Note: the full ingredients list, including measurements, is provided in the recipe card below.)
Variations
I love the classic simplicity of these No Bake Peanut Butter Oat Cups, but here are some fun variations:
- Different Nut Butter: Use almond butter, cashew butter, or sunflower seed butter (for nut-free).
- Add Mix-Ins: Fold mini chocolate chips, shredded coconut, or chopped nuts into the peanut butter oat base.
- Different Chocolate: Use dark chocolate, milk chocolate, or white chocolate chips for the topping.
- Make them Layered: Create a thin layer of chocolate on the bottom of the liner before adding the peanut butter mixture.
- Add Spices: Mix a pinch of cinnamon into the oat base.
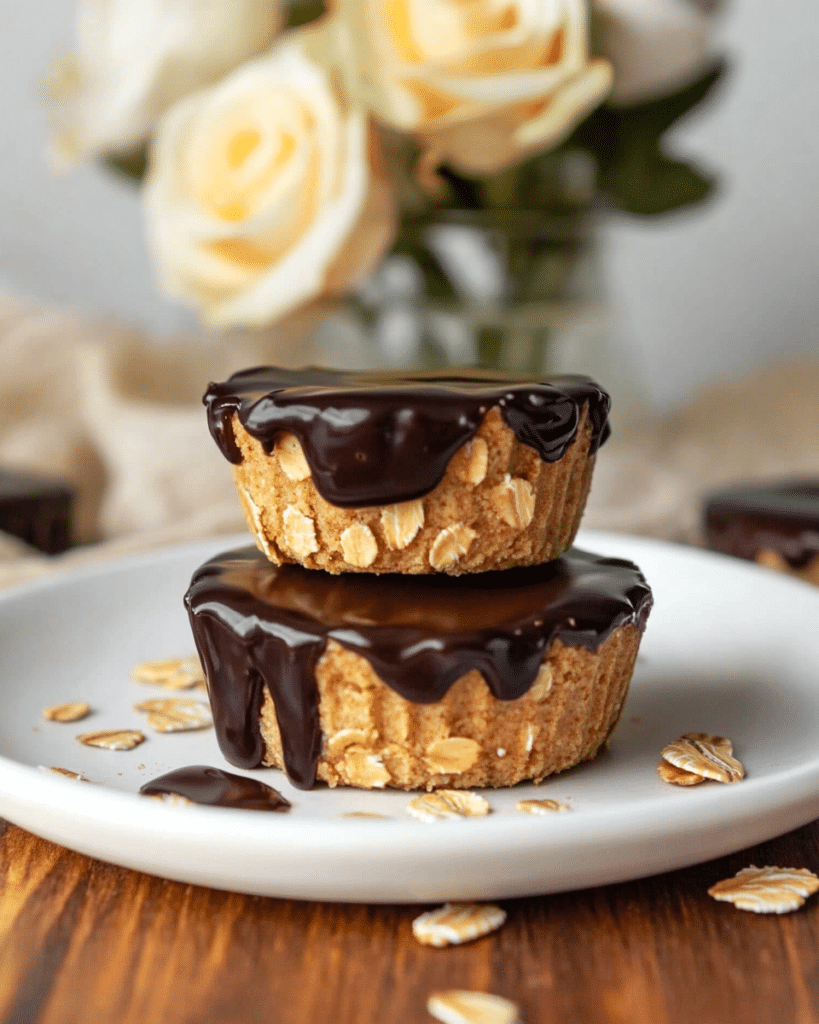
How to Make No Bake Peanut Butter Oat Cups
Let me show you how incredibly easy it is to make these No Bake Peanut Butter Oat Cups:
Prepare Muffin Pan
- First, I prepare a standard muffin pan by lining the cups with paper or silicone cupcake liners. Alternatively, using a silicone muffin pan is the easiest method as shown in the original recipe source. Using liners is highly recommended if using a metal pan, as these can be difficult to remove otherwise.
Prepare Peanut Butter Oat Base
- I add the peanut butter and maple syrup to a medium-sized microwave-safe bowl.
- I microwave this mixture for 40-60 seconds, just to warm it slightly and make it easier to stir.
- I stir thoroughly until the peanut butter and maple syrup are completely combined and smooth.
- Next, I slowly add the oat flour to the bowl and mix well. It should take some effort to mix! You can also transfer this to a standing mixer to do the work for you. The mixture should be very thick but easily moldable.
- If the mixture looks way too dry and crumbly, I add more maple syrup or peanut butter (about a teaspoon extra at a time). You can also add ¼-⅓ cup of pumpkin puree for a much moister cup, though this is optional.
Press Base into Pan
- I scoop the peanut butter oat mixture evenly into the prepared muffin liners.
- I press the mixture down firmly with my fingers or the back of a spoon to create a compact base layer.
Melt Chocolate
- In a microwave-safe small bowl, I add the chocolate chips and the optional coconut oil. (The coconut oil helps the chocolate melt smoothly and creates a slightly softer topping when chilled).
- I heat in 30-second increments in the microwave, stirring with a spoon in between each session, until the chocolate is completely melted and smooth.
Top and Chill
- I pour a layer of the melted chocolate into each muffin cup, over the peanut butter oat base.
- I smooth the top with the back of a spoon.
- Optional: Now is the time to add any toppings like flaky salt, sprinkles, or mini chocolate chips, before the chocolate hardens.
- I place the muffin pan in the refrigerator for 2-3 hours to let the No Bake Peanut Butter Oat Cups set completely.
- Carefully remove from pan.
Tips and Tricks for the BEST No Bake Cups
Here are my secrets for making these treats truly exceptional:
- Use Creamy Peanut Butter: Standard creamy peanut butter (like Jif or Skippy) works best here. Natural peanut butter that separates might make the base too oily or dry.
- Make Your Own Oat Flour: Simply process old-fashioned rolled oats in a food processor or high-speed blender until finely ground.
- Adjust Consistency: Don’t be afraid to add a tiny bit more maple syrup/peanut butter or oat flour to get a thick, moldable (but not dry) consistency for the base.
- Coconut Oil in Chocolate: Adding a teaspoon of coconut oil makes the chocolate layer smoother and slightly softer, making it easier to bite into when chilled.
- Use Liners: Especially if using a metal muffin pan, paper or silicone liners are essential for easy removal.
How to Serve
These No Bake Peanut Butter Oat Cups are perfect served:
- As a Snack: A satisfying and relatively healthy pick-me-up.
- For Dessert: A simple and delicious sweet treat after a meal.
- In Lunchboxes: A great addition to kids’ or adults’ lunchboxes.
- For Parties: An easy no-bake treat for gatherings.
Serve chilled directly from the refrigerator.
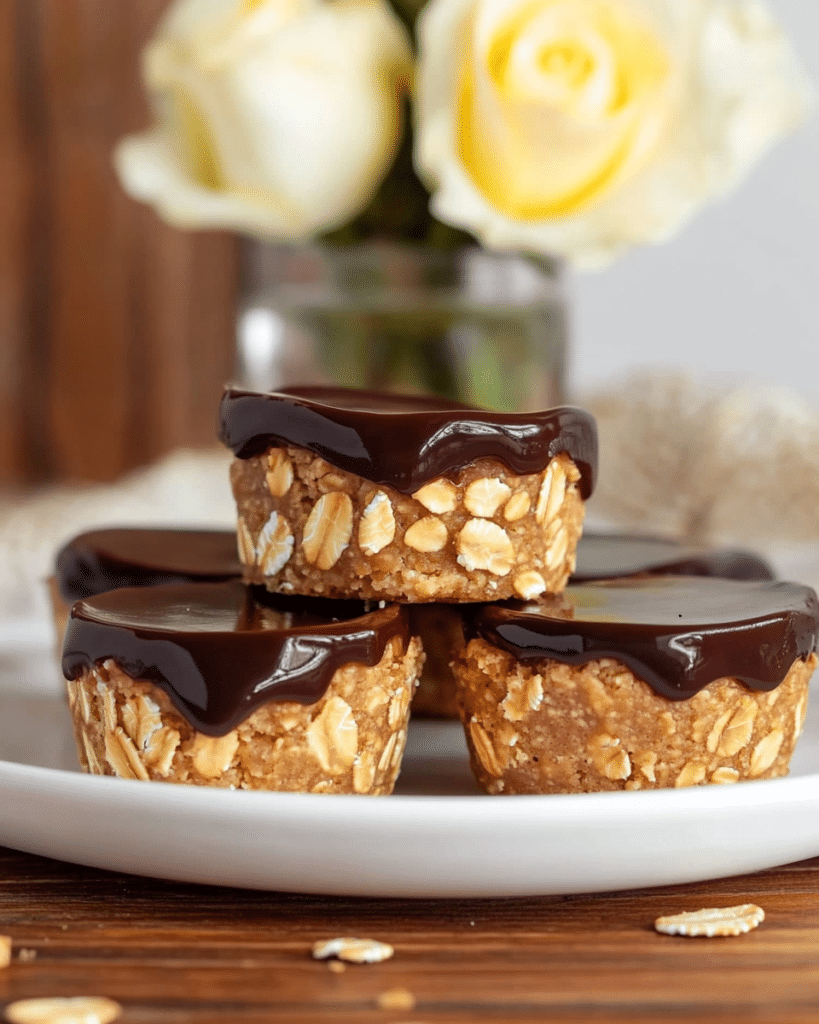
Make Ahead and Storage
These cups are perfect for making ahead! Store the finished No Bake Peanut Butter Oat Cups in an airtight container in the refrigerator. They are best enjoyed within 5 days for optimal freshness. Due to the fresh ingredients, refrigerator storage is recommended over room temperature.
FAQs about No Bake Peanut Butter Oat Cups
- Can I use a different nut butter?
- Yes, almond butter or cashew butter should work well as substitutes for peanut butter. Sunflower seed butter is a good nut-free option.
- Can I make these without maple syrup?
- You can try substituting honey or agave nectar, but the consistency might vary slightly. Adjust liquid/oat flour as needed.
- Can I freeze these?
- Yes, these freeze very well! Store them in a freezer-safe airtight container for up to 2-3 months. Let them thaw slightly before enjoying.
Enjoy these simple, delicious, and satisfying No Bake Peanut Butter Oat Cups! They’re a perfect easy treat for any occasion.
Print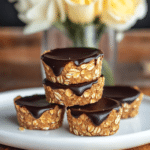
No Bake Peanut Butter Oat Cups
- Prep Time: 10 minutes
- Chill Time: 2 hours
- Total Time: 2 hours 10 minutes
- Yield: 12 cups 1x
- Category: Dessert, Snack, No-Bake
- Cuisine: American
Description
A creamy peanut butter oat layer topped with melted chocolate to make a tasty peanut butter chocolate treat that your whole family will love. These no-bake cups are easy to make and incredibly satisfying.
Ingredients
For the Peanut Butter Oat Base:
- 1 1/2 cups creamy peanut butter (not natural, see notes)
- 1 1/2 cups oat flour (see notes for how to make)
- 1/4 cup pure maple syrup (plus more if needed)
For the Chocolate Topping:
- 1 cup chocolate chips (semi-sweet, milk, or dark)
- 1 teaspoon coconut oil (optional, helps chocolate set smoother)
Optional Toppings:
- Flaky sea salt
- Sprinkles
- Mini chocolate chips
Instructions
- Prepare Muffin Pan: Line a standard 12-cup muffin pan with cupcake liners, or use a silicone muffin pan. Using liners or a silicone pan is highly recommended for easy removal.
- Prepare Peanut Butter Oat Base:
- Place the peanut butter and maple syrup in a medium-sized microwave-safe bowl. Microwave for 40-60 seconds, just until slightly warmed and easier to stir.
- Stir thoroughly until the peanut butter and maple syrup are completely combined and smooth.
- Gradually add the oat flour to the peanut butter mixture. Mix well with a sturdy spoon or spatula (or use a stand mixer with the paddle attachment). The mixture should be very thick but still easily moldable when pressed together.
- Check Consistency: If the mixture seems too dry and crumbly, add more maple syrup or peanut butter, 1 teaspoon at a time, until it holds together. (Optional: For a moister cup, you can add 1/4 – 1/3 cup of pumpkin puree).
- Press Base into Cups: Scoop the peanut butter oat mixture evenly into the prepared muffin cups (about 2-3 tablespoons per cup). Press the mixture down firmly with your fingers or the back of a spoon to create an even base layer.
- Make Chocolate Topping:
- Place the chocolate chips and coconut oil (if using) in a small microwave-safe bowl.
- Heat in 30-second increments at 50% power, stirring well after each interval, until the chocolate is completely melted and smooth.
- Add Chocolate Topping: Pour a layer of the melted chocolate mixture over the peanut butter oat base in each muffin cup. Smooth the top with the back of a spoon.
- Add Optional Toppings: If desired, sprinkle flaky sea salt, sprinkles, or mini chocolate chips over the melted chocolate layer before it hardens.
- Chill: Refrigerate the muffin pan for 2-3 hours, or until the peanut butter oat base and the chocolate topping are completely firm and set.
- Remove and Store: Carefully remove the set cups from the muffin pan (or liners/silicone cups). Store in an airtight container in the refrigerator for up to 5 days for best freshness.
Notes
- Peanut Butter: Use standard creamy peanut butter (like Jif or Skippy) for the best texture. Natural peanut butter may result in a drier, crumblier base.
- Oat Flour: To make oat flour, simply process old-fashioned rolled oats (not instant or steel-cut) in a food processor or high-speed blender until finely ground like flour. Measure after processing.
- Base Consistency: The base should be thick but hold together when pressed. Adjust with tiny amounts of maple syrup/peanut butter if too dry, or a tiny bit more oat flour if too sticky.
- Liners: Using paper or silicone liners is strongly recommended, as the cups can be difficult to remove cleanly from a bare muffin pan.
- Coconut Oil: Adding coconut oil to the chocolate topping is optional but helps create a smoother, slightly shinier finish and makes it a little easier to pour.
- Storage: Because these cups contain fresh ingredients like maple syrup and are not baked, they should be stored in the refrigerator.

