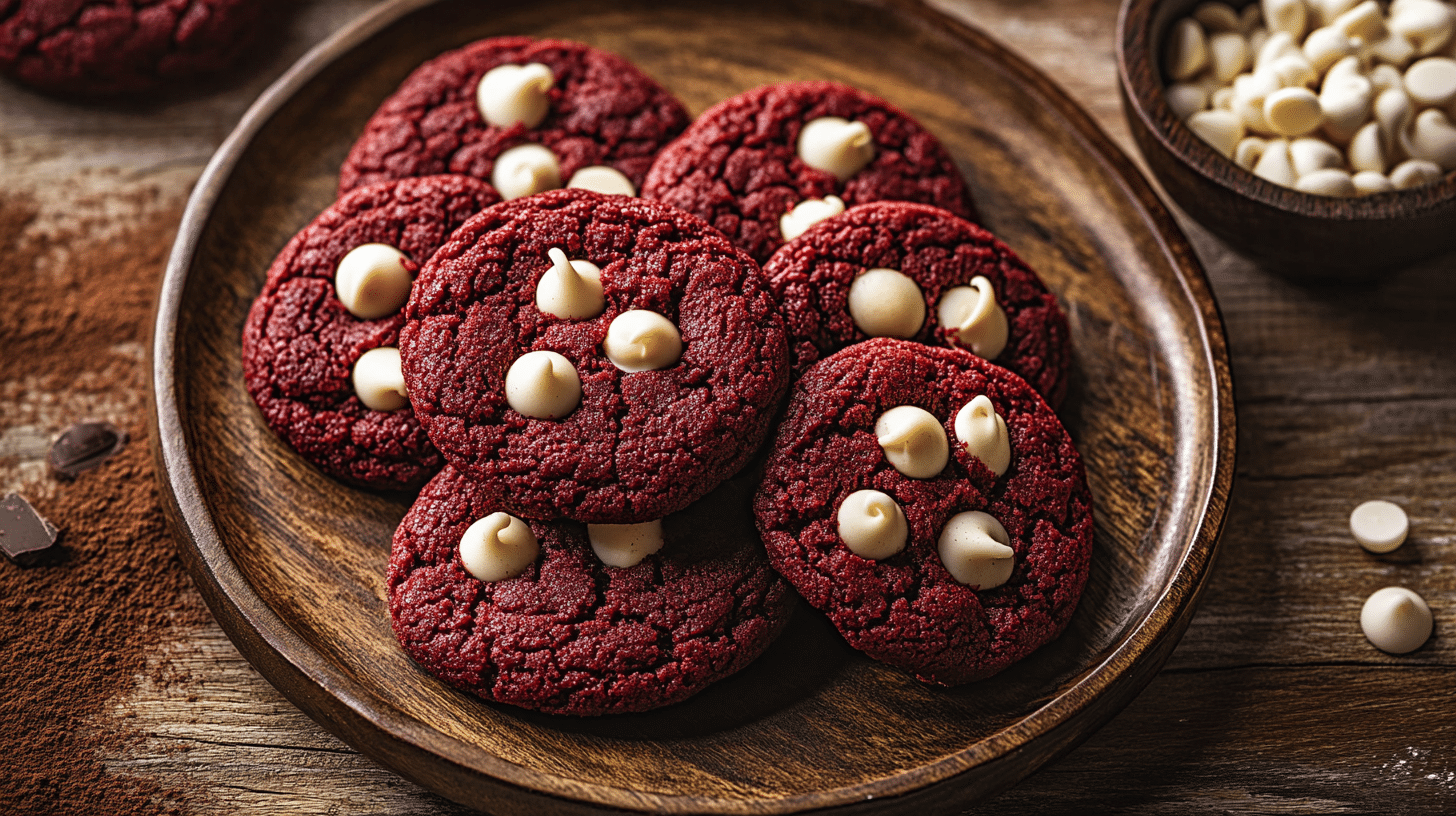
These Easy Red Velvet Bisquick Cookies are a fantastic shortcut to delicious red velvet flavor! Using Bisquick baking mix makes these cookies incredibly simple and quick to whip up, resulting in a soft, chewy cookie with that classic red velvet taste and studded with sweet white chocolate chips. I love using Bisquick for hassle-free baking, and this recipe is perfect for Valentine’s Day, Christmas, or anytime you’re craving a fun and festive treat without a lot of fuss.
Why You’ll Love These Red Velvet Bisquick Cookies
- Super Easy: Using Bisquick mix drastically cuts down on measuring and prep time!
- Soft and Chewy: These cookies have a wonderfully soft and chewy texture.
- Classic Red Velvet Flavor: Captures the beloved taste of red velvet cake in cookie form.
- Quick to Make: Perfect for when you need a delicious treat in a hurry.
- Festive Appearance: The beautiful red color makes them ideal for holidays and special occasions.
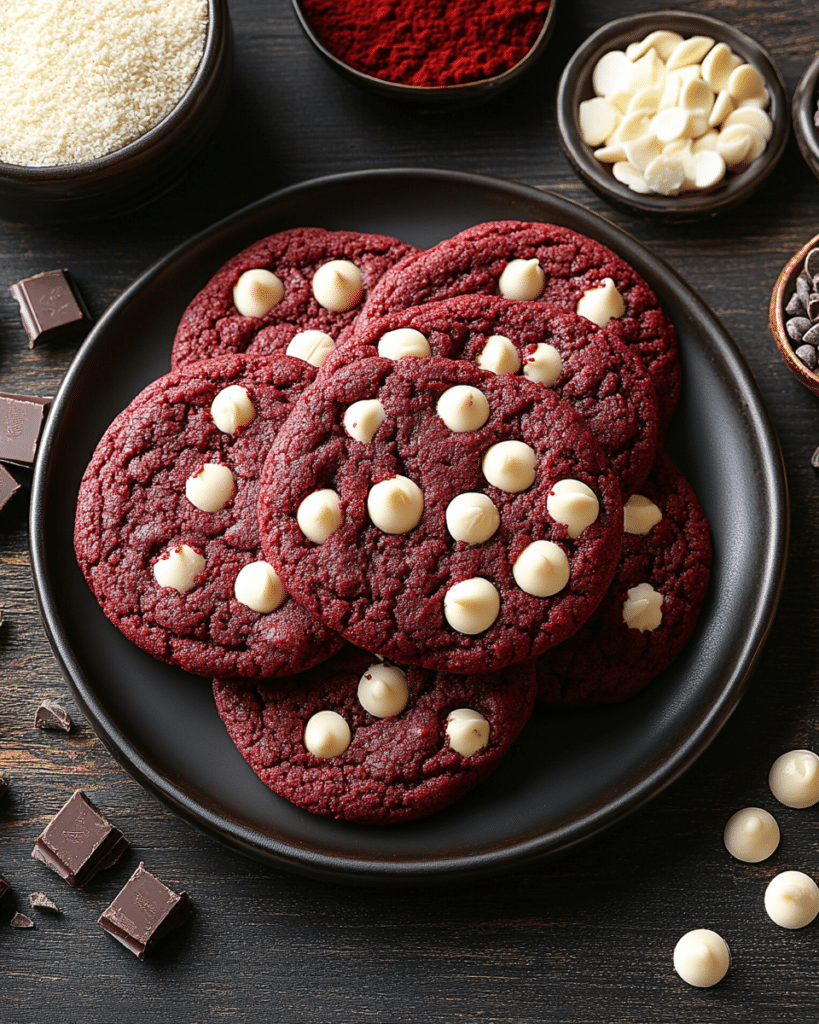
Ingredients for Red Velvet Bisquick Cookies
Here’s what you’ll need to make these easy cookies. The full list with measurements is in the recipe card below.
Main Ingredients
- Unsalted butter, room temperature (Fat)
- Light brown sugar (Sweetener)
- Vanilla extract (Flavoring)
- Large egg (Binder)
- Bisquick mix (Baking Mix) Specific brand implied by name
- Unsweetened cocoa powder (not Dutch processed) (Flavoring)
- Red or pink food coloring gels (Coloring)
- White chocolate chips, divided (Chocolate)
(Note: the full ingredients list, including measurements, is provided in the recipe card below.)
Variations
I love these Red Velvet Bisquick Cookies as is, but here are a few ideas for variations:
- Different Chips: Use regular chocolate chips, dark chocolate chips, or even butterscotch chips instead of white chocolate.
- Add Nuts: Stir in some chopped pecans or walnuts for added texture.
- Cream Cheese Frosting: Top the cooled cookies with a classic cream cheese frosting.
- Make them Sandwich Cookies: Sandwich two cooled cookies together with cream cheese frosting in the middle.
- Add Sprinkles: Mix some festive sprinkles into the dough.

How to Make Red Velvet Bisquick Cookies
Let me show you how incredibly simple it is to make these Easy Red Velvet Bisquick Cookies:
Prep Oven and Baking Sheet
- I heat my oven to 350ºF (175°C).
- I line a baking sheet with parchment paper.
Cream Butter and Sugar
- In a large bowl, I cream the room temperature butter and brown sugar together with an electric mixer on high speed for 2-3 minutes until light and fluffy.
Add Wet Ingredients
- I mix in the vanilla extract and the large egg on low speed until just combined.
Add Dry Ingredients and Color
- Then, I add the Bisquick mix and cocoa powder. I mix until combined. The mixture will be dry and crumbly to start, but I keep mixing, and it will come together like a smooth cookie dough.
- Once mixed, I add in the red food coloring until the desired color has been reached.
Add Chocolate Chips
- I fold in ¾ cup of the white chocolate chips using a spatula.
Scoop and Bake
- Using a 1 ½-inch cookie scoop, I drop dough balls onto the prepared pan, leaving about 2 inches apart.
- I bake for 8-10 minutes.
Finish and Cool
- When the cookies come out of the oven, I add a few additional white chocolate chips to the top of each cookie if desired, pressing them gently into the warm cookie.
- I let the cookies cool on the baking pan for 5 minutes.
- Then, I move them to a wire rack to cool completely.
Tips and Tricks for the BEST Bisquick Cookies
Here are my secrets for making these cookies truly exceptional:
- Room Temperature Ingredients: Ensure your butter and egg are at room temperature for proper creaming and mixing.
- Don’t Overmix: Once the Bisquick and cocoa are added, mix just until combined. Overmixing can lead to tough cookies.
- Use Gel Food Coloring: Gel food coloring provides a more vibrant red color without adding too much extra liquid compared to liquid coloring.
- Don’t Overbake: Pull the cookies from the oven when the edges are just set, and the centers still look slightly soft. They will continue to bake slightly on the hot pan.
- Add Extra Chips: Pressing a few extra white chocolate chips onto the warm cookies makes them look even more appealing!
How to Serve
These Red Velvet Bisquick Cookies are perfect for:
- Valentine’s Day: Their red color makes them a lovely romantic treat.
- Christmas Cookie Platters: Add a festive pop of color to your holiday baking.
- Parties and Potlucks: Easy to make and always a crowd-pleaser.
- Anytime Treat: A delicious cookie to enjoy with a glass of milk or coffee.
Serve at room temperature.
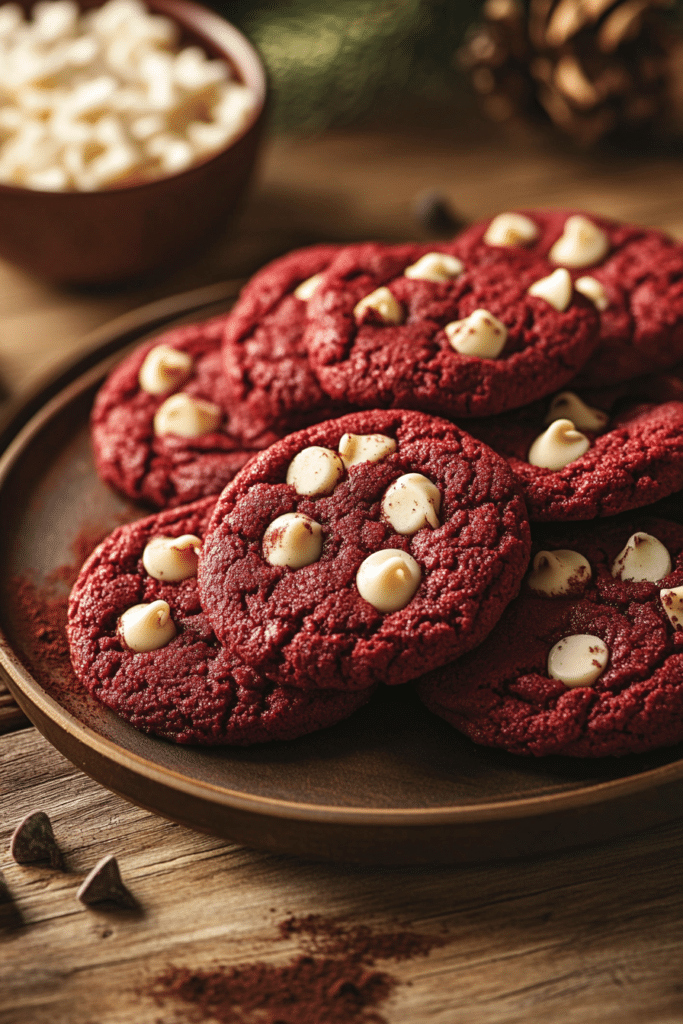
Make Ahead and Storage
You can make the cookie dough ahead of time and store it, well-wrapped, in the refrigerator for up to 2 days. Let the dough soften slightly at room temperature before scooping and baking. Baked cookies can be stored in an airtight container at room temperature for up to 4-5 days.
FAQs about Red Velvet Bisquick Cookies
- Can I make these without Bisquick?
- This recipe relies on the leavening and flour blend in Bisquick. You would need to find a standard red velvet cookie recipe that uses flour, baking soda/powder, and salt separately.
- Why are my cookies dry?
- Overmixing the dough or overbaking the cookies can lead to dryness. Make sure to mix just until combined and bake until the edges are set.
- Can I use regular cocoa powder?
- Yes, but unsweetened cocoa powder contributes to the classic red velvet flavor profile. Dutch-processed cocoa might alter the texture slightly due to its alkalinity interacting differently with the leavening agents in Bisquick.
Enjoy these incredibly easy, soft, chewy, and festive Red Velvet Bisquick Cookies! They’re a perfect shortcut to a delicious treat.
Print
Red Velvet Bisquick Cookies
- Prep Time: 15 minutes
- Cook Time: 10 minutes
- Total Time: 25 minutes
- Yield: 24 cookies 1x
- Category: Dessert, Cookies
- Cuisine: American
Description
These Red Velvet Bisquick Cookies are a quick and easy way to satisfy your red velvet craving! Using Bisquick mix as a shortcut, these cookies are soft, slightly chewy, and packed with white chocolate chips.
Ingredients
- 1/2 cup (1 stick, 113g) unsalted butter, softened to room temperature
- 1 cup (200g) packed light brown sugar
- 2 teaspoons vanilla extract
- 1 large egg
- 1 3/4 cups (210g) Original Bisquick mix
- 1/4 cup (25g) unsweetened cocoa powder (natural, not Dutch-processed)
- Red or pink gel food coloring
- 1 cup white chocolate chips, divided
Instructions
- Preheat Oven and Prepare Baking Sheet: Preheat your oven to 350°F (175°C). Line a baking sheet with parchment paper or a silicone baking mat.
- Cream Butter and Sugar: In a large bowl, using an electric mixer (hand mixer or stand mixer), cream together the softened butter and brown sugar on high speed for 2-3 minutes, until light and fluffy.
- Add Wet Ingredients: Add the vanilla extract and egg to the creamed mixture. Mix on low speed until combined.
- Add Dry Ingredients: Add the Bisquick mix and cocoa powder to the bowl. Mix on low speed. The mixture will initially look dry and crumbly. Continue mixing until it comes together to form a smooth cookie dough.
- Add Food Coloring: Add red (or pink) gel food coloring, a few drops at a time, mixing after each addition, until the dough reaches your desired shade of red.
- Fold in Chips: Reserve a small handful (about 1/4 cup) of the white chocolate chips for topping. Fold the remaining 3/4 cup of white chocolate chips into the cookie dough.
- Scoop Dough: Using a 1 1/2-inch cookie scoop (or a tablespoon), drop rounded portions of dough onto the prepared baking sheet, leaving about 2 inches between each cookie.
- Bake: Bake for 8-10 minutes, or until the edges are set and the centers are still slightly soft. Do not overbake.
- Add Topping: Immediately after removing the cookies from the oven, gently press a few of the reserved white chocolate chips onto the tops of the warm cookies, if desired.
- Cool: Let the cookies cool on the baking pan for 5 minutes before transferring them to a wire rack to cool completely.
Notes
- Bisquick Mix: Use the original Bisquick baking mix for this recipe.
- Cocoa Powder: Use natural unsweetened cocoa powder, not Dutch-processed, as the leavening is balanced for the natural type.
- Butter: Ensure the butter is properly softened to room temperature for best creaming results.
- Mixing: The dough will seem crumbly when the Bisquick is first added, but keep mixing on low speed and it will come together. Avoid overmixing once the dry ingredients are incorporated.
- Food Coloring: Gel food coloring provides the most vibrant color without adding excess liquid.
- Baking Time: Watch the cookies closely, as baking times can vary. They should look slightly underdone in the center when removed from the oven.
- Storage: Store cooled cookies in an airtight container at room temperature for up to 4 days.

