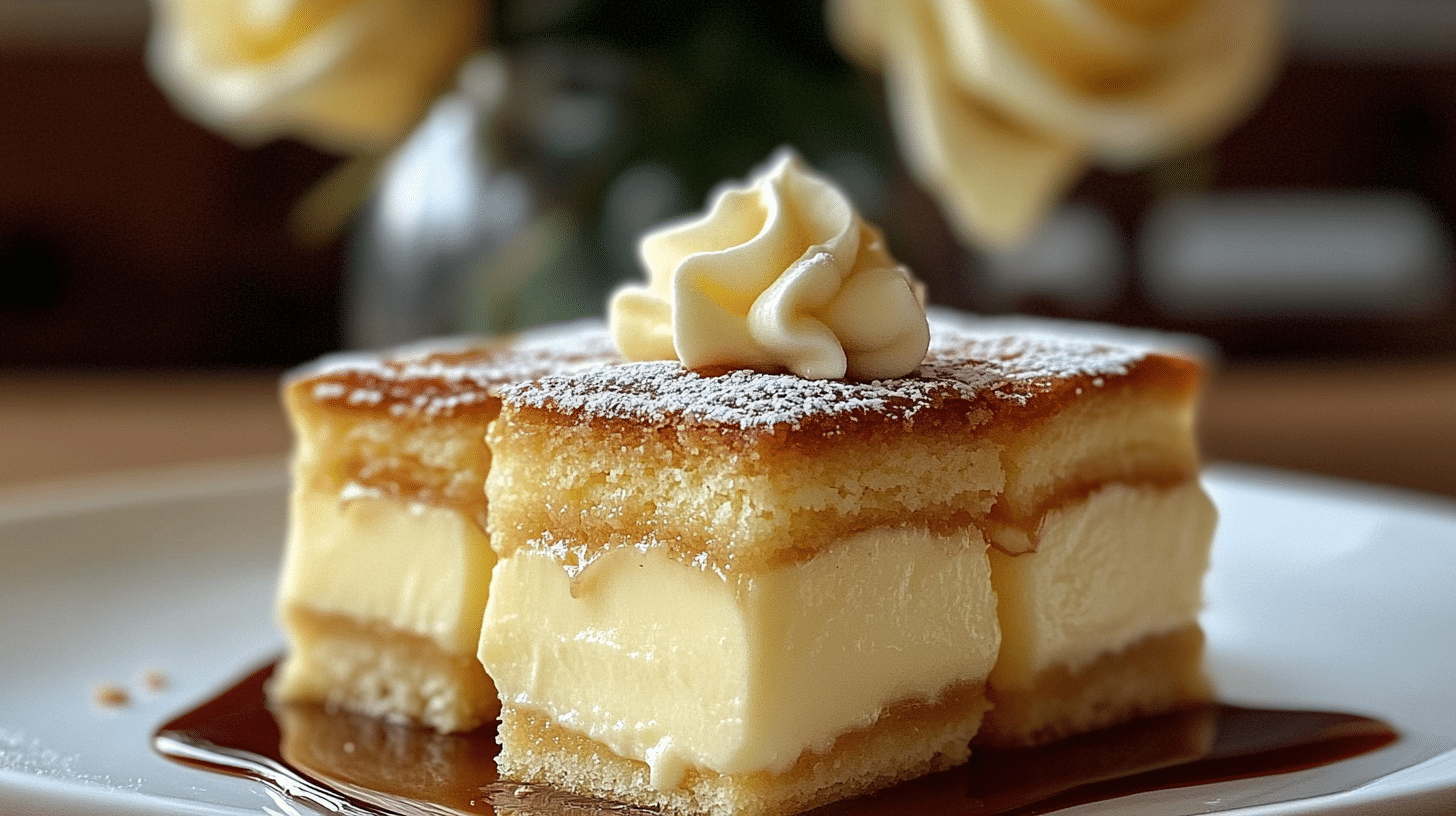
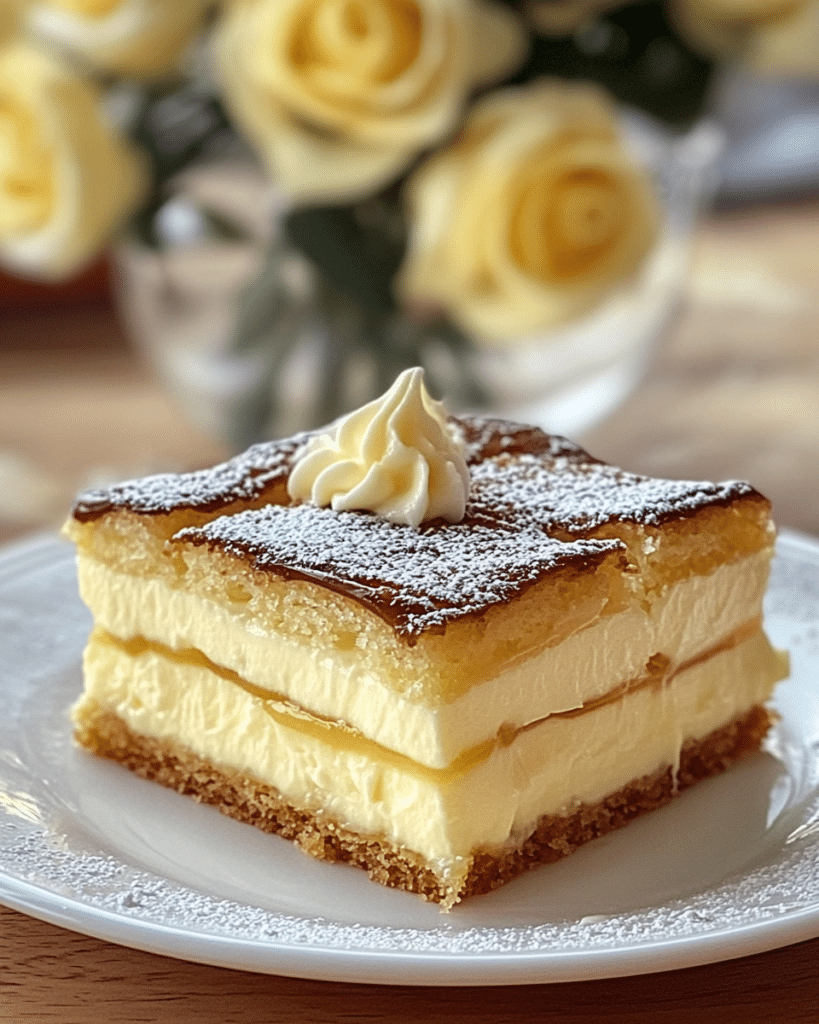
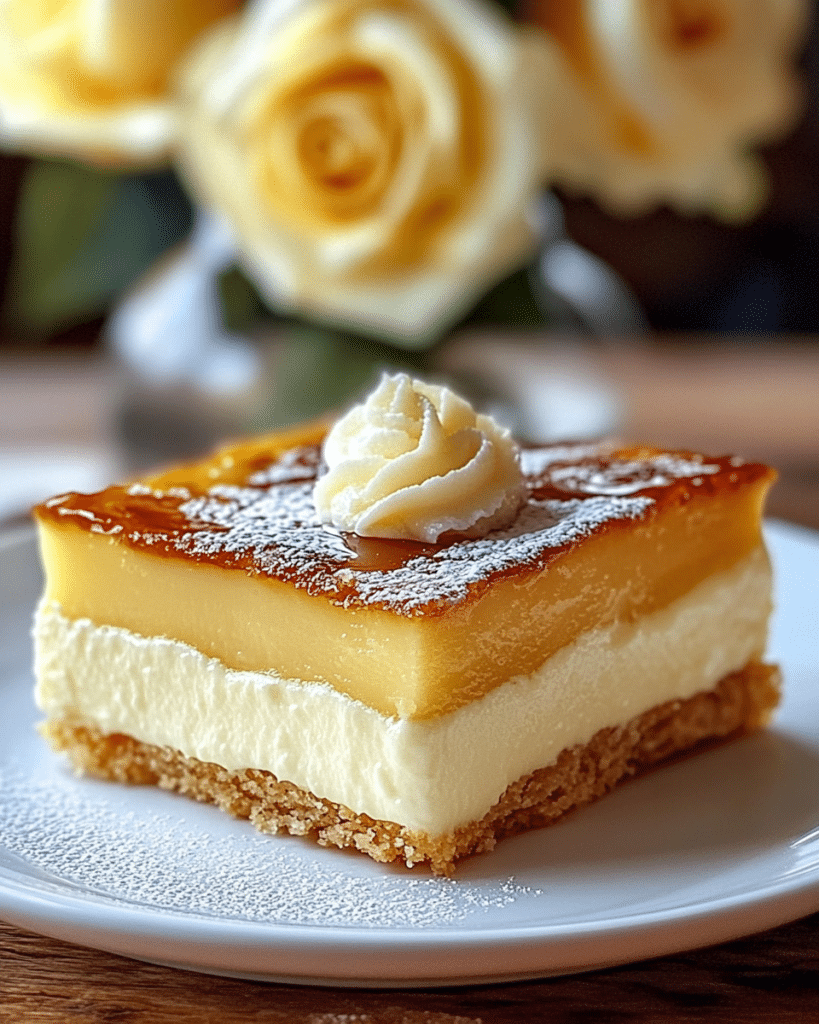
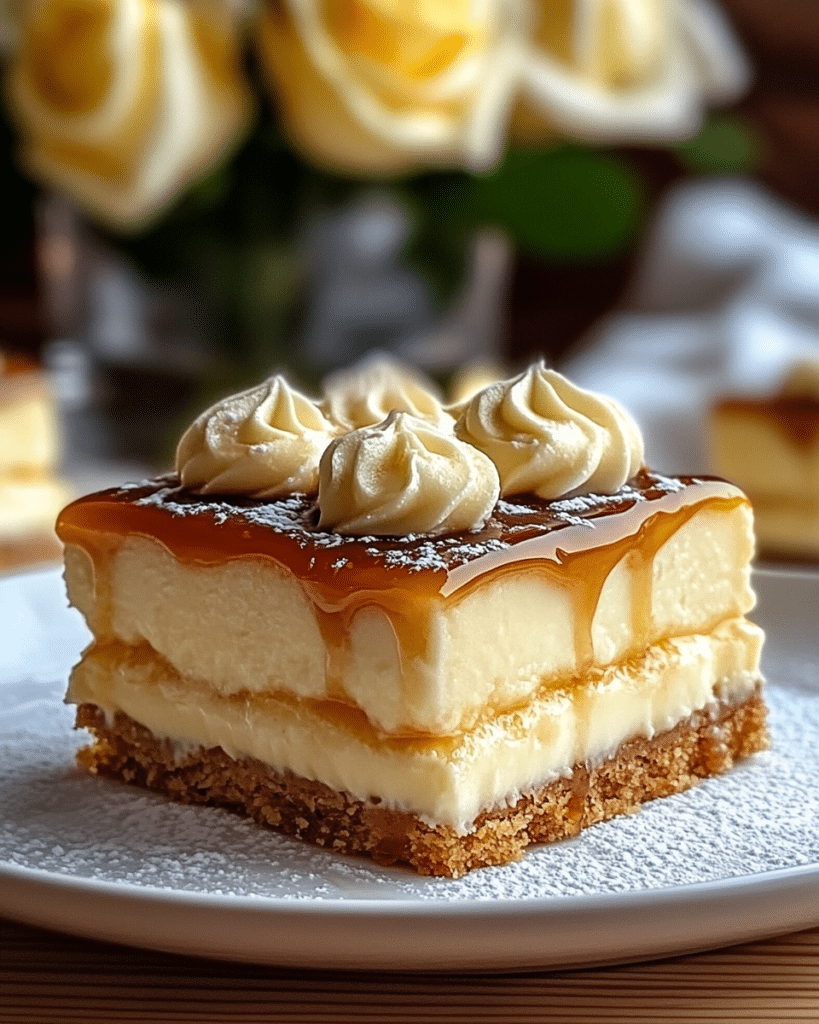
This recipe for Grandma’s Vanilla Custard Squares is pure comfort! It features a tender, buttery shortbread crust topped with a creamy, rich vanilla custard filling that tastes just like heaven. I absolutely adore classic recipes like this – they’re simple, satisfying, and bring back wonderful memories. These Vanilla Custard Squares are perfect for dessert, an afternoon snack with tea, or bringing to a potluck. They have a delicate sweetness and a smooth texture that everyone loves.
Why You’ll Love These Vanilla Custard Squares
- Classic Comfort: A simple, timeless dessert reminiscent of Grandma’s baking.
- Creamy Custard: The homemade custard filling is smooth, rich, and perfectly flavored with vanilla.
- Buttery Shortbread Crust: The crust provides a tender, slightly crisp base that complements the custard beautifully.
- Easy to Make: Despite tasting incredibly delicious, the recipe uses straightforward techniques.
- Perfect for Sharing: Baked in a square pan, they’re easy to cut and share.
Ingredients for Vanilla Custard Squares
Here’s what you’ll need to make this delightful dessert. The full list with measurements is in the recipe card below.
Shortbread Crust
- All-purpose flour (Dry Ingredient)
- Granulated sugar (Sweetener)
- Salt (Seasoning)
- Unsalted butter, chilled and cubed (Fat)
- Large egg yolk (Binder)
- Ice water (if needed) (Liquid)
Vanilla Custard Filling (Derived from instructions)
- Milk (Dairy)
- Heavy cream (Dairy)
- Egg yolks (Binder)
- Granulated sugar (Sweetener)
- Cornstarch (Thickener)
- Pinch of salt (Seasoning)
- Vanilla extract (Flavoring)
For Dusting (Optional)
- Powdered sugar (Sweetener)
(Note: the full ingredients list, including measurements, is provided in the recipe card below.)
Variations
I love the simple elegance of these Vanilla Custard Squares, but here are a few delightful variations:
- Nutmeg: Add a grating of fresh nutmeg over the top before or after baking for a classic custard pairing.
- Lemon or Orange Zest: Add some citrus zest to the custard filling for a brighter flavor.
- Fruit Topping: Serve squares with fresh berries, a berry compote, or sliced peaches.
- Different Crust: Use a shortbread cookie crust or add finely chopped nuts to the crust mixture.
- Coconut: Sprinkle toasted coconut over the top after baking.
How to Make Vanilla Custard Squares
Let me show you how to make these comforting Vanilla Custard Squares:
Prepare the Shortbread Crust
- First, I preheat my oven to 350°F (175°C).
- In a food processor, I combine the flour, granulated sugar, and salt. I add the cold cubed butter and pulse until the mixture resembles coarse crumbs.
- I add the egg yolk and pulse again until the dough just starts to come together. If the dough seems too crumbly, I add a tablespoon of ice water at a time until it just holds together when squeezed.
- I press the dough evenly into the bottom of a 9×9-inch square baking pan that is lightly greased or lined with parchment paper.
- Using a fork, I prick the dough lightly all over (this helps prevent bubbling).
- I bake the crust for about 15-18 minutes or until it’s golden brown and set. I remove it from the oven and allow it to cool slightly while I prepare the custard filling.
Make the Custard Filling
- In a medium saucepan, I combine the milk and heavy cream over medium heat. I stir occasionally until the mixture just begins to simmer (I watch for little bubbles around the edge, but do not let it boil).
- While the milk and cream are heating, I whisk the egg yolks, granulated sugar, cornstarch, and a pinch of salt together in a separate bowl until smooth and slightly thickened.
- Once the milk and cream mixture is simmering, I slowly pour a small amount (about half a cup) of the hot milk mixture into the egg mixture while whisking constantly. This is called tempering, and it gently warms the eggs to prevent them from scrambling.
- Gradually, I add the rest of the hot milk mixture to the egg mixture, whisking continuously.
- I pour the entire custard mixture back into the saucepan.
- I cook over medium heat, whisking constantly, until the custard thickens, which takes about 5-7 minutes. I know it’s ready when it coats the back of a spoon.
- I remove the custard from the heat and stir in the vanilla extract.
Assemble and Bake the Custard Squares
- I pour the hot custard evenly over the slightly cooled shortbread crust and smooth the top with a spatula.
- I bake the assembled squares in the oven for 20-25 minutes, or until the custard is set but still has a slight jiggle in the center.
Cool and Chill
- I remove the pan from the oven and allow the squares to cool completely to room temperature on a wire rack.
- Then, I refrigerate for at least 2-3 hours (or preferably overnight) to allow the custard to fully set and chill.
Finish and Serve
- Once chilled, dust with powdered sugar.
- Slice and serve.
Tips and Tricks for the BEST Custard Squares
Here are my secrets for making these Vanilla Custard Squares truly exceptional:
- Use Cold Butter for Crust: Keeping the butter cold creates pockets of steam during baking, resulting in a tender, flaky shortbread crust.
- Temper Eggs Carefully: Add the hot milk mixture to the yolks very slowly while whisking constantly to prevent scrambled eggs.
- Constant Whisking: Whisk the custard continuously while it cooks to prevent lumps and ensure it cooks evenly.
- Don’t Overbake: Bake the custard just until the center is slightly jiggly. It will continue to set as it cools. Overbaking can lead to a rubbery texture.
- Chill Thoroughly: This dessert needs proper chilling time to fully set and develop the best texture.
How to Serve
These Vanilla Custard Squares are perfect:
- Chilled: Serve directly from the refrigerator for the best texture.
- Dusted with Powdered Sugar: A simple dusting enhances the presentation.
- With Fresh Berries: Serve alongside fresh strawberries, raspberries, or blueberries.
- With Whipped Cream: A dollop of lightly sweetened whipped cream is a lovely addition.
- For Afternoon Tea: An elegant treat to serve with tea or coffee.
Make Ahead and Storage
These custard squares are ideal for making ahead! You can bake them up to 2 days in advance. Store them, covered tightly, in the refrigerator. Add the powdered sugar dusting just before serving.
FAQs about Vanilla Custard Squares
- Can I use a different size pan?
- Yes, but baking times may vary. An 8×8 inch pan would yield slightly thicker squares and might need a few extra minutes.
- Why did my custard filling curdle or look lumpy?
- This usually happens if the eggs were not tempered correctly (hot liquid added too fast) or if the custard was boiled after adding the eggs back to the pan.
- Can I freeze these custard squares?
- Freezing is generally not recommended for custard-based desserts as the texture can become watery or grainy upon thawing.
Enjoy this comforting, creamy, and simply delicious Grandma’s Vanilla Custard Squares! It’s a classic dessert that’s always a welcome treat.
Print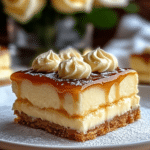
Light and Creamy Vanilla Custard Squares
- Prep Time: 20 minutes
- Chill Time: 2 hours
- Cook Time: 45 minutes
- Total Time: 3 hours 5 minutes
- Yield: 9–12 squares 1x
- Category: Dessert, Bars
- Cuisine: American
Description
This features a tender shortbread crust and creamy, rich vanilla custard filling. The entire combination tastes like heaven and is so good. A delightful dessert reminiscent of Grandma’s baking.
Ingredients
For the Shortbread Crust:
- 1 1/4 cups (156g) all-purpose flour
- 1/4 cup (50g) granulated sugar
- 1/2 teaspoon salt
- 1/2 cup (1 stick, 113g) unsalted butter, chilled and cubed
- 1 large egg yolk
- 1–2 tablespoons ice water (if needed)
For the Custard Filling: (Note: Some quantities estimated based on instructions)
- 1 cup whole milk (estimated)
- 1 cup heavy cream (estimated)
- 4 large egg yolks (estimated)
- 1/2 cup granulated sugar (estimated)
- 3 tablespoons cornstarch (estimated)
- Pinch of salt
- 1 teaspoon pure vanilla extract
For Dusting (Optional):
- Powdered sugar
Instructions
1. Prepare the Shortbread Crust:
- Preheat Oven: Preheat your oven to 350°F (175°C). Lightly grease a 9×9-inch square baking pan or line it with parchment paper, leaving an overhang for easy removal.
- Combine Dry Ingredients: In a food processor, combine the flour, granulated sugar, and salt. Pulse a few times to mix.
- Add Butter: Add the cold cubed butter and pulse until the mixture resembles coarse crumbs.
- Add Egg Yolk: Add the egg yolk and pulse again until the dough just begins to come together.
- Add Ice Water (If Needed): If the dough seems too crumbly, add ice water, 1 tablespoon at a time, pulsing briefly after each addition, until the dough just holds together when squeezed. Do not process until it forms a solid ball. (Alternatively, mix by hand: whisk dry ingredients, cut in butter with pastry blender or fingers, stir in egg yolk and water).
- Press into Pan: Transfer the dough to the prepared baking pan. Press it firmly and evenly into the bottom of the pan.
- Dock the Crust: Use a fork to prick the dough lightly all over. This helps prevent bubbling during baking.
- Bake: Bake the crust for 15-18 minutes, or until it’s lightly golden brown and set.
- Cool Slightly: Remove from the oven and allow the crust to cool slightly on a wire rack while you prepare the custard filling. Keep the oven preheated.
2. Make the Custard Filling:
- Heat Milk and Cream: In a medium saucepan, combine the milk and heavy cream. Heat over medium heat, stirring occasionally, until the mixture just begins to simmer around the edges (small bubbles form). Do not let it come to a full boil.
- Whisk Yolks and Sugar: While the milk mixture is heating, whisk the egg yolks, granulated sugar, cornstarch, and a pinch of salt together in a separate medium bowl until smooth and slightly thickened.
- Temper Eggs (Crucial Step): Once the milk/cream mixture is simmering, slowly pour about half a cup of the hot liquid into the egg yolk mixture while whisking constantly. This tempering process prevents the eggs from scrambling.
- Combine Mixtures: Gradually pour the tempered egg yolk mixture back into the saucepan with the remaining hot milk/cream, whisking continuously.
- Cook Custard: Cook over medium heat, whisking constantly, until the custard thickens enough to coat the back of a spoon (about 5-7 minutes). If you run your finger across the back of the spoon, it should leave a clear trail. Do not let the custard boil vigorously.
- Add Vanilla: Remove the saucepan from the heat and stir in the vanilla extract.
3. Assemble and Bake:
- Pour Custard: Pour the hot custard filling evenly over the slightly cooled shortbread crust in the baking pan. Smooth the top with a spatula.
- Bake: Return the pan to the oven and bake for 20-25 minutes, or until the custard is set around the edges but still has a slight jiggle in the very center.
4. Cool and Chill:
- Cool Completely: Remove the pan from the oven and let the custard squares cool completely to room temperature on a wire rack.
- Chill: Once cooled, cover the pan with plastic wrap and refrigerate for at least 2-3 hours (or preferably overnight) until the custard is fully set and chilled.
5. Finish and Serve:
- Dust (Optional): Once chilled, dust the top of the custard squares generously with powdered sugar, if desired.
- Slice: Use a sharp knife to cut into squares. Wipe the knife clean between cuts for neat slices.
- Serve: Serve chilled.
Notes
- Custard Ingredient Note: The quantities for milk, cream, egg yolks, sugar, and cornstarch in the custard filling were estimated based on the instructions provided, as they were missing from the original ingredient list. Standard custard ratios were used for a 9×9 pan.
- Crust: Using cold butter is key for a tender shortbread crust. A food processor makes it quick, but it can be done by hand.
- Tempering Eggs: Don’t skip the tempering step; it’s crucial for a smooth custard without scrambled eggs.
- Cooking Custard: Whisk constantly while cooking the custard to prevent scorching and ensure even thickening. Do not let it boil rapidly.
- Chilling: Thorough chilling is essential for the custard to set fully. Overnight chilling yields the best texture.
- Storage: Store leftover custard squares covered in the refrigerator for up to 3-4 days.

