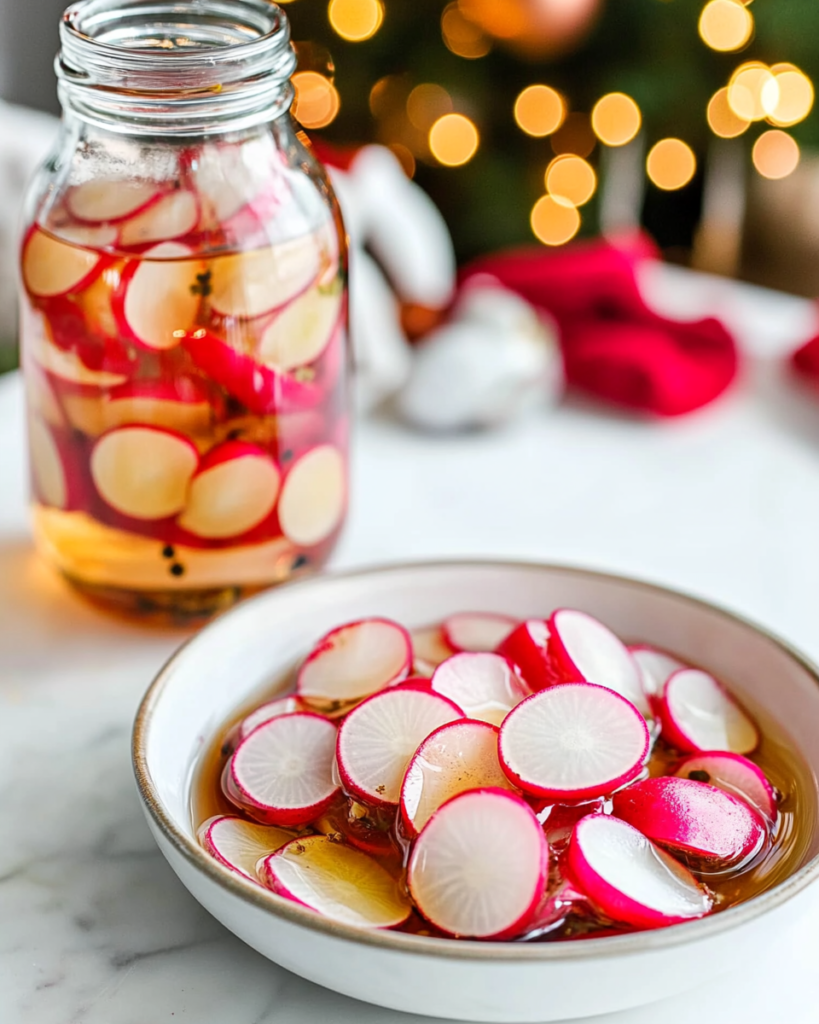
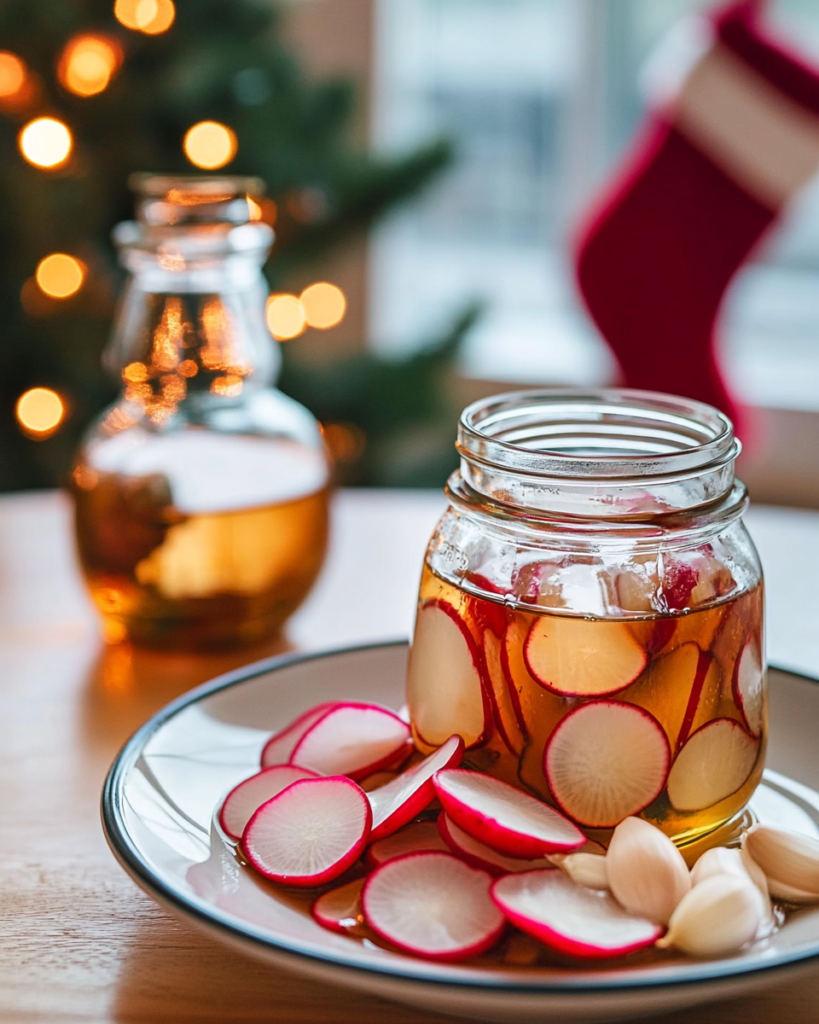
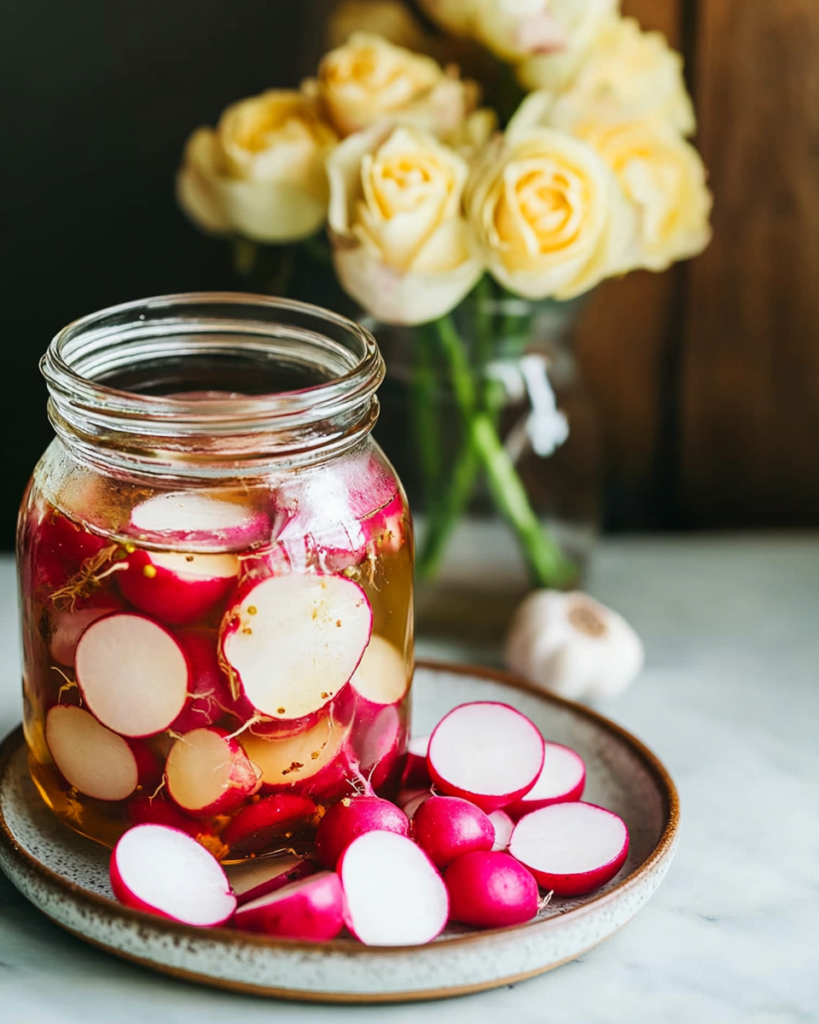
These Quick Sweet & Sour Pickled Radishes are a fantastic way to add a pop of crunchy, tangy flavor to your meals! Made with simple ingredients like fresh radishes, vinegar, water, honey, garlic, and peppercorns, these refrigerator pickles come together in minutes and are ready to enjoy almost immediately. I absolutely love making quick pickles like these Pickled Radishes, especially during the spring (like right now, April 22nd!) when radishes are crisp and abundant here in the US. They’re a delicious way to preserve that peppery crunch and add brightness to salads, tacos, sandwiches, and more!
Why You’ll Love These Quick Pickled Radishes
- Quick and Easy: Ready in under 30 minutes (plus cooling/chilling time) – no canning required!
- Crunchy and Tangy: Perfectly crisp radishes with a delightful sweet and sour brine.
- Simple Ingredients: Uses basic pantry staples you likely already have.
- Versatile Condiment: Adds a bright, crunchy element to countless dishes.
- Great Way to Use Radishes: Perfect for using up a bunch of fresh spring radishes.

Ingredients for Sweet & Sour Pickled Radishes
Here’s what you’ll need to make these easy refrigerator pickles. The full list with measurements is in the recipe card below.
Main Ingredients
- Radishes (fresh, any variety) (Vegetable)
- Garlic cloves, thinly sliced (Aromatic)
- Peppercorns (whole) (Spice)
Pickling Brine
- Water (Liquid)
- Apple cider vinegar (or white wine vinegar, or rice vinegar) (Acid)
- Honey (Sweetener)
- Salt (Seasoning) (Note: “Coffee spoon” likely means teaspoon)
(Note: the full ingredients list, including measurements, is provided in the recipe card below.)
Variations
I love the simple sweet and sour profile of these Pickled Radishes, but here are some variations:
- Add Dill: Tuck a few sprigs of fresh dill into the jar along with the garlic and peppercorns.
- Make them Spicy: Add a thinly sliced jalapeño or a pinch of red pepper flakes to the jar.
- Different Spices: Add mustard seeds, coriander seeds, or a bay leaf to the brine.
- Different Sweetener: Use granulated sugar or maple syrup instead of honey (adjust amount to taste).
- Other Vegetables: Add thinly sliced onions or carrots to the jar along with the radishes.

How to Make Sweet & Sour Pickled Radishes
Let me show you how incredibly easy it is to make these Quick Pickled Radishes:
Prep the Radishes
- First, I wash the radishes thoroughly. I slice off the green tops and the thin root ends.
- Using a sharp knife or a mandoline slicer (for super even slices!), I slice the radishes into thin rounds, about ⅛ inch thick.
- I pack these radish rounds tightly into a clean canning jar (or any glass jar with a lid).
- I tuck the thinly sliced garlic cloves and the whole peppercorns in amongst the radish slices.
Make the Brine
- In a small saucepan, I combine the water, apple cider vinegar (or other vinegar), salt, and honey.
- I heat this mixture over medium heat, stirring, just until the honey and salt dissolve. I don’t need to bring it to a rolling boil for this quick pickle method.
Combine and Chill
- Carefully, I pour the warm brine mixture over the radishes in the jar, ensuring the radishes are completely submerged.
- I close the lid tightly on the jar.
- I let the jar cool completely to room temperature on the counter.
- Once cool, I can serve the Pickled Radishes immediately, or (even better!) store them in the refrigerator. Their flavor improves after chilling for at least a few hours.
Tips and Tricks for the BEST Quick Pickles
Here are my secrets for making perfect Pickled Radishes:
- Use Fresh, Crisp Radishes: Choose radishes that feel firm and look vibrant.
- Slice Uniformly: Using a mandoline ensures even thickness, which helps the radishes pickle consistently and maintain a nice crunch.
- Pack the Jar Tightly: Fit as many radish slices into the jar as you can without crushing them.
- Ensure Submersion: Make sure the radishes are fully covered by the brine to ensure proper pickling and preservation. Add a little extra vinegar/water mix if needed.
- Chill for Flavor: While edible quickly, the flavor of quick pickles develops significantly after chilling in the refrigerator for at least a few hours or overnight.
How to Serve
These Sweet & Sour Pickled Radishes add a fantastic crunchy, tangy element to so many dishes! Serve them:
- On Tacos: A classic topping for street tacos, carnitas, or fish tacos.
- In Salads: Add a bright, peppery crunch to green salads or grain bowls.
- On Sandwiches: Layer them into sandwiches or wraps for extra zing.
- With Avocado Toast: A perfect tangy counterpoint to creamy avocado.
- On Cheese Boards: A colorful and crunchy addition alongside cheeses and meats.
- As a Simple Side: Serve as a small, refreshing side dish with grilled meats or rich dishes.

Make Ahead and Storage
These quick pickles are designed to be made ahead! Store the Pickled Radishes in their brine in a sealed jar in the refrigerator. They are best enjoyed within 10 days for optimal crispness and flavor.
FAQs about Sweet & Sour Pickled Radishes
- What kind of radishes should I use?
- Standard red globe radishes work perfectly! You could also try French breakfast radishes or Daikon radish (cut into smaller matchsticks or thin rounds).
- Can I use a different type of vinegar?
- Yes! White wine vinegar or rice vinegar are great substitutes for apple cider vinegar and offer slightly different flavor profiles. Distilled white vinegar will work but has a sharper flavor.
- Do I need to use honey?
- No, you can substitute granulated sugar or maple syrup for the honey, adjusting the amount to your desired sweetness. You can also omit the sweetener for a purely sour pickle.
Enjoy this incredibly easy, crunchy, and tangy Sweet & Sour Pickled Radishes recipe! It’s a fantastic way to add brightness to your meals.
Print
Sweet & Sour Pickled Radishes
- Prep Time: 10 minutes
- cooling time: 1 hour
- Cook Time: 5 minutes
- Total Time: 1 hour 15 minutes
- Yield: 1 1x
- Category: Side Dish, Condiment, Pickles, Appetizer
- Cuisine: American
Description
These Sweet & Sour Pickled Radishes are a quick and easy way to preserve the crunchy, peppery bite of radishes with a tangy, slightly sweet brine. Perfect as a condiment, snack, or addition to salads and sandwiches.
Ingredients
- 1 bunch fresh radishes (about 10–12 medium radishes)
- 1/2 cup (125ml) water
- 1/2 cup (125ml) apple cider vinegar (or white wine vinegar, or rice vinegar)
- 1 tablespoon honey (or granulated sugar)
- 1 teaspoon salt
- 1–2 garlic cloves, thinly sliced
- 1 teaspoon whole peppercorns (black recommended)
Instructions
- Prepare Radishes and Garlic: Wash the radishes thoroughly. Trim off the tops (greens) and the root ends. Using a mandoline slicer or a sharp knife, slice the radishes into thin rounds (about 1/8 inch thick). Thinly slice the garlic cloves.
- Pack Jar: Pack the radish rounds tightly into a clean canning jar (pint size works well). Tuck the sliced garlic and whole peppercorns in amongst the radish slices.
- Make Brine: In a small saucepan, combine the water, vinegar, salt, and honey (or sugar). Heat the mixture over medium heat, stirring occasionally, just until the salt and honey/sugar are completely dissolved. Do not boil.
- Pour Brine: Carefully pour the warm brine mixture over the radishes in the jar, ensuring the radishes are completely submerged.
- Cool and Store: Let the jar cool completely to room temperature. Once cool, close the lid tightly.
- Serve or Refrigerate: You can serve the pickled radishes immediately (though flavor improves with time), or store them in the refrigerator. They are best after chilling for at least a few hours or overnight.
Notes
- Radishes: Any common variety of radish will work. Ensure they are fresh and crisp.
- Slicing: A mandoline provides uniform thin slices, which is ideal for pickling. Be careful when using one.
- Vinegar: Apple cider vinegar provides a good balance. White wine or rice vinegar offer slightly different flavor profiles.
- Sweetener: Honey or granulated sugar can be used. Adjust the amount slightly to your preference.
- Spices: Feel free to add other pickling spices like mustard seeds, dill seeds, or a bay leaf.
- Storage: Store the pickled radishes in the sealed jar in the refrigerator for up to 10 days (as recommended by the original source) or potentially longer (up to 2-3 weeks). They will lose some crispness over time.
- Serving: Enjoy as a snack, on salads, in tacos, on sandwiches, or as part of an appetizer platter.
