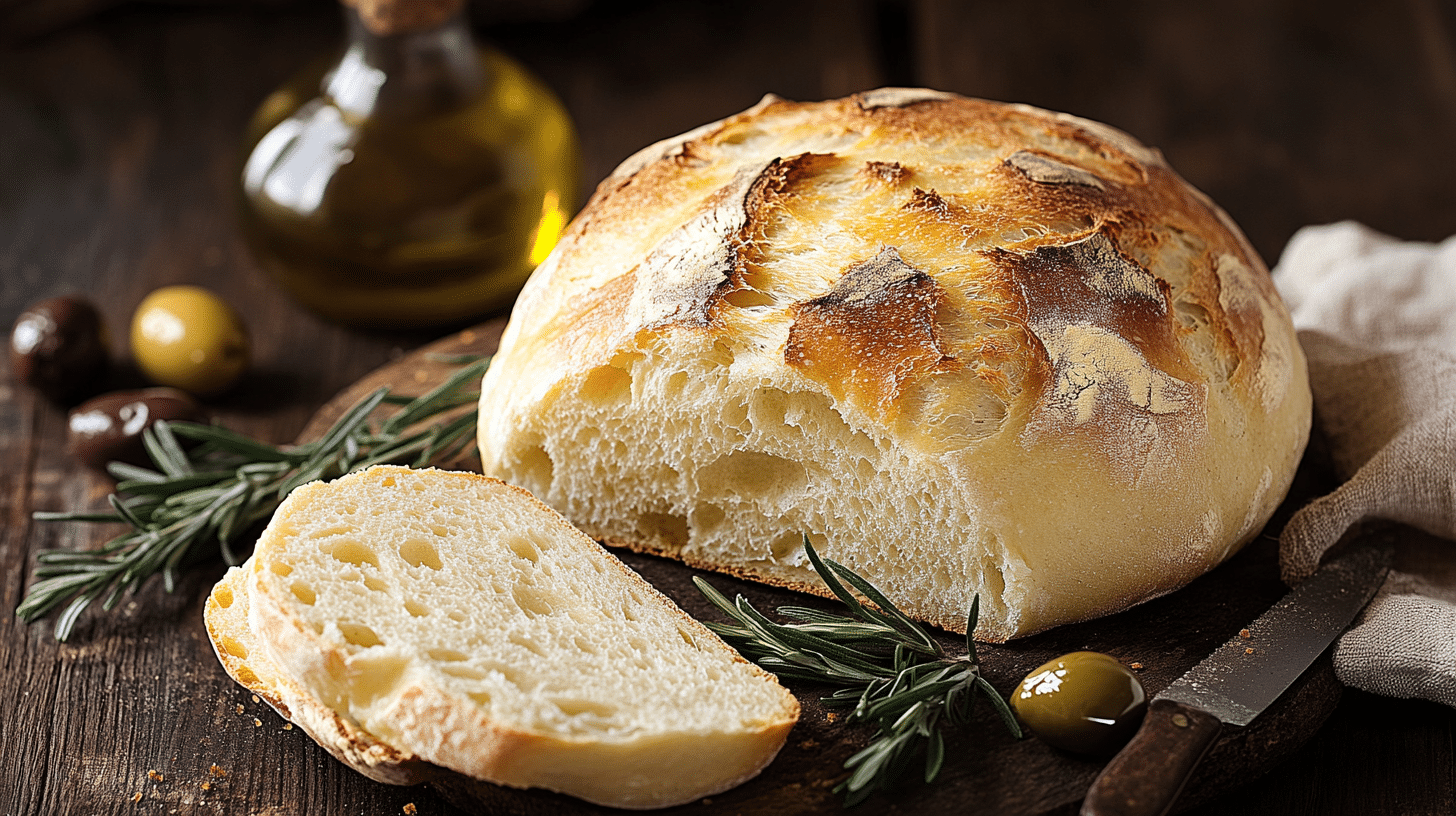
This Rustic Italian Crusty Bread is a bread lover’s dream come true! It’s a simple, no-knead bread recipe that results in a loaf with a beautifully crusty exterior and a soft, chewy interior. I love how this bread requires minimal effort but delivers maximum flavor and texture. It’s perfect for dipping in olive oil, serving with soups and stews, or simply enjoying on its own. Get ready to experience the joy of homemade bread with this easy and rewarding recipe!
Why You’ll Love This Rustic Italian Bread
- No Kneading Required: This recipe uses a long, slow rise to develop the gluten, so there’s no need for kneading.
- Crusty and Chewy: Baking the bread in a Dutch oven (or with a water bath) creates a crispy crust and a soft, chewy interior.
- Simple Ingredients: This bread is made with just a few basic pantry staples: flour, water, yeast, and salt.
- Easy to Make: The recipe is straightforward and foolproof, even for beginner bakers.
- Authentic Italian Flavor: This bread has a classic, rustic Italian flavor that’s perfect for any meal.
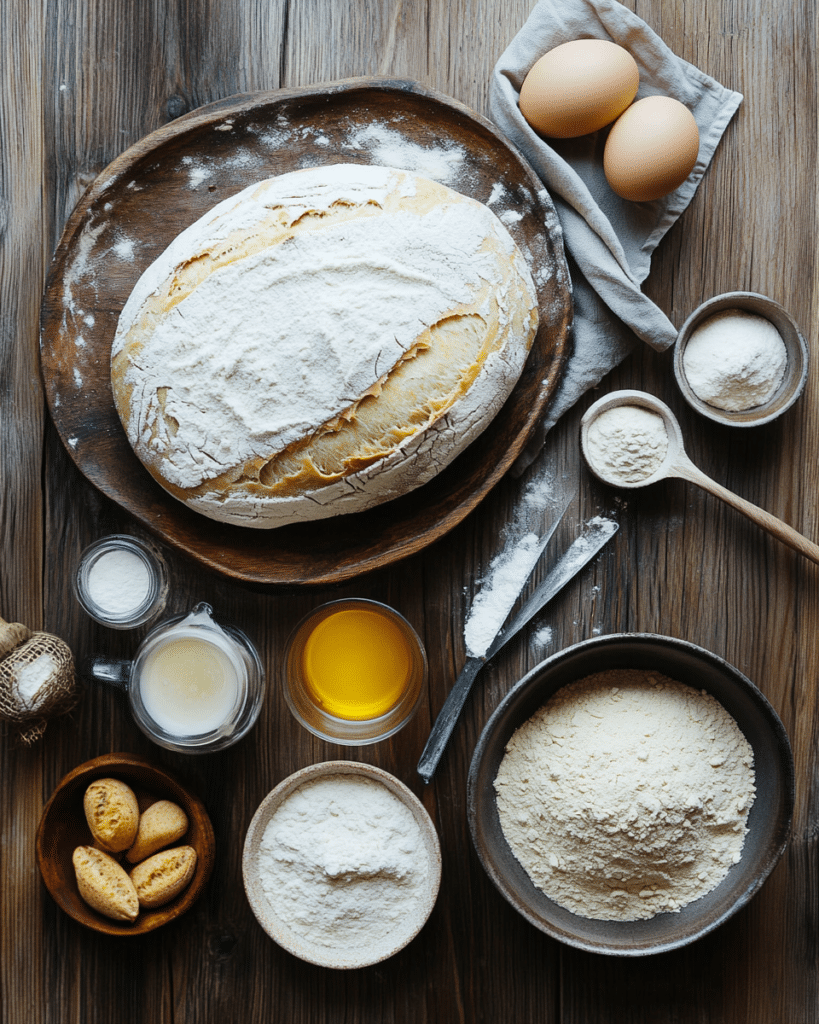
Ingredients for Rustic Italian Crusty Bread
Here’s what you’ll need to make this delicious bread. The full list with measurements is in the recipe card below.
Main Ingredients
- All-purpose flour (plus more for dusting) (Dry Ingredient)
- Sea salt (Seasoning)
- Warm water (Liquid)
- Instant yeast (or active dry yeast) (Leavening Agent)
- Semolina Flour or Corn Meal
(Note: the full ingredients list, including measurements, is provided in the recipe card below.)
Variations
I love this Rustic Italian Crusty Bread as is, but here are a few ideas for variations:
- Add Herbs: Stir in some chopped fresh rosemary, thyme, or oregano to the dough.
- Garlic and Cheese: Add some roasted garlic and grated Parmesan cheese to the dough.
- Olives: Add some chopped Kalamata olives or green olives to the dough.
- Whole Wheat: Substitute some whole wheat flour for a portion of the all-purpose flour.
- Seeds: Add some sesame seeds, poppy seeds, or sunflower seeds to the dough or sprinkle them on top before baking.
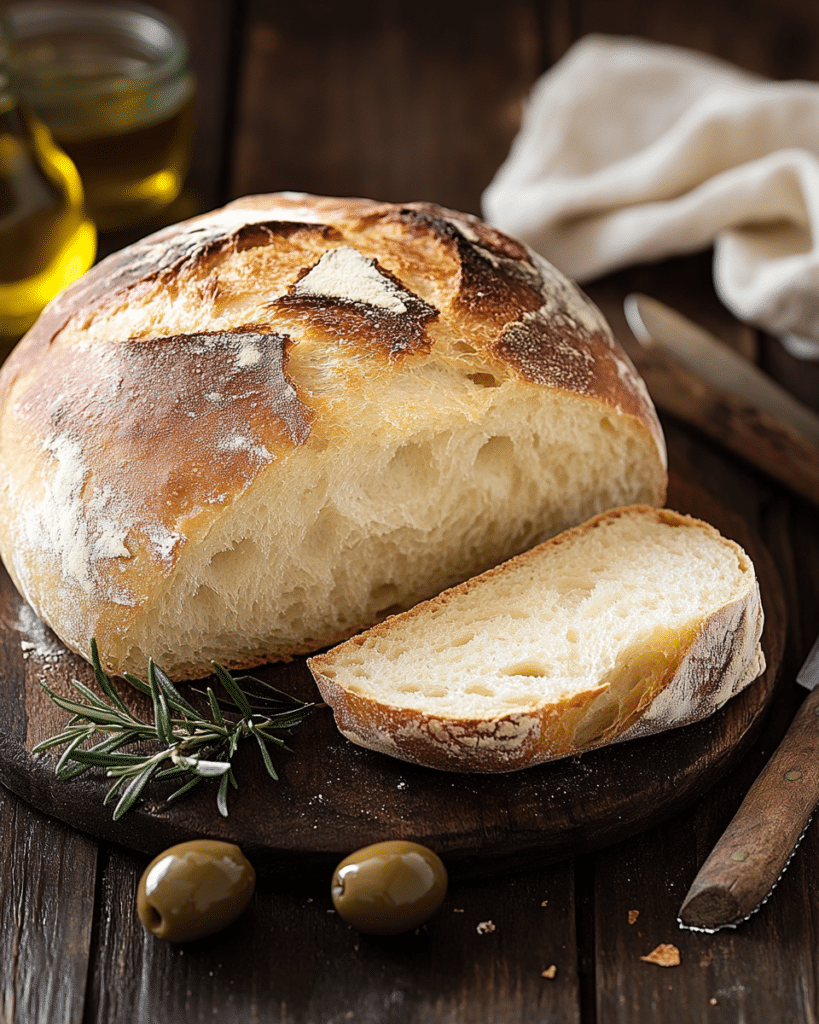
How to Make Rustic Italian Crusty Bread
Let me show you how easy it is to make this Rustic Italian Crusty Bread:
Mix Ingredients
- In a large mixing bowl or your kitchen aid mixer, I add the flour, salt, and yeast. I use a spatula or the paddle attachment and mix to combine well.
- I pour in the warm water and keep mixing until everything is incorporated and a soft dough has formed. It will still stick to the bottom of the bowl, and that is OK.
First Rise
- I cover the bowl with some plastic wrap loosely and a tea towel.
- I allow the dough to rise at room temperature for 2 to 3 hours, until doubled in size. (If it’s cold out, I like to preheat my oven for a few minutes, then turn it off, then place the bowl in the oven, trapping the heat inside. If your house is warm, just leave it out, or if it’s warm outside, you can place it there).
Preheat Oven and Dutch Oven (or Prepare Water Bath)
- After the two- to three-hour rise time, when the dough has about doubled, I have two options: bake, or store in the fridge.
- 30 minutes to an hour before I am ready to bake, I preheat my oven to 450 degrees F (232°C).
- Dutch Oven Method: I place my Dutch oven in the oven, with the lid on, while the oven is preheating. Once the oven reaches 450, I keep it preheating for another 20 minutes, so the Dutch oven gets good and hot.
- Pizza Stone Method: Place pizza stone.
Shape the Dough
- I sprinkle some flour on my kitchen counter and dump the bread dough on it.
- I flour my hands to help it out of the bowl as it will be sticky. Don’t panic, this is normal.
- With floured hands, I fold the dough onto itself, forming it into a round ball. I do not knead it; I do not handle it anymore than I need to.
Second Rise (Brief)
- I place the bread dough on top of a lightly floured piece of parchment paper.
- I use a sharp knife and lightly carve an “X” in the top of the loaf or just make a few cuts across.
- Let it rest.
Bake (Dutch Oven Method)
- I take out the preheated Dutch oven and take off the lid, carefully!
- I grab the parchment from the sides and place the loaf in my Dutch oven.
- I place the cover back on the Dutch oven and place it in the preheated oven on the center rack.
- I bake for 35 minutes at 450 degrees F (232°C) (40 minutes if dough was cold from the fridge).
- I remove the lid and bake for another 5-10 minutes, until a golden brown color forms – longer if necessary.
Bake (Pizza Stone Method)
- Once the oven is hot, I sprinkle the pizza stone with some semolina flour or corn meal.
- I carefully slide the bread loaf on top.
- I fill an oven-proof bowl with 2 inches of water and place it on the bottom rack. This will create the steam that will cause the crust to become crispy as it bakes.
- Bake 30 to 45 min.
Cool and Serve
- Cool and serve
Tips and Tricks for the BEST Crusty Bread
Here are my secrets for making this bread truly exceptional:
- Warm Water: Make sure the water is warm (about 100°F/38°C) but not hot, to activate the yeast.
- Sticky Dough is Okay: The dough will be sticky – that’s normal for a no-knead bread. Don’t add too much extra flour.
- Long, Slow Rise: The long rise time is essential for developing the flavor and texture of the bread.
- Hot Dutch Oven: Preheating the Dutch oven (or using a pizza stone and water bath) creates a steam environment that results in a crispy crust.
- Don’t Over-Handle: Handle the dough gently when shaping it to avoid deflating it.
- Cool Completely: Let the bread cool completely before slicing to prevent it from being gummy.
How to Serve
This Rustic Italian Crusty Bread is delicious served:
- Warm with Butter: A classic and simple way to enjoy fresh bread.
- With Olive Oil and Balsamic Vinegar: Perfect for dipping.
- With Soup or Stew: A great accompaniment to your favorite soup or stew.
- Sandwiches: Use it to make sandwiches.
- Bruschetta or Crostini: Toast slices and top with your favorite toppings.
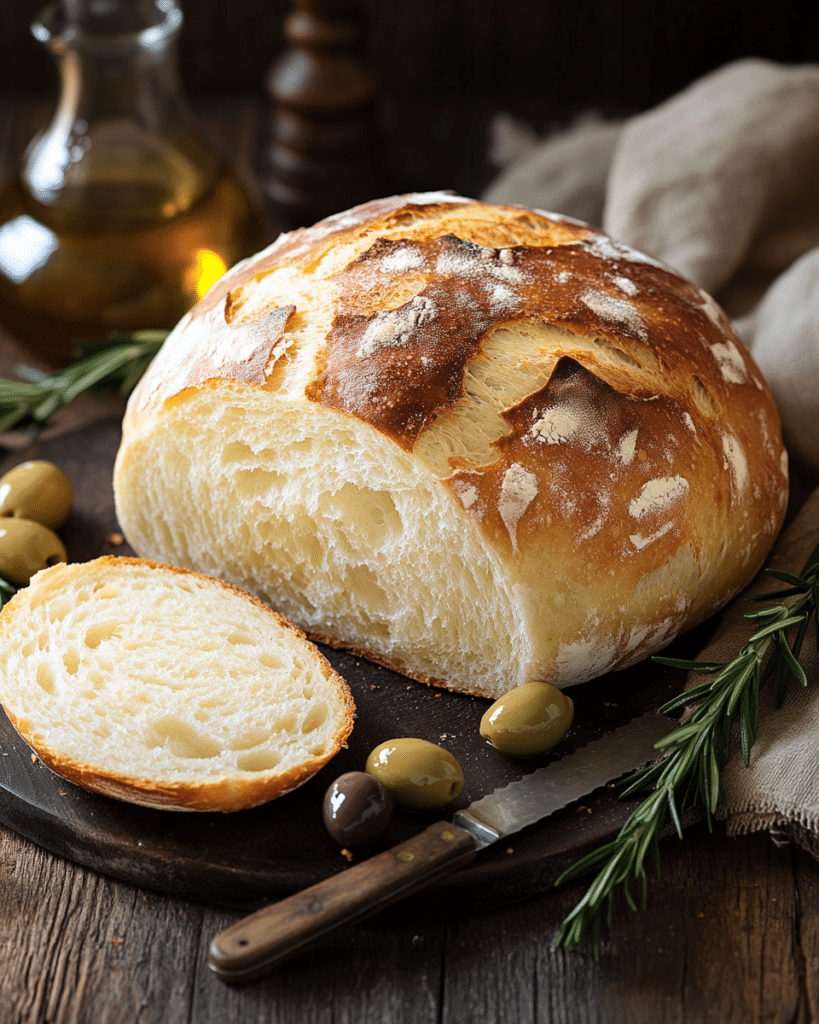
Make Ahead and Storage
You can store the dough, after the first rise, in the refrigerator for up to 3 days. Baked bread can be stored at room temperature for up to 2 days or frozen for longer storage.
FAQs about Rustic Italian Crusty Bread
- Can I use a different type of flour?
- You can use bread flour instead of all-purpose flour for a chewier loaf.
- What if I don’t have a Dutch oven?
- Check above on how to use a Pizza Stone.
- Can I add other ingredients to the dough?
- Yes, you can
Enjoy this incredibly easy and delicious Rustic Italian Crusty Bread! It’s a perfect way to enjoy fresh, homemade bread without all the fuss.
Print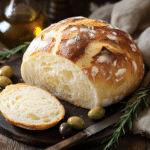
Rustic Italian Crusty Bread
- Prep Time: 10 minutes
- Rise Time: 2 hours
- Cook Time: 35 minutes
- Total Time: 2 hours 45 minutes
- Yield: 1 loaf 1x
- Category: Bread
- Cuisine: Italian, Artisan Bread
Description
This Rustic Italian Crusty Bread recipe is surprisingly easy, requiring no kneading! With just a few simple ingredients and a long rise, you can achieve a beautiful, crusty loaf with a soft, airy interior, perfect for dipping, sandwiches, or enjoying on its own.
Ingredients
- 3 1/4 cups (406g) all-purpose flour, plus more for dusting
- 1 teaspoon fine sea salt (see notes)
- 1 1/2 cups warm water (100-110°F / 38-43°C)
- 2 teaspoons instant yeast (or active dry yeast, see notes)
- Semolina Flour or Cornmeal
Instructions
-
Combine Dry Ingredients: In a large mixing bowl (or the bowl of a stand mixer), combine the all-purpose flour, salt, and instant yeast (or active dry yeast). Whisk or stir with a spatula to distribute the ingredients evenly.
-
Add Water: Pour the warm water into the bowl with the dry ingredients.
-
Mix Dough: Using a spatula or the paddle attachment of a stand mixer, mix the ingredients until a shaggy, sticky dough forms. Make sure all the flour is incorporated and there are no dry spots. The dough will be quite wet and sticky; this is normal for a no-knead bread.
-
First Rise (Bulk Fermentation): Cover the bowl loosely with plastic wrap and a clean kitchen towel. Let the dough rise in a warm place for 2-3 hours, or until it has doubled in size. Note: If your kitchen is cold, you can preheat your oven to the lowest setting for a few minutes, then turn it off and place the covered bowl inside to rise.
-
Shape Dough: After the dough has doubled, generously dust a large piece of parchment paper (or your countertop) with flour. Gently scrape the dough out of the bowl and onto the floured surface. The dough will be very sticky, so flour your hands well. Gently shape the dough into a round or oval loaf by folding the edges of the dough up and over towards the center. Do not knead the dough.
-
Flip and Rest: Carefully flip the loaf over so that the floured side is on top and the seam side is down. Place the loaf (on the parchment paper if using) on a pizza peel, a large cutting board, or another flat surface that will allow you to easily transfer it to the oven. Let the dough rest, uncovered, while the oven and pizza stone/Dutch oven preheat.
-
Preheat Oven and Pizza Stone/Dutch Oven: About 30-60 minutes before you’re ready to bake, preheat your oven to 450°F (230°C). Place a pizza stone or a Dutch oven (with its lid on) inside the oven while it preheats. This is crucial for creating a crispy crust.
-
Create Steam: Place an oven-safe bowl or pan on the bottom rack of the oven. Fill it with about 2 inches of water. This will create steam during baking, which contributes to a crisp crust.
-
Score Dough (Optional): Just before baking, use a very sharp knife or a clean razor blade to score the top of the loaf. Make a few slashes, about 1/2-inch deep, across the top. This helps control the expansion of the bread during baking.
-
Bake (Pizza Stone Method):
- Sprinkle the preheated pizza stone with semolina flour or cornmeal (this helps prevent sticking).
- Carefully slide the loaf (on the parchment paper, if using) onto the hot pizza stone.
- Bake for 30-45 minutes, or until the bread is a deep golden brown and the internal temperature reaches 200-210°F (93-99°C).
-
Bake (Dutch Oven Method):
- Carefully remove the very hot Dutch oven from the preheated oven. Remove the lid.
- Carefully lower the loaf (on the parchment paper) into the hot Dutch oven.
- Cover the Dutch oven with its lid.
- Bake for 30 minutes, covered.
- Remove the lid and continue baking for another 5-15 minutes, or until the crust is a deep golden brown and the internal temperature reaches 200-210°F (93-99°C).
-
Cool: Carefully remove the bread from the Dutch oven or pizza stone (using the parchment paper as handles, if using) and transfer it to a wire rack to cool completely before slicing. Cooling completely is important for the texture. You can also let it cool inside the oven with the door slightly ajar.
Notes
- Water Temperature: The water should be warm to the touch, but not hot (100-110°F / 38-43°C).
- Yeast: You can use instant yeast or active dry yeast. If using active dry yeast, you do not need to proof it separately; it can be added directly to the dry ingredients.
- Salt: Non-iodized salt is preferred for bread baking. If using table salt (iodized), you might want to use slightly less.
- Flour: All-purpose flour or bread flour can be used. Bread flour will result in a slightly chewier loaf.
- Rising Time: The rising time can vary depending on the temperature of your kitchen.
- Dutch Oven/Pizza Stone: A Dutch oven or pizza stone is essential for creating the crispy crust. The preheated surface helps to create a burst of steam when the dough is added, resulting in a crispier crust and a better rise.
- Scoring: Scoring the loaf (making slashes on the top) is optional, but it helps control the expansion of the bread during baking.
- Cooling: Cooling the bread completely before slicing is crucial. This allows the internal structure to set and prevents a gummy texture.
- Storage: Store at room temperature.

