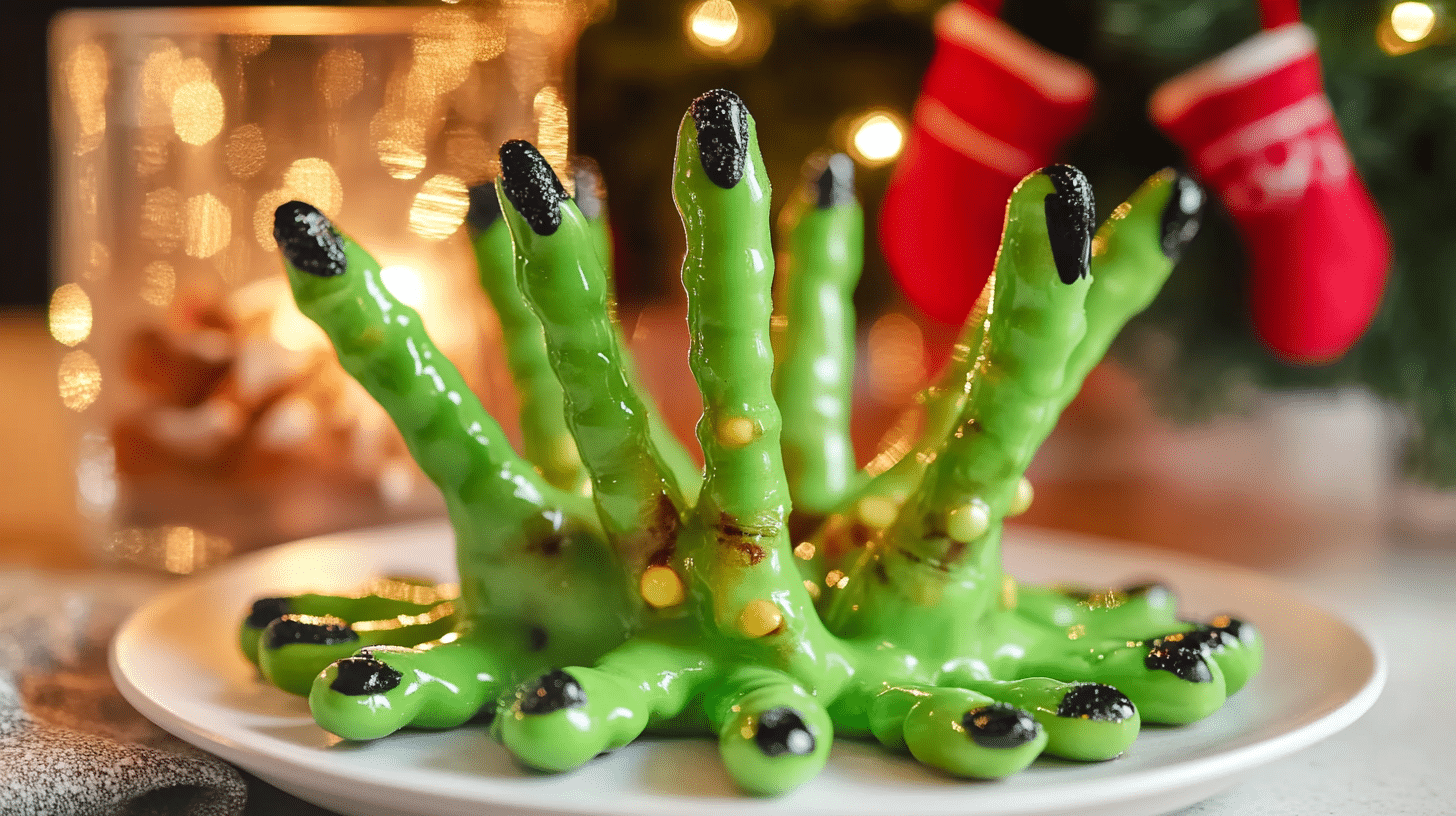
These Spooky Witch Finger Pretzel Rods are the perfect creepy and delicious treat for Halloween! They’re incredibly easy to make, with just a few simple ingredients: pretzel rods, green candy coating, and almond “fingernails” painted with black food coloring gel. I love how these treats are both fun to make and delightfully spooky to look at. They’re perfect for Halloween parties, classroom treats, or a fun activity with the kids. Get ready to create a treat that’s both creepy and delicious!
Why You’ll Love These Witch Finger Pretzel Rods
- Easy to Make: This recipe uses simple ingredients and straightforward instructions.
- Spooky and Fun: These pretzel rods are a fun and creative way to celebrate Halloween.
- No Baking Required: This is a no-bake treat, making it perfect for a quick and easy project.
- Kid-Friendly: Kids will love helping to make (and eat!) these spooky witch fingers.
- Customizable: You can easily adjust the colors and decorations to your liking.
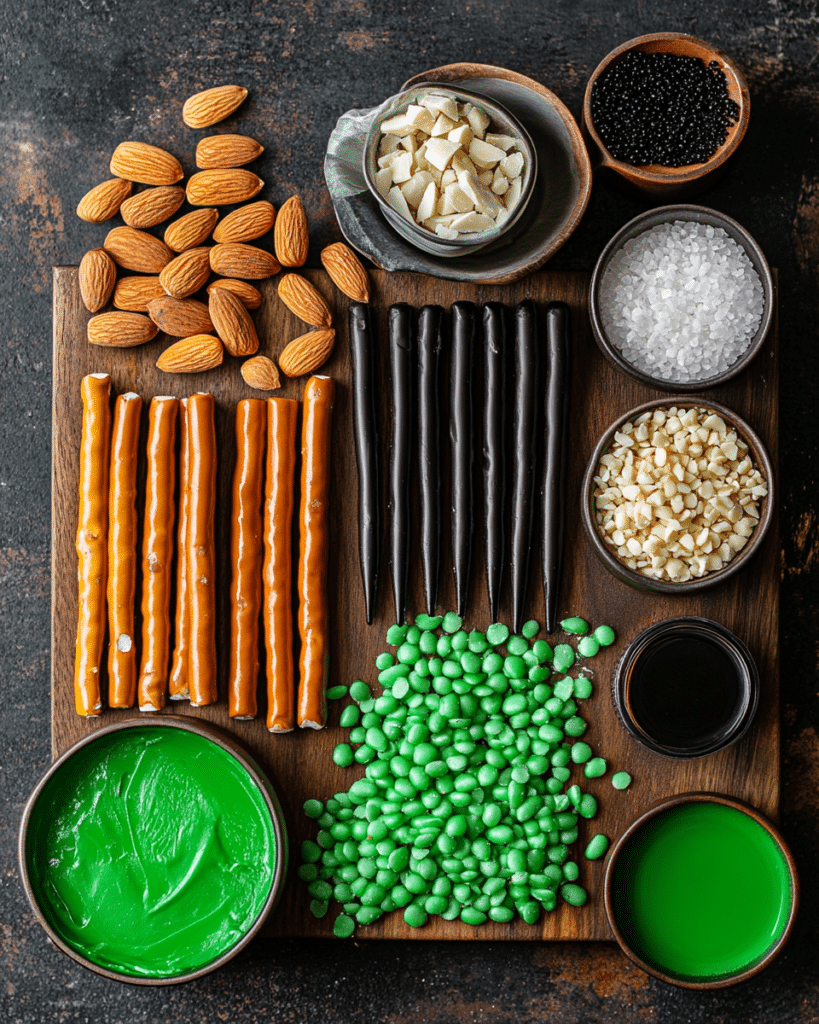
Ingredients for Witch Finger Pretzel Rods
Here’s what you’ll need to make these creepy treats. The full list with measurements is in the recipe card below.
Fingernails
- Blanched almonds (Nuts)
- Black gel food coloring (Food Coloring)
Fingers
- Large pretzel rods (Pretzels)
- Bright-green candy coating (Candy Coating)
(Note: the full ingredients list, including measurements, is provided in the recipe card directly below.)
Variations
I love these Witch Finger Pretzel Rods as is, but here are a few ideas for variations:
- Different Colors: Use different colors of candy coating, such as purple, orange, or black.
- Add “Warts”: Use small candies or sprinkles to create “warts” on the fingers.
- Bloody Fingers: Dip the tips of the pretzels in red candy coating before adding the almond fingernail to create a “bloody” effect.
- Different Nuts: Use sliced almonds, cashews.
- Chocolate covered
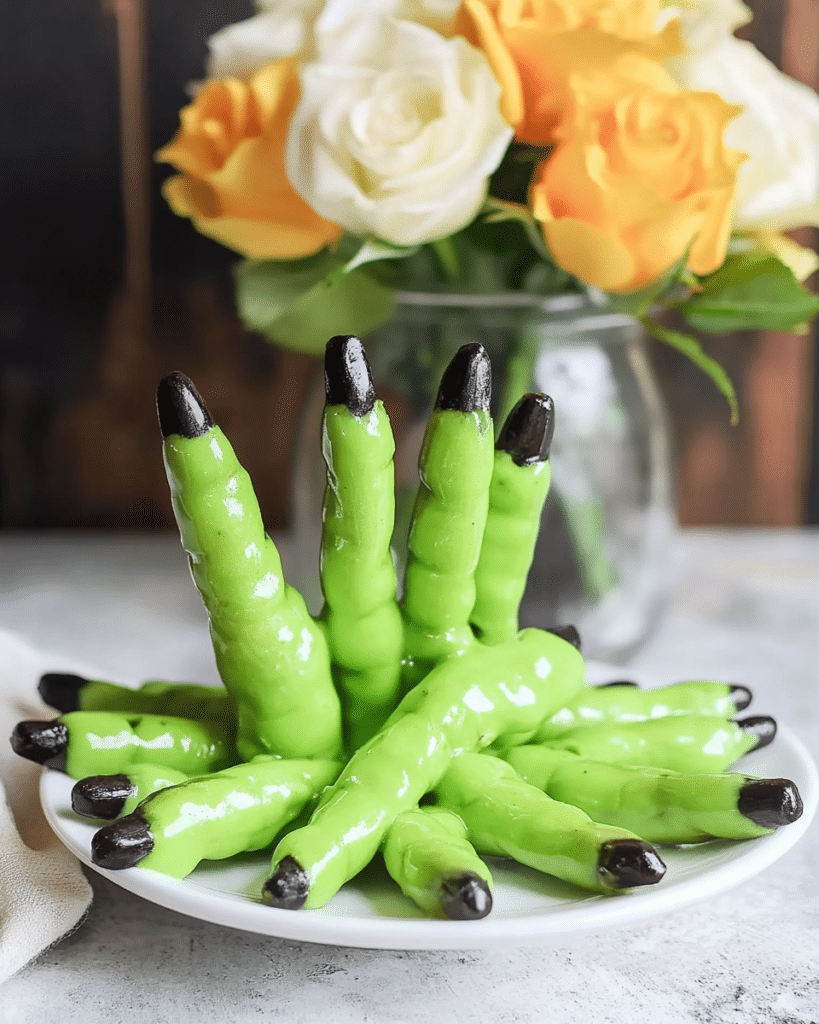
How to Make Witch Finger Pretzel Rods
Let me show you how easy it is to make these spooky Witch Finger Pretzel Rods:
Make the Fingernails
- I use a small food-safe paintbrush to paint the top of each almond with black gel food coloring. (I wear food-safe gloves if I want to avoid getting my fingertips dyed black as well.)
- I set them aside on waxed paper or parchment paper to dry while I prepare the rest of the recipe.
Make the Fingers
- I gather the pretzels.
- I break or cut each rod in half.
- I place the green candy coating in a small but deep microwave-safe bowl (or heatproof cup) and microwave in 30-second increments, stirring after every 30 seconds to prevent overheating and burning. I stir and heat until the candy coating is completely melted and smooth.
- Holding a pretzel rod by the unbroken end, I dip it in the green coating until almost all of it is covered, leaving about a ½-inch section undipped at the top where I’m holding it.
- I place the dipped pretzel on the same lined baking sheet I used to dry the black candy-coated almond nails.
- I immediately press one of the painted almonds on the tip of the pretzel rod that is coated in green candy coating.
Add the Details
- I continue to dip more pretzels and, while I do, I keep an eye on the already-dipped pretzels. When the coating has started to dry and is mostly matte but not completely hard, it’s time to add the wrinkles for the knuckles.
- I take a toothpick and hold it perpendicular to the pretzels. I gently roll it across the top to add wrinkles. I make two sets—one set near the fingernail, and one set about halfway down the finger. This will make your witch finger super realistic-looking. If the coating is too melted and sticky when you try, give it a few more minutes to set before trying again.
Chill and Serve
- After all the pretzels have been dipped and decorated, I refrigerate the tray for 10 minutes to set the coating completely.
- After that, the witch fingers can be served on a party tray or be standing up in a mason jar.
Tips and Tricks for the BEST Witch Fingers
Here are my secrets for making these treats truly spooky and delicious:
- Use Bright Green Candy Coating: The bright green color gives the pretzels a more realistic “witch finger” look.
- Don’t Overheat the Candy Coating: Heat the candy coating in short intervals and stir frequently to prevent it from burning.
- Add Wrinkles at the Right Time: Add the wrinkles when the coating is mostly set but not completely hard. This will prevent the coating from cracking or smudging.
- Chill Before Serving: Chilling the pretzel rods helps the candy coating to set completely.
How to Serve
These Witch Finger Pretzel Rods are perfect for:
- Halloween Parties: A fun and spooky treat for your Halloween party.
- Classroom Treats: A great treat to send to school for a Halloween party.
- Movie Night: A fun and festive snack for a Halloween movie night.
- Gifts: Package them in cellophane bags and tie with a ribbon for a spooky and delicious gift.
Make Ahead and Storage
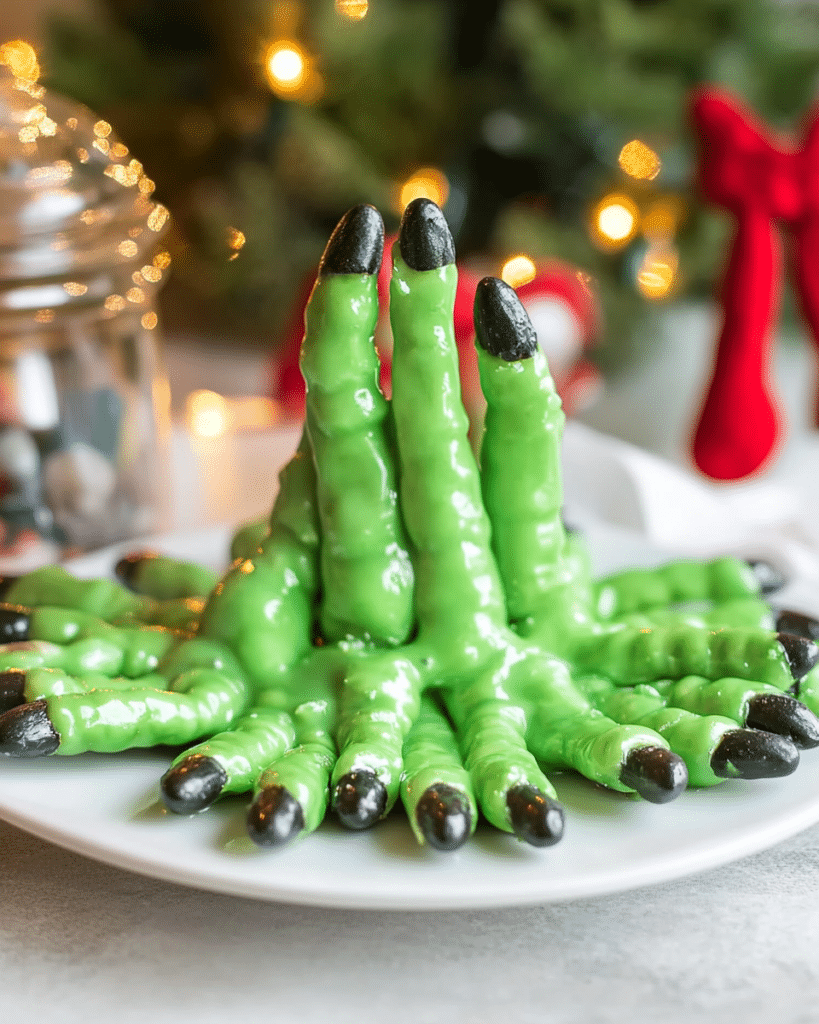
You can make these witch finger pretzel rods ahead of time and store them in an airtight container at room temperature for up to a week.
FAQs about Witch Finger Pretzel Rods
- Can I use a different type of nut for the fingernails?
- Yes, you can use sliced almonds, cashews, or even sunflower seeds.
- Can I use a different color of candy coating?
- Absolutely! Feel free to use any color you like.
- Can I make these without the black gel food coloring?
- Yes, you can
Enjoy these spooky, fun, and easy-to-make Witch Finger Pretzel Rods! They’re a perfect Halloween treat that everyone will love.
Print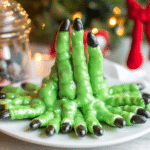
Spooky Witch Finger Pretzel Rods
- Prep Time: 5 minutes
- Cook Time: 10 minutes
- Total Time: 15 minutes
- Yield: 4-6 1x
- Category: Appetizer, Dip, Sauce
- Cuisine: Mexican-Inspired, American
Description
This easy Mexican White Cheese Dip, also known as Queso Blanco, is a creamy, cheesy, and flavorful dip perfect for parties, game days, or any gathering. It’s made with white American cheese, milk, butter, green chilies, and a blend of spices for a delicious and addictive appetizer.
Ingredients
- 1/2 pound white American cheese, cut into cubes or roughly shredded
- 1/4 cup milk (whole, 2%, or skim), plus more as needed for thinning
- 1 tablespoon unsalted butter
- 1 (4-ounce) can diced green chilies, undrained
- 1/4 teaspoon ground cumin
- 1/4 teaspoon garlic salt
- 1/8 teaspoon (a pinch) cayenne pepper
Instructions
- Combine Ingredients: In a medium saucepan, combine the cubed or shredded white American cheese, milk, and butter.
- Melt Cheese: Cook over low heat, stirring frequently, until the cheese is completely melted and the mixture is smooth. Do not allow the mixture to boil.
- Add Seasonings: Stir in the undrained diced green chilies, cumin, garlic salt, and cayenne pepper. Mix well to combine.
- Adjust Consistency: If the dip is too thick, add more milk, 1 tablespoon at a time, until it reaches your desired consistency.
- Serve: Serve immediately with tortilla chips, warm tortillas, vegetable sticks, or as a topping for your favorite Mexican dishes.
Notes
- White American Cheese: White American cheese is essential for this recipe. It melts smoothly and has a mild flavor that complements the other ingredients. You can find it at most deli counters. Do not substitute with cheddar or other cheeses that don’t melt as smoothly.
- Milk: The amount of milk you need may vary depending on the desired consistency of the dip. Start with 1/4 cup and add more as needed.
- Green Chilies: Use mild or hot green chilies, depending on your preference.
- Cayenne Pepper: The cayenne pepper adds a touch of heat. You can adjust the amount to your liking or omit it altogether.
- Serving Suggestions: This white cheese dip is delicious served with tortilla chips, warm flour or corn tortillas, vegetable sticks (carrots, celery, bell peppers), or as a topping for tacos, nachos, burritos, or enchiladas.
- Make-Ahead: You can make this dip ahead of time and store it in the refrigerator. Reheat gently over low heat or in the microwave, stirring frequently, until warm and smooth.
- Storage: Store in fridge.

